
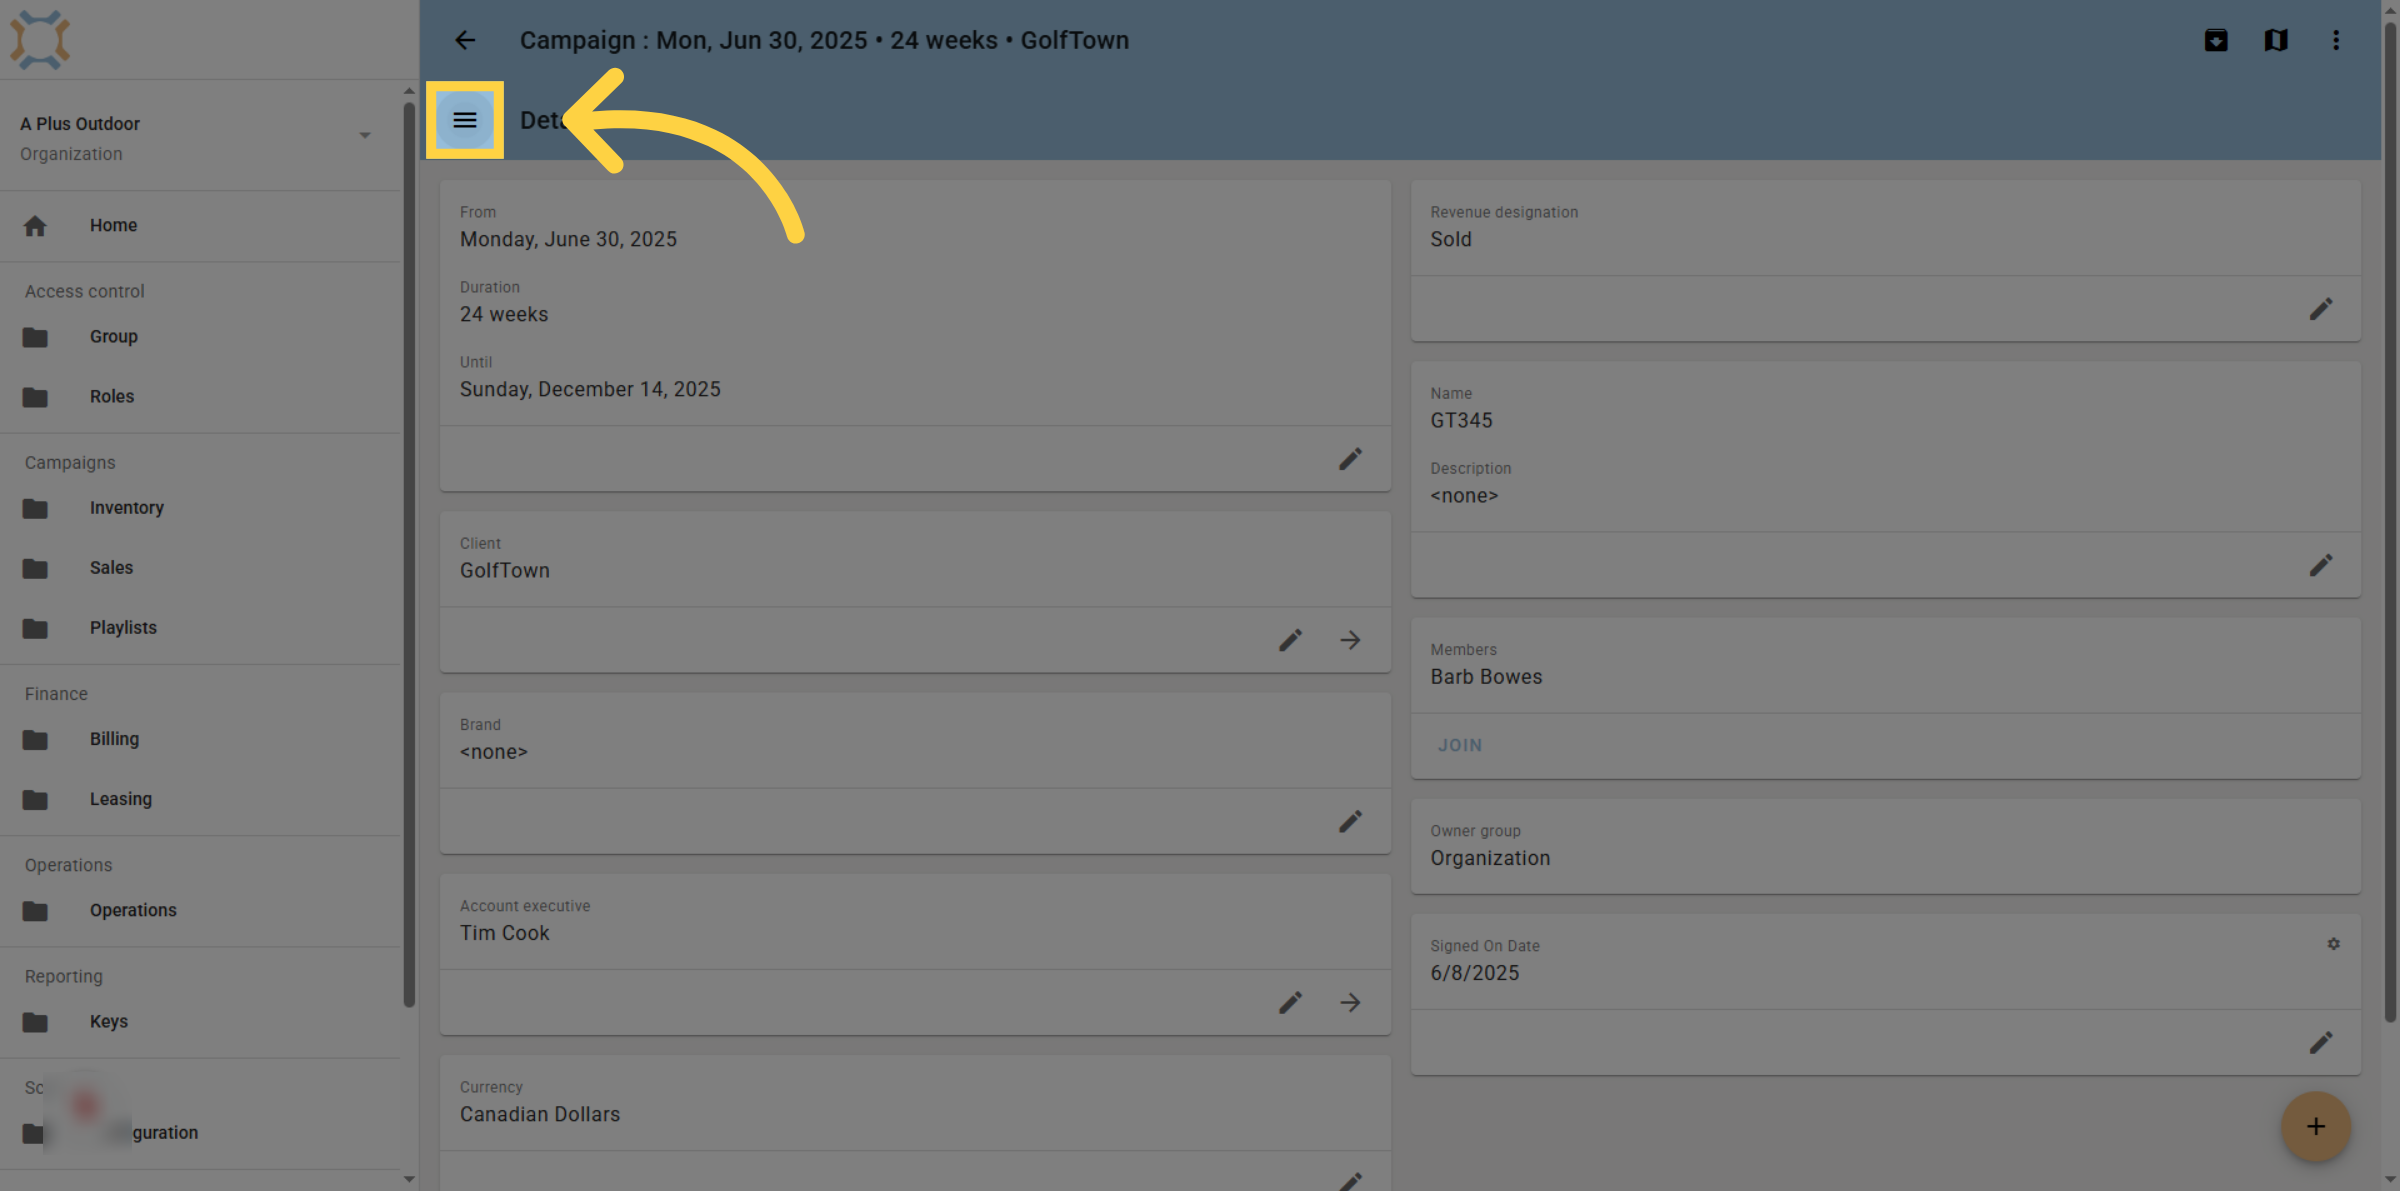
1. Click "menu"
When on a campaign, you can add the digital media items to a campaign by clicking the menu button
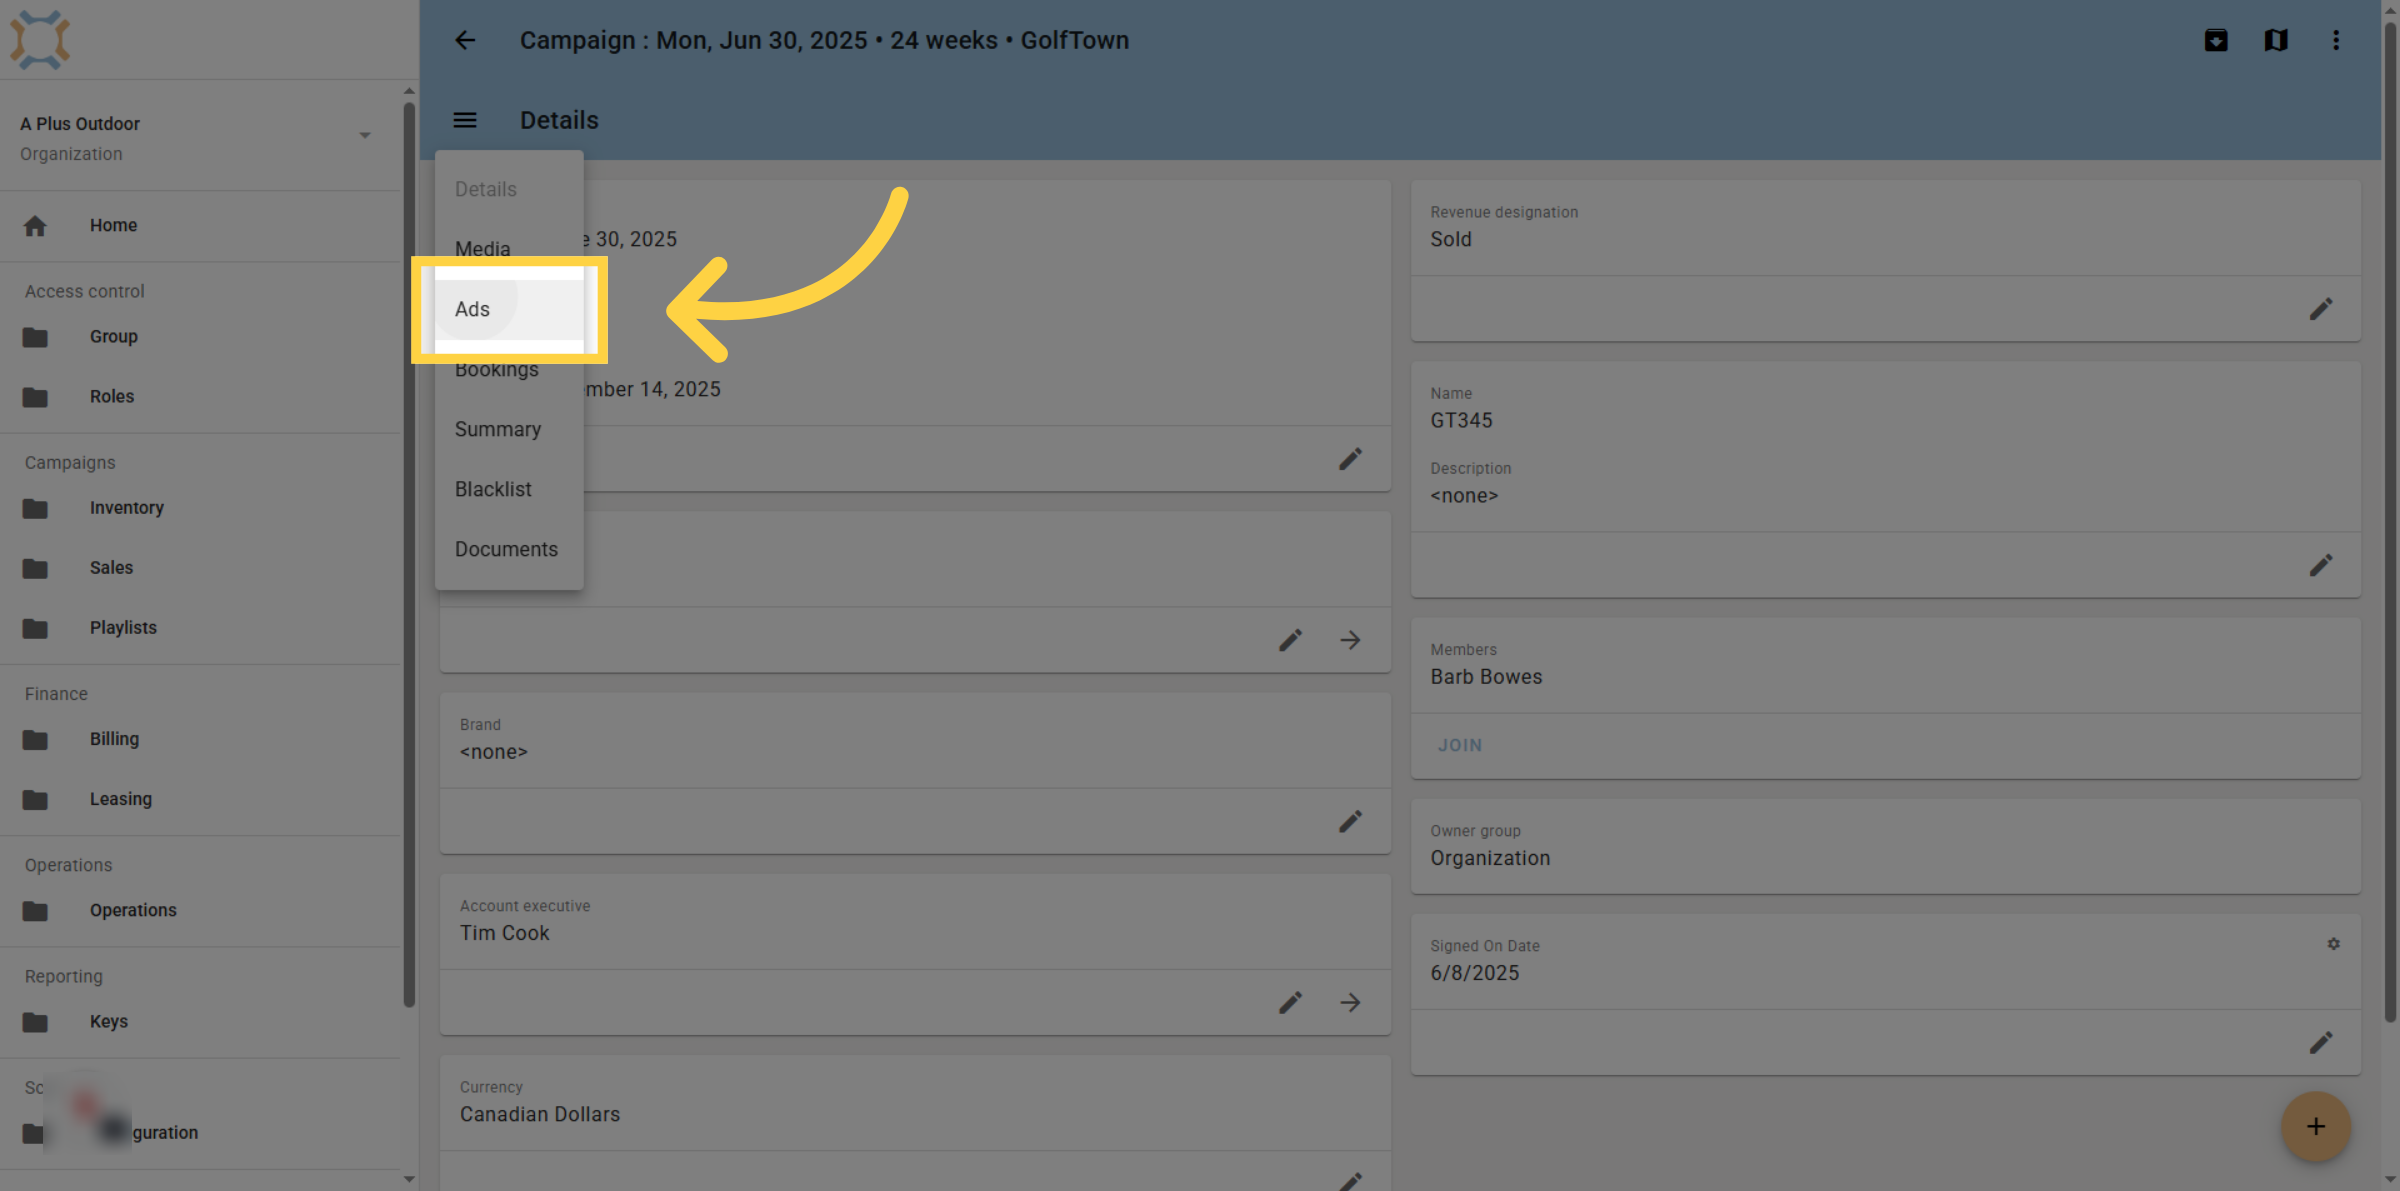
2. Click "Ads"
Next, click Ads
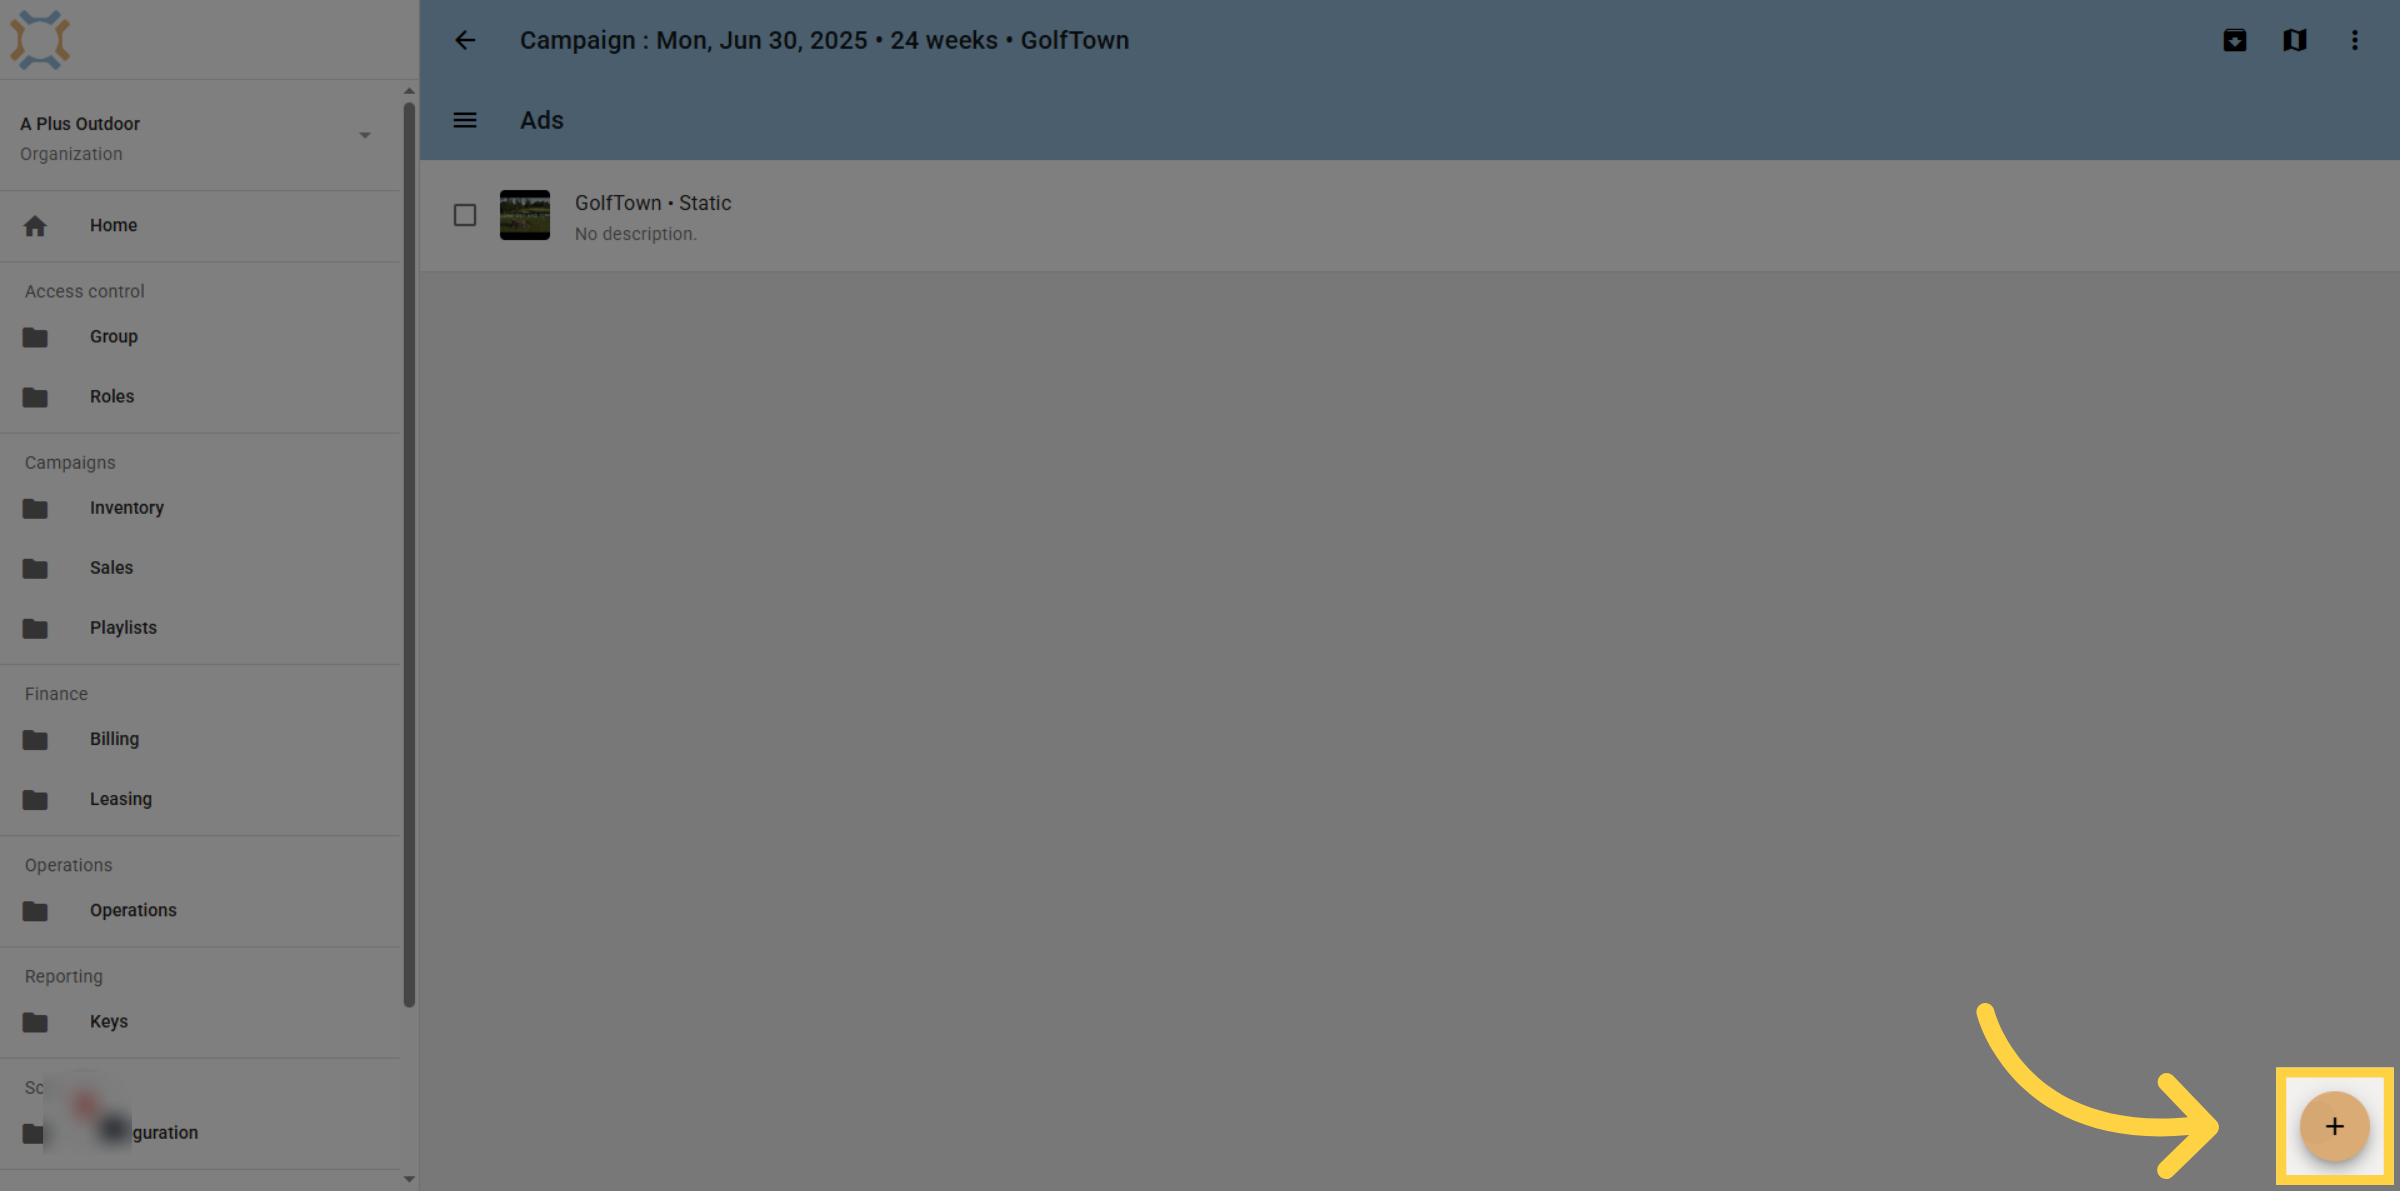
3. Click "add"
Click on add to create a digital media ad. Note that static media ads will also appear in this area.
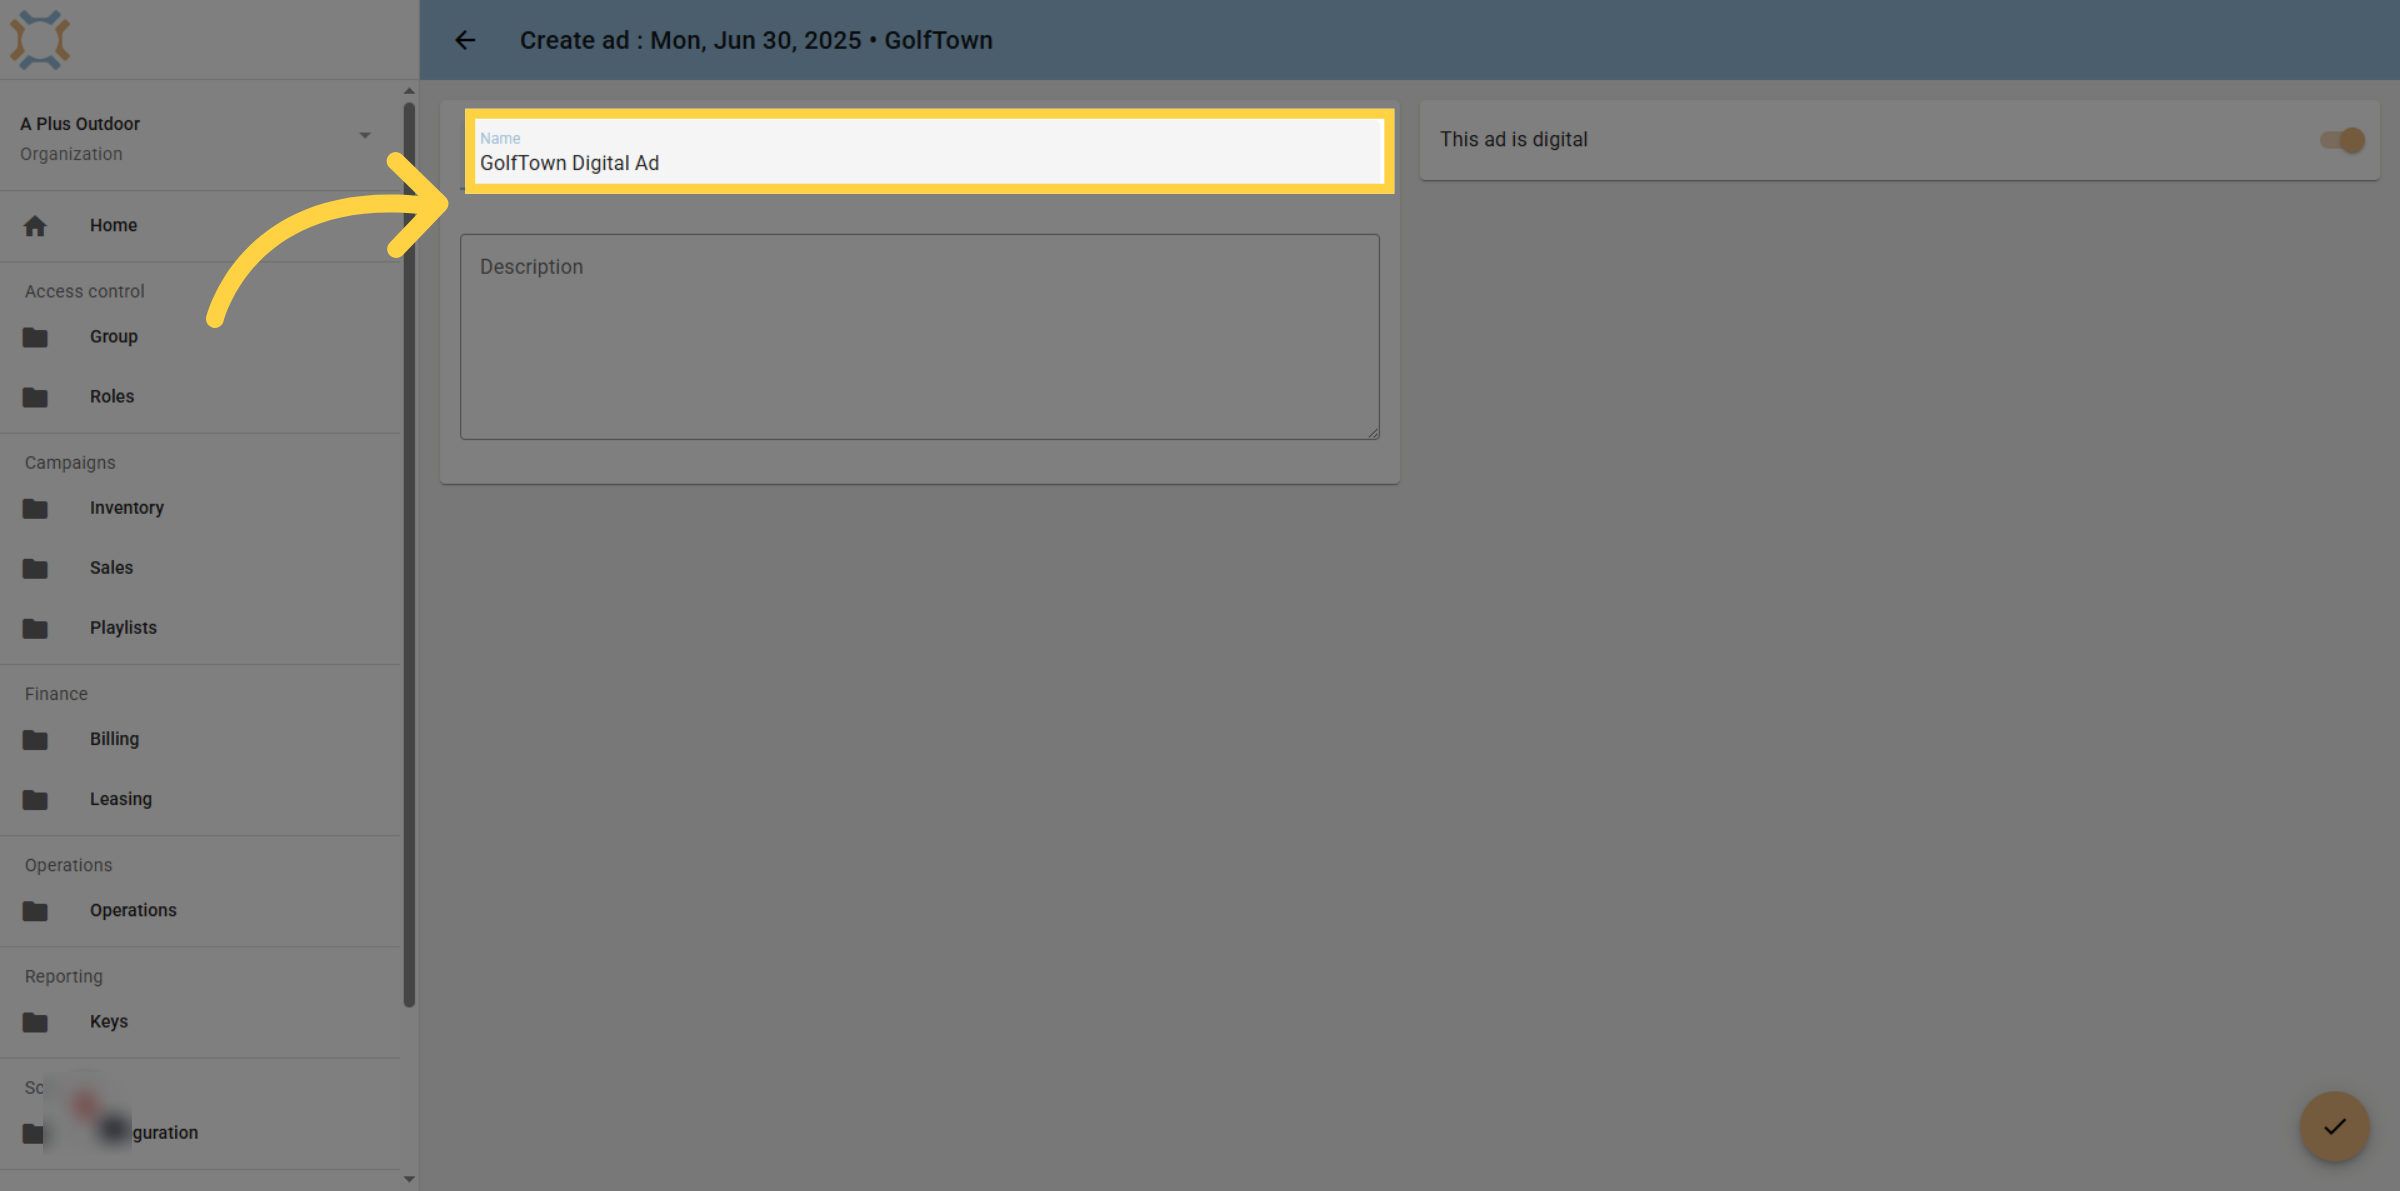
4. Enter a Name
Enter a name for this ad. Make sure the ad is digital option is left in as on, or you will not be able to assign it to any digital bookings
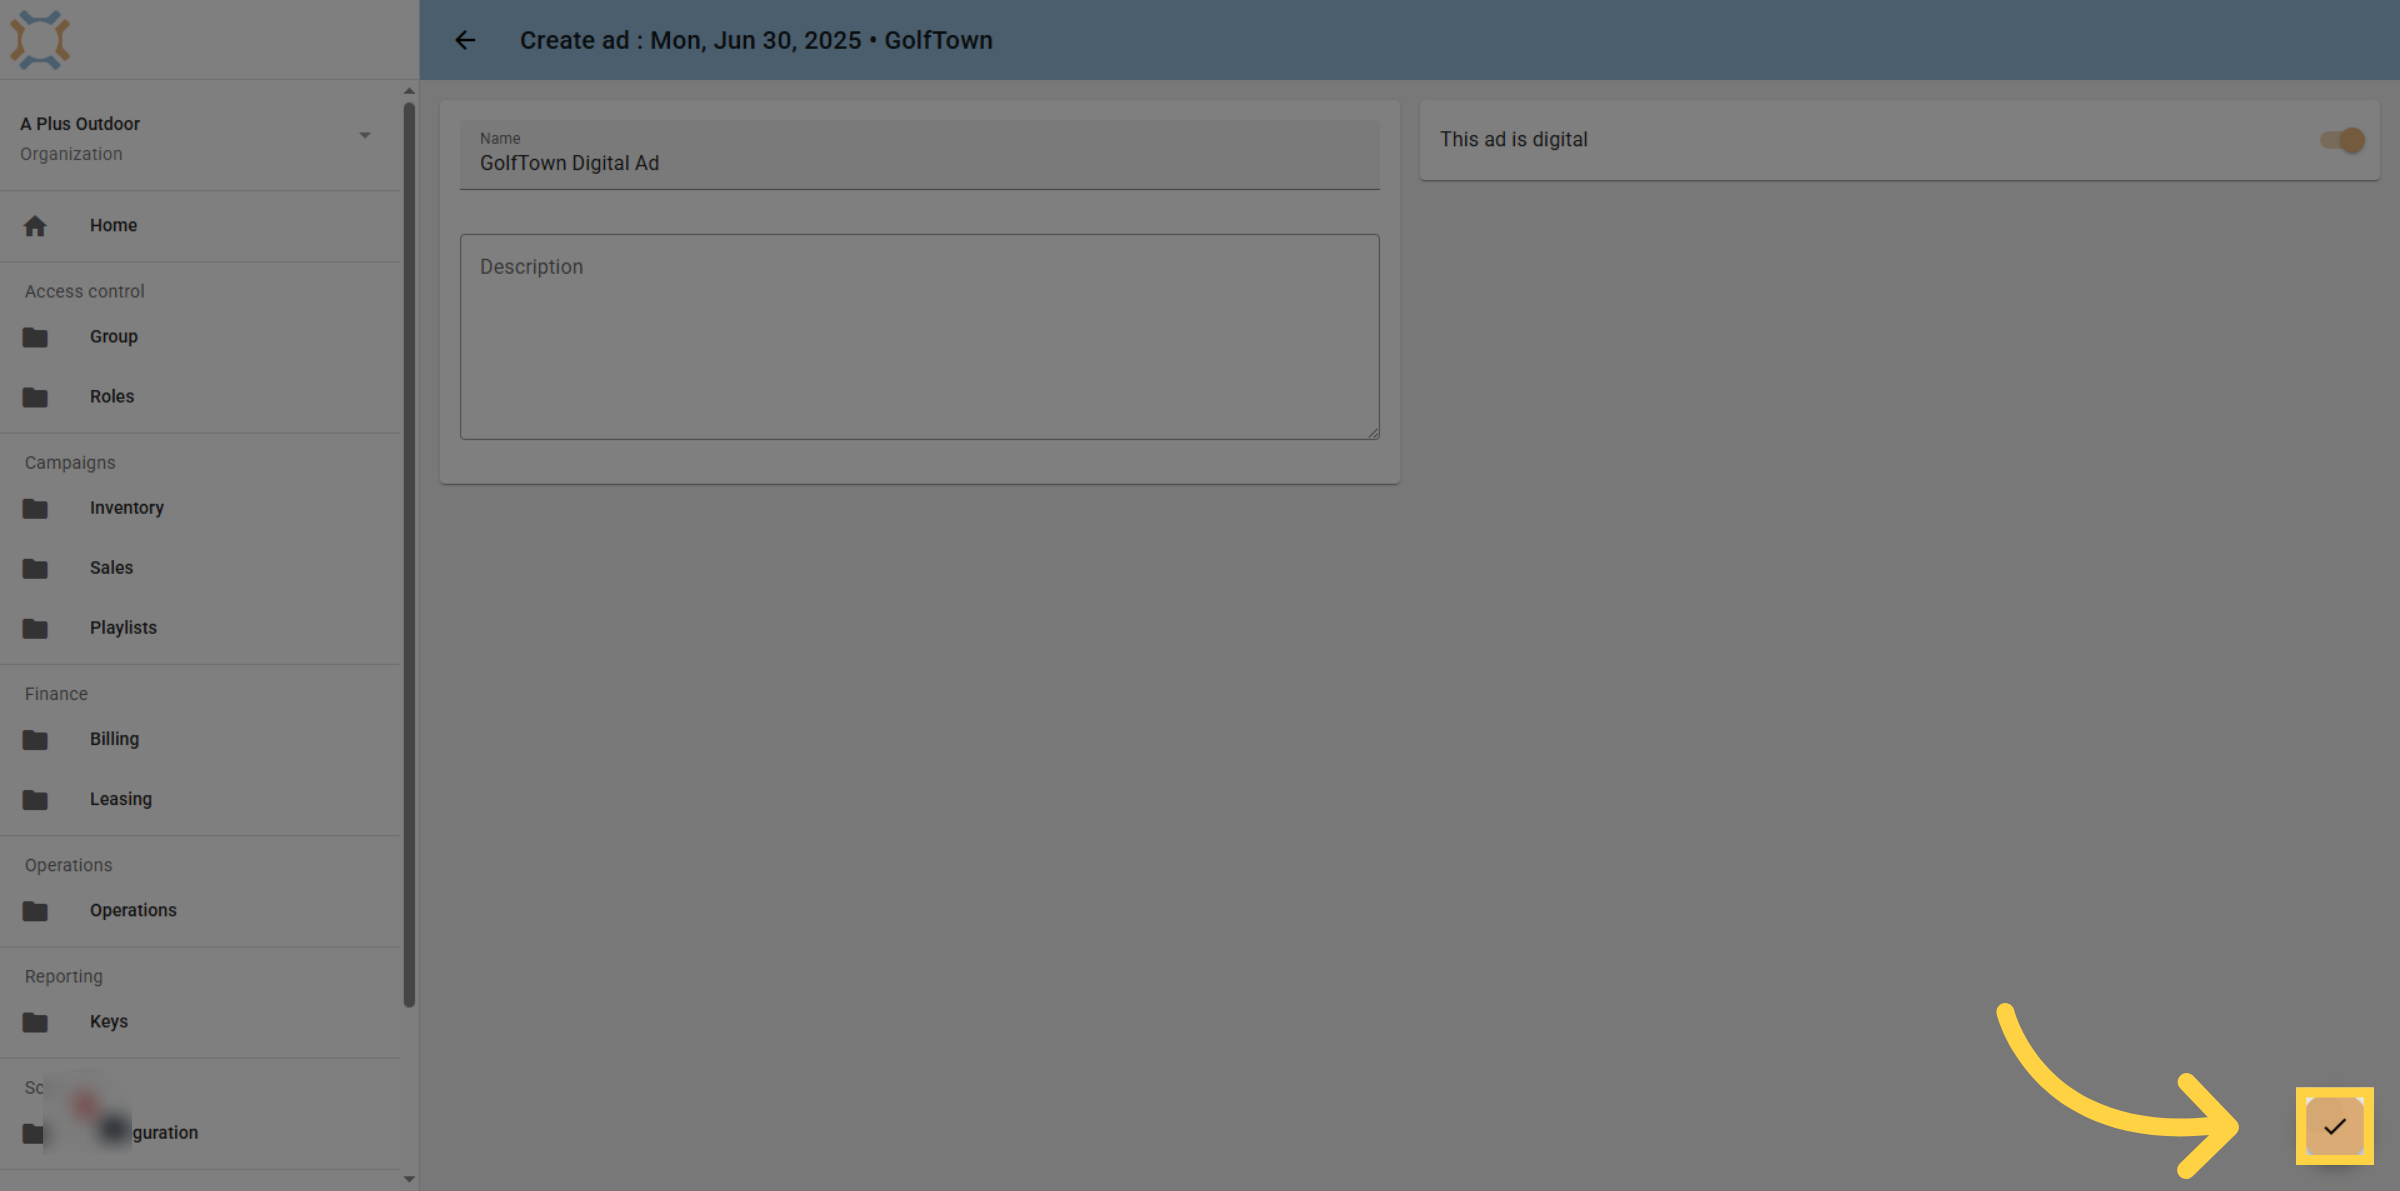
5. Click "done"
Click on done when finished.
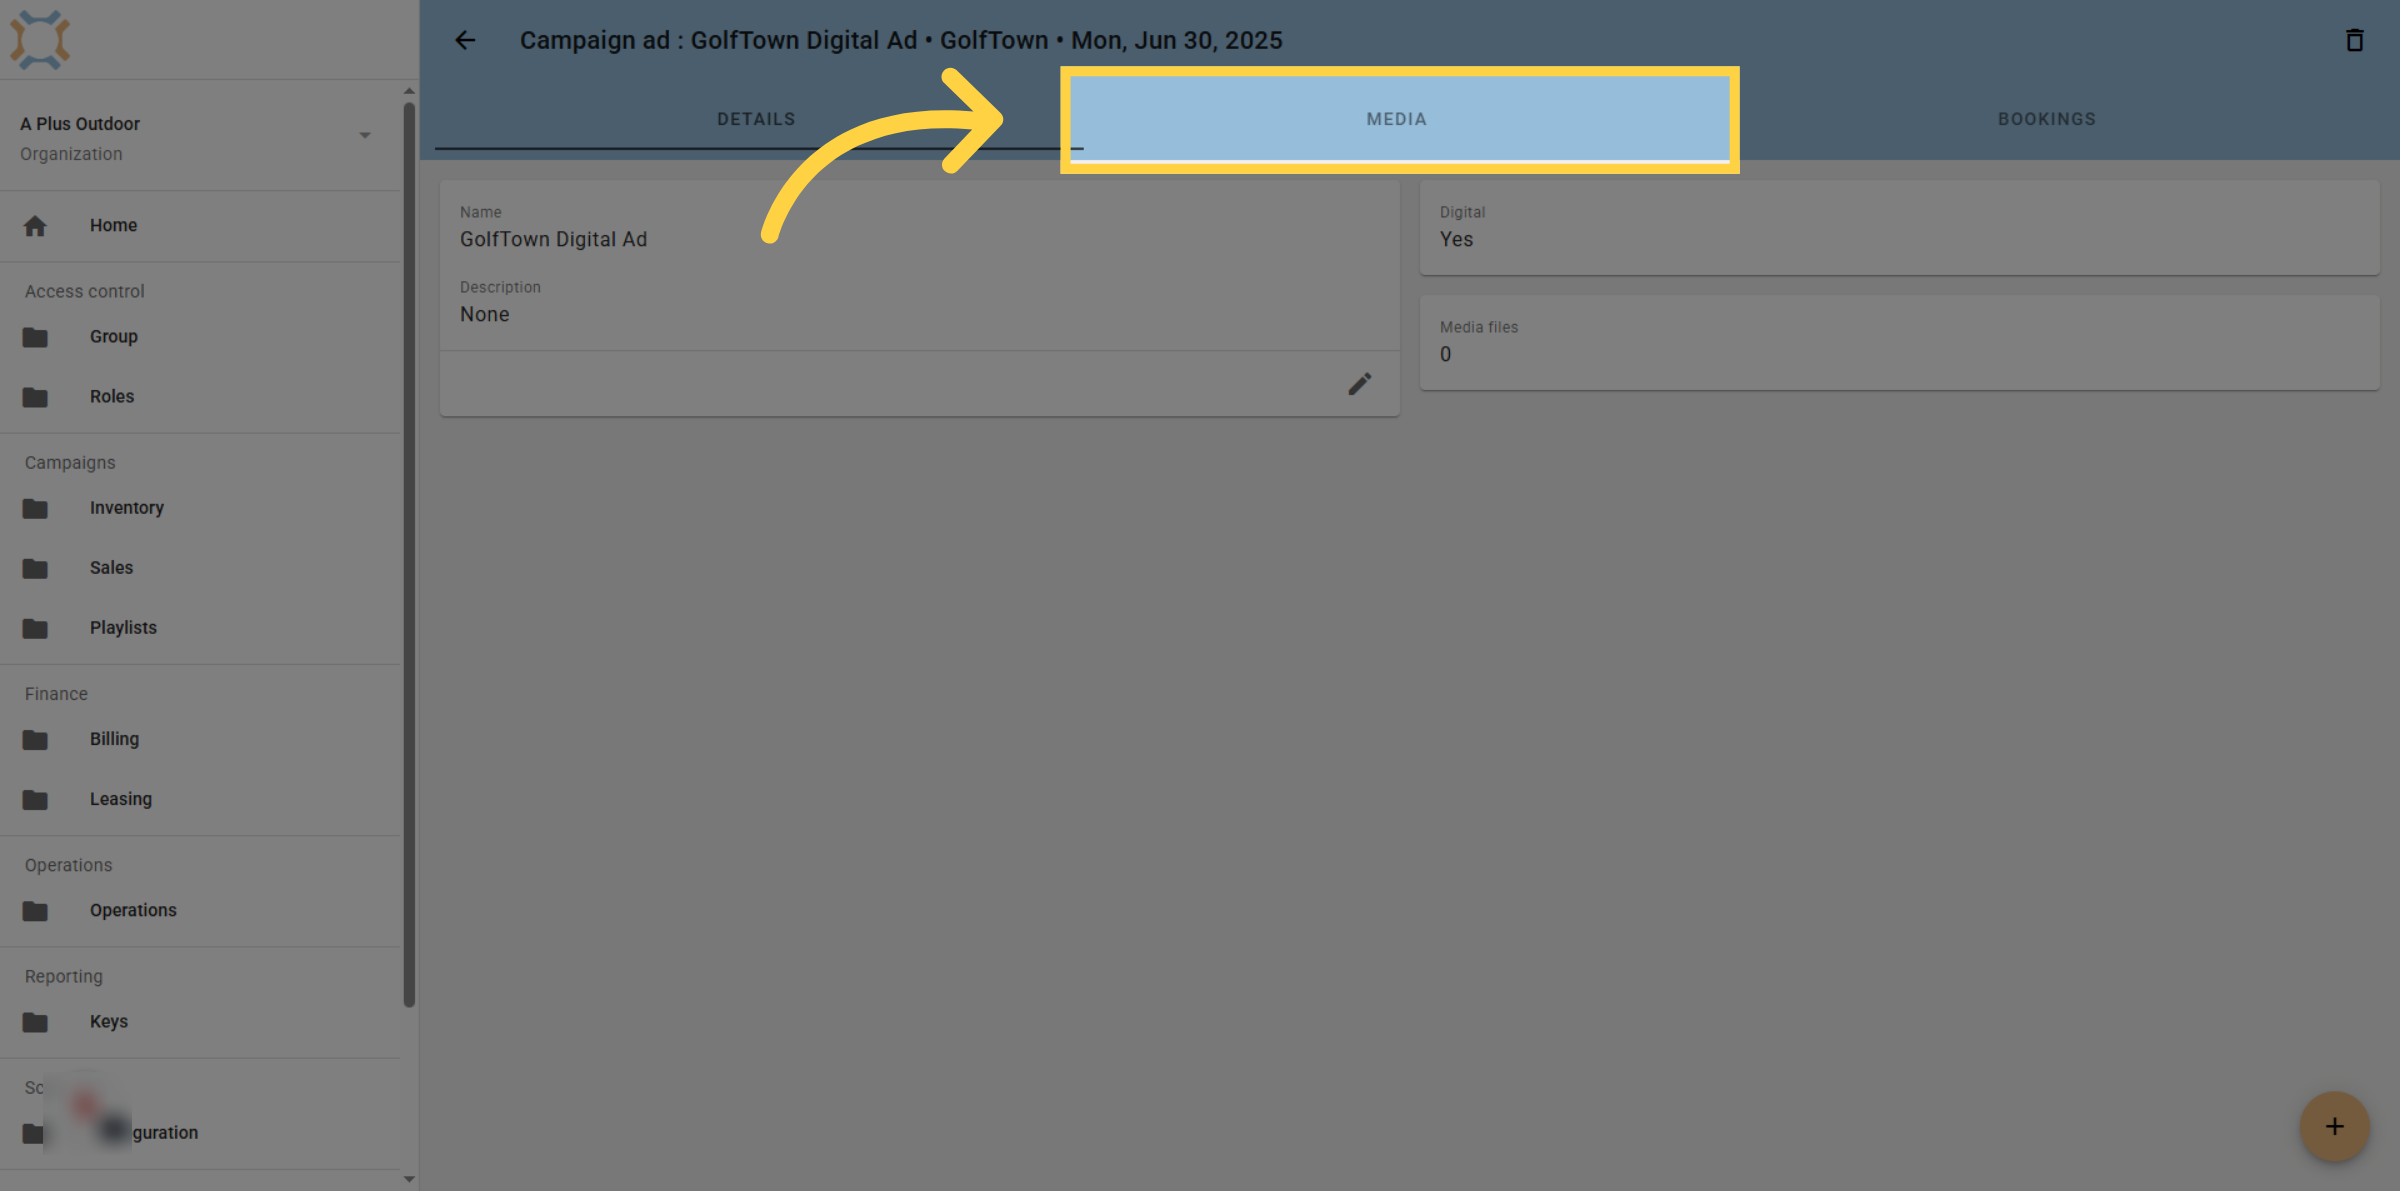
6. Click "media"
Click on the media tab to upload the content you wish to use
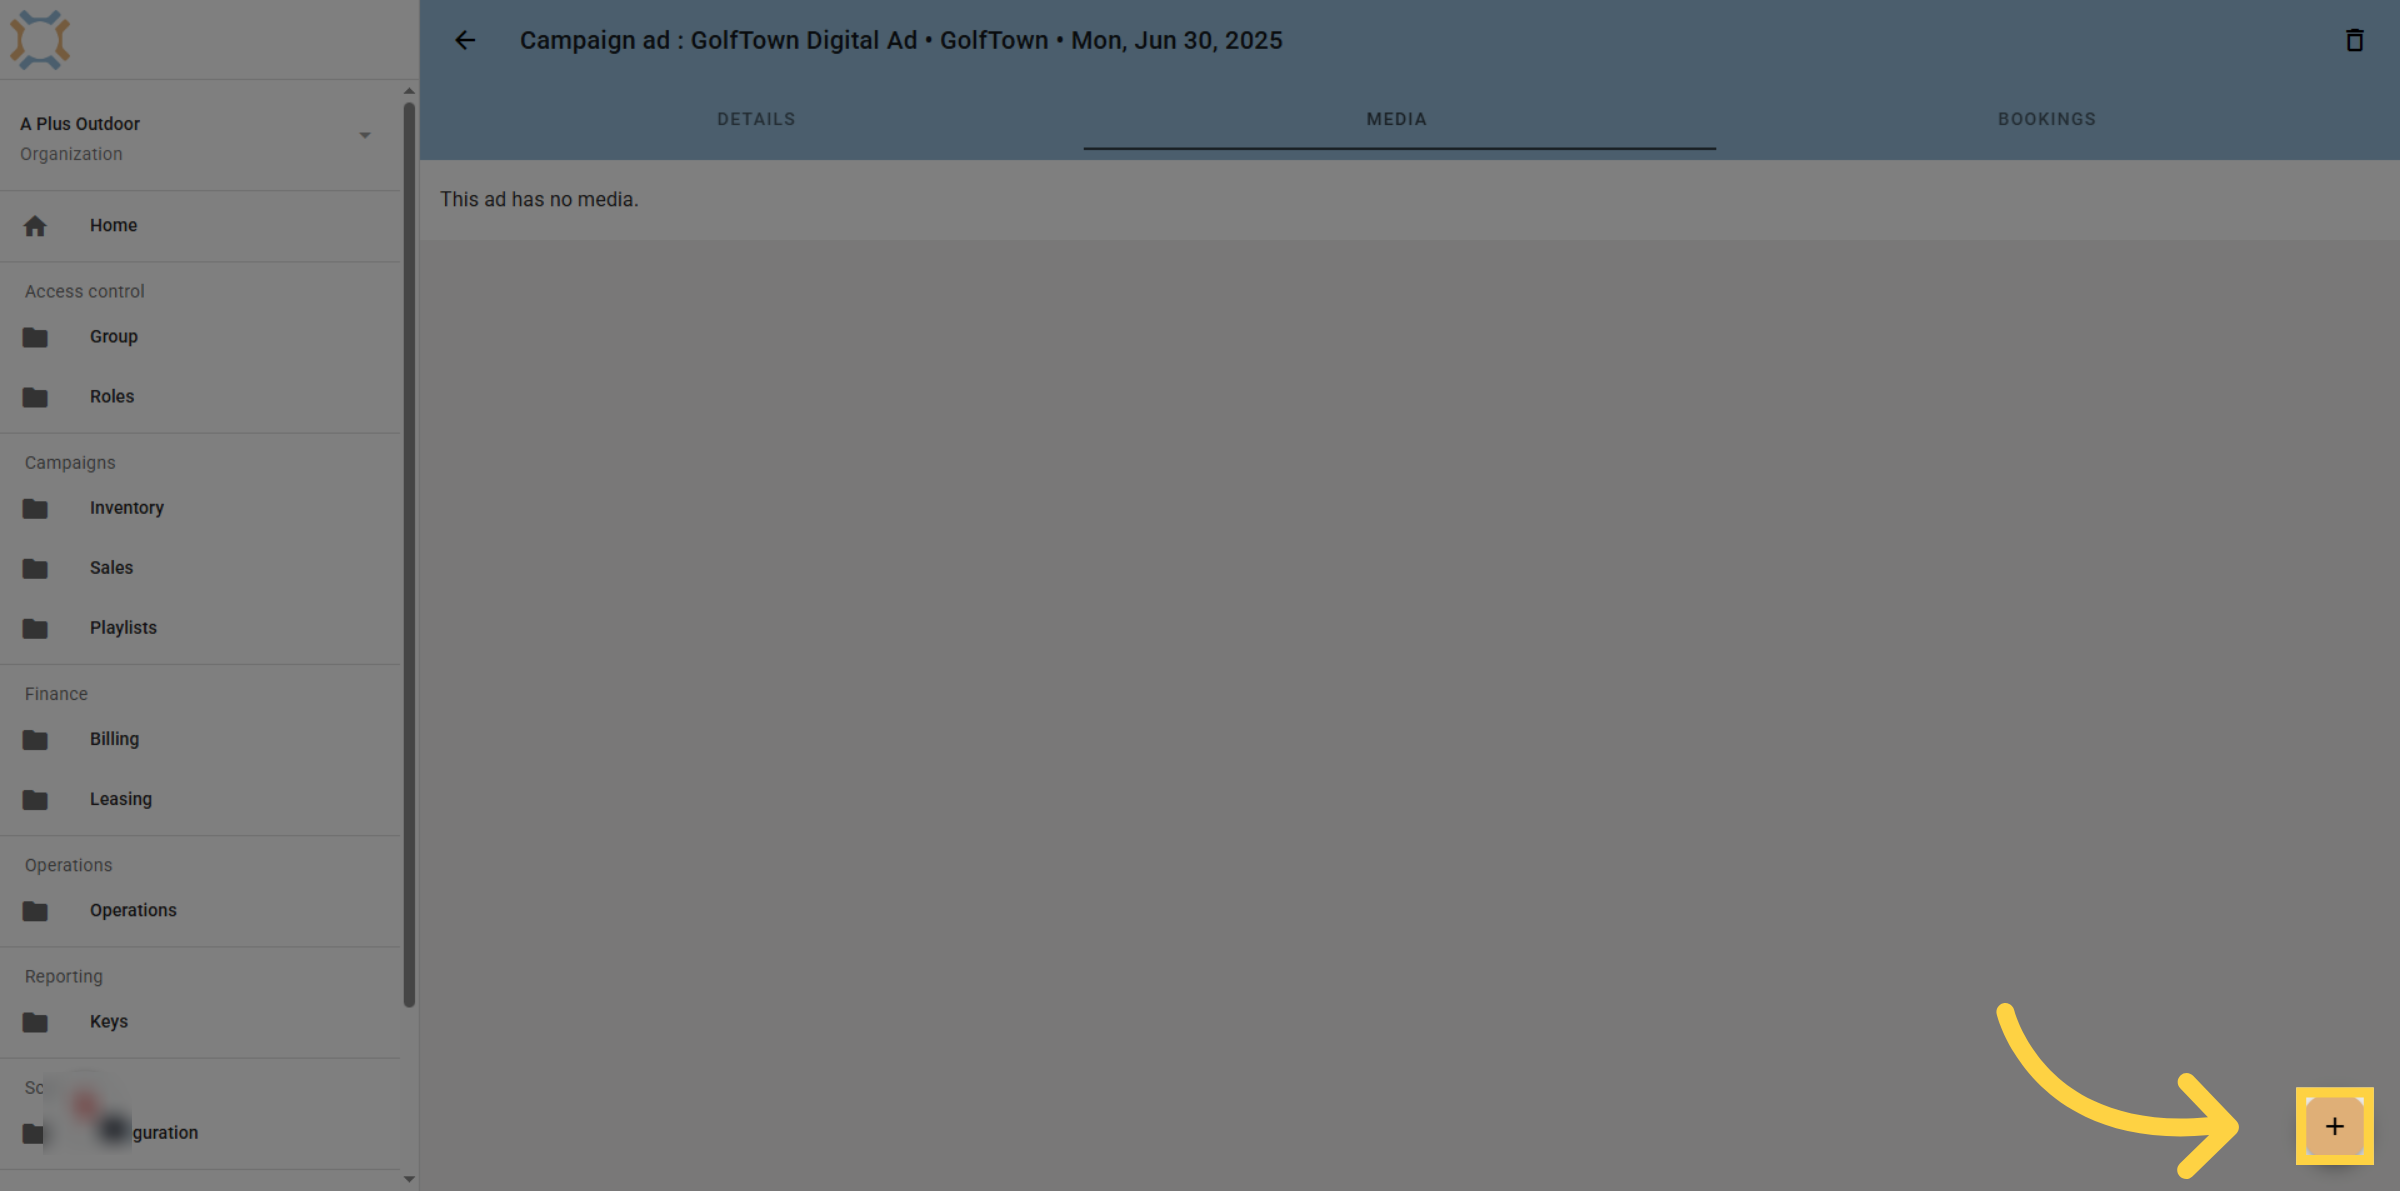
7. Click "add"
Click the Add button to upload media for this ad. At this point you can drag and drop the individual media items you wish to include on this ad.
8. Select Media items
From the list of uploaded media items, select the ones you wish to include on this ad. Note that you can upload multiple media items to create a collection of assets. Once uploaded, these assets are stored in the media library and become part of a rotating playlist.
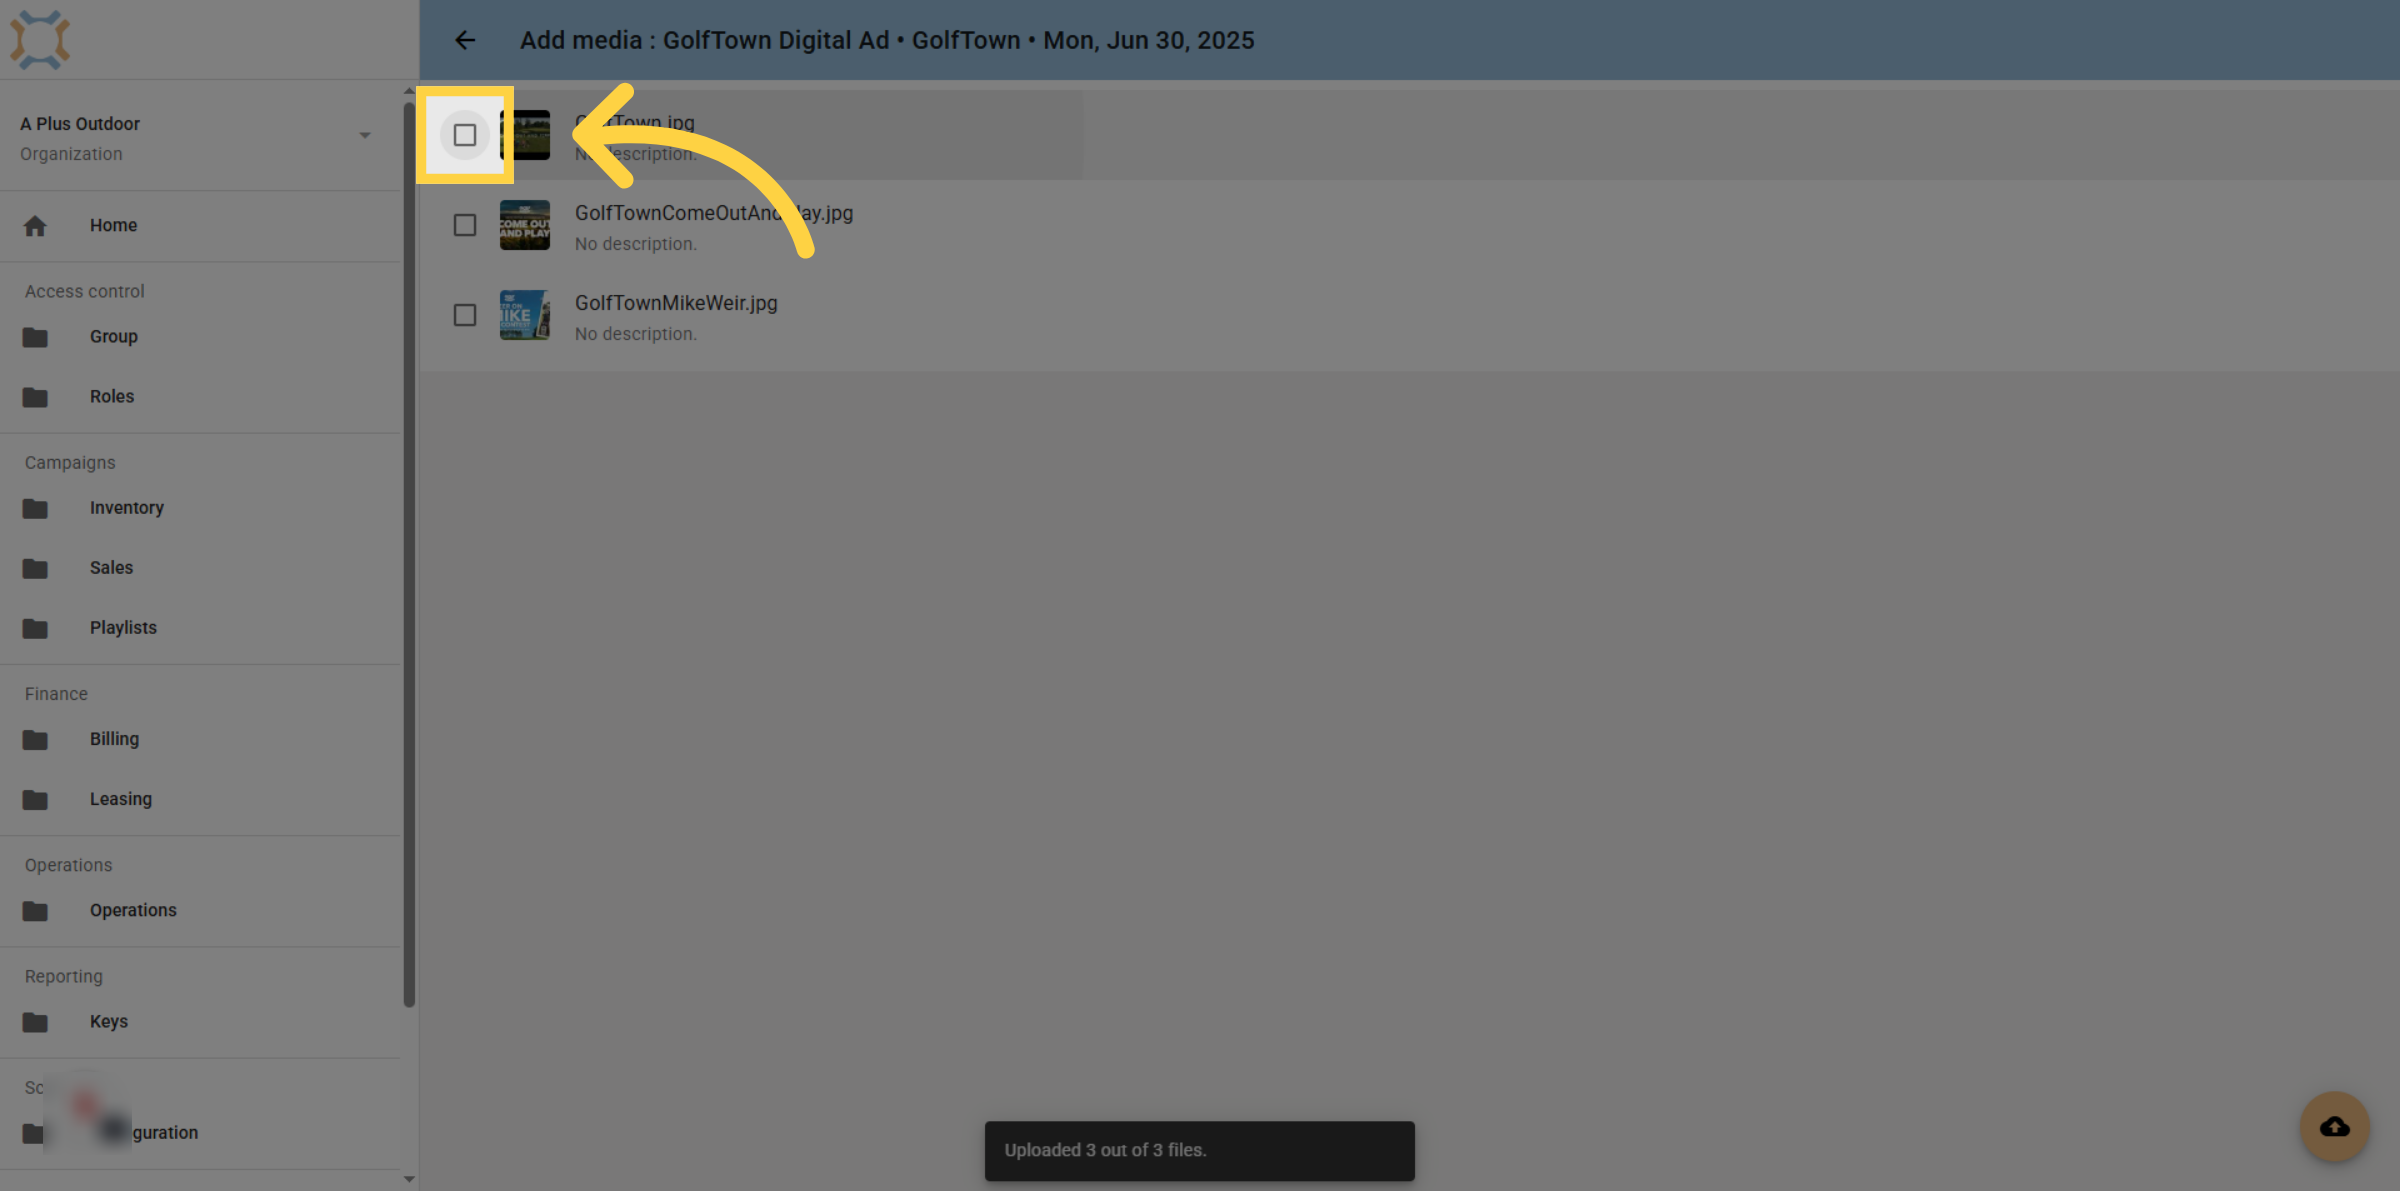
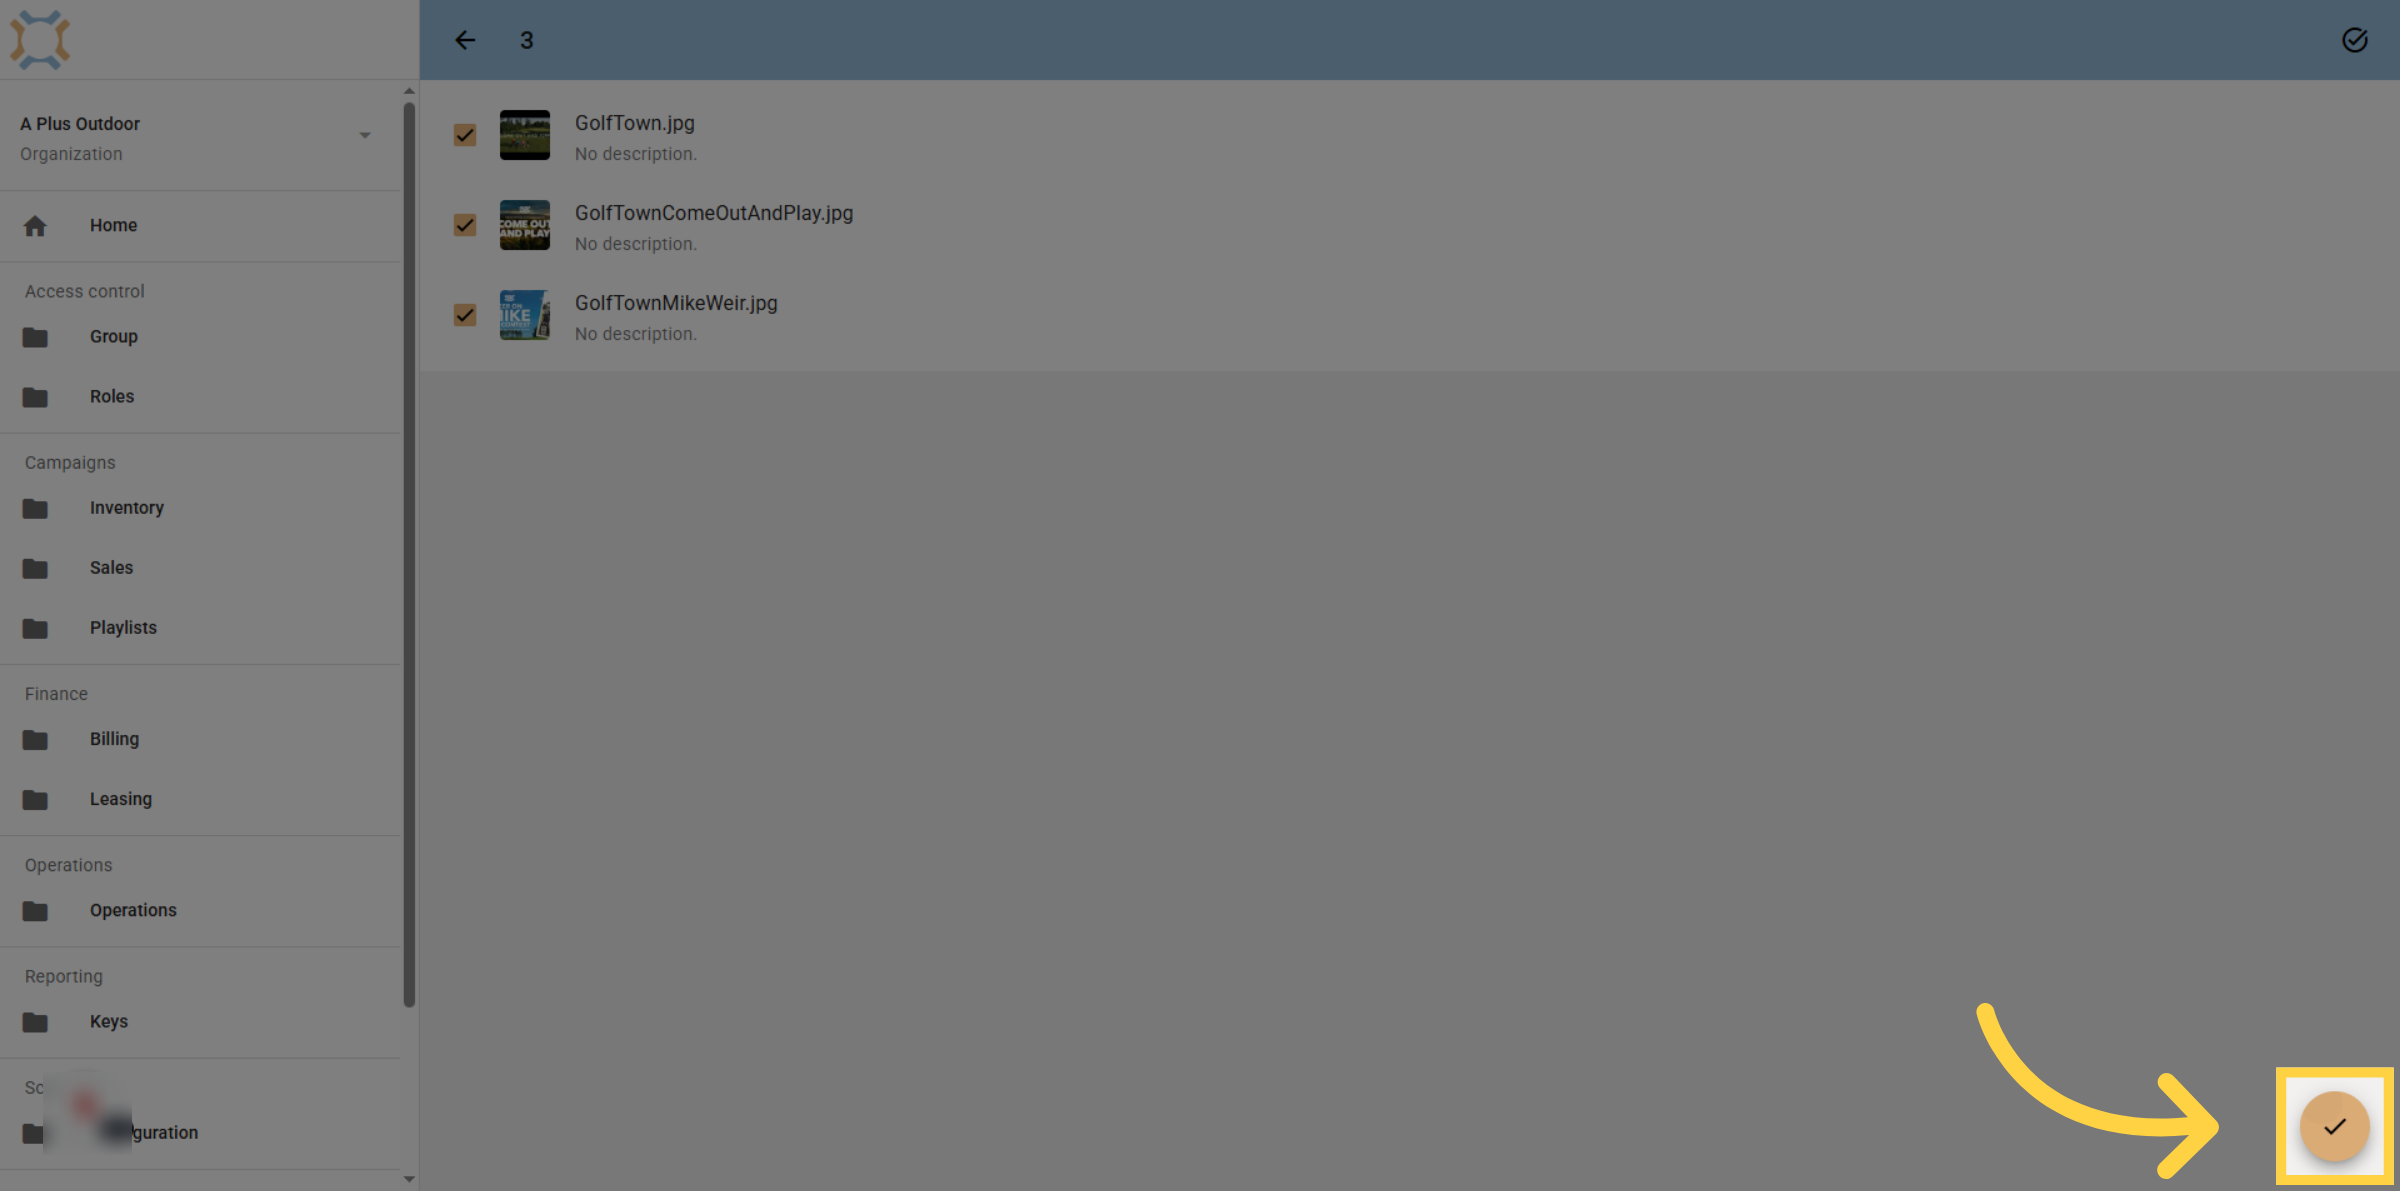
9. Click "done"
Click Done when you have finished selecting media items for this ad
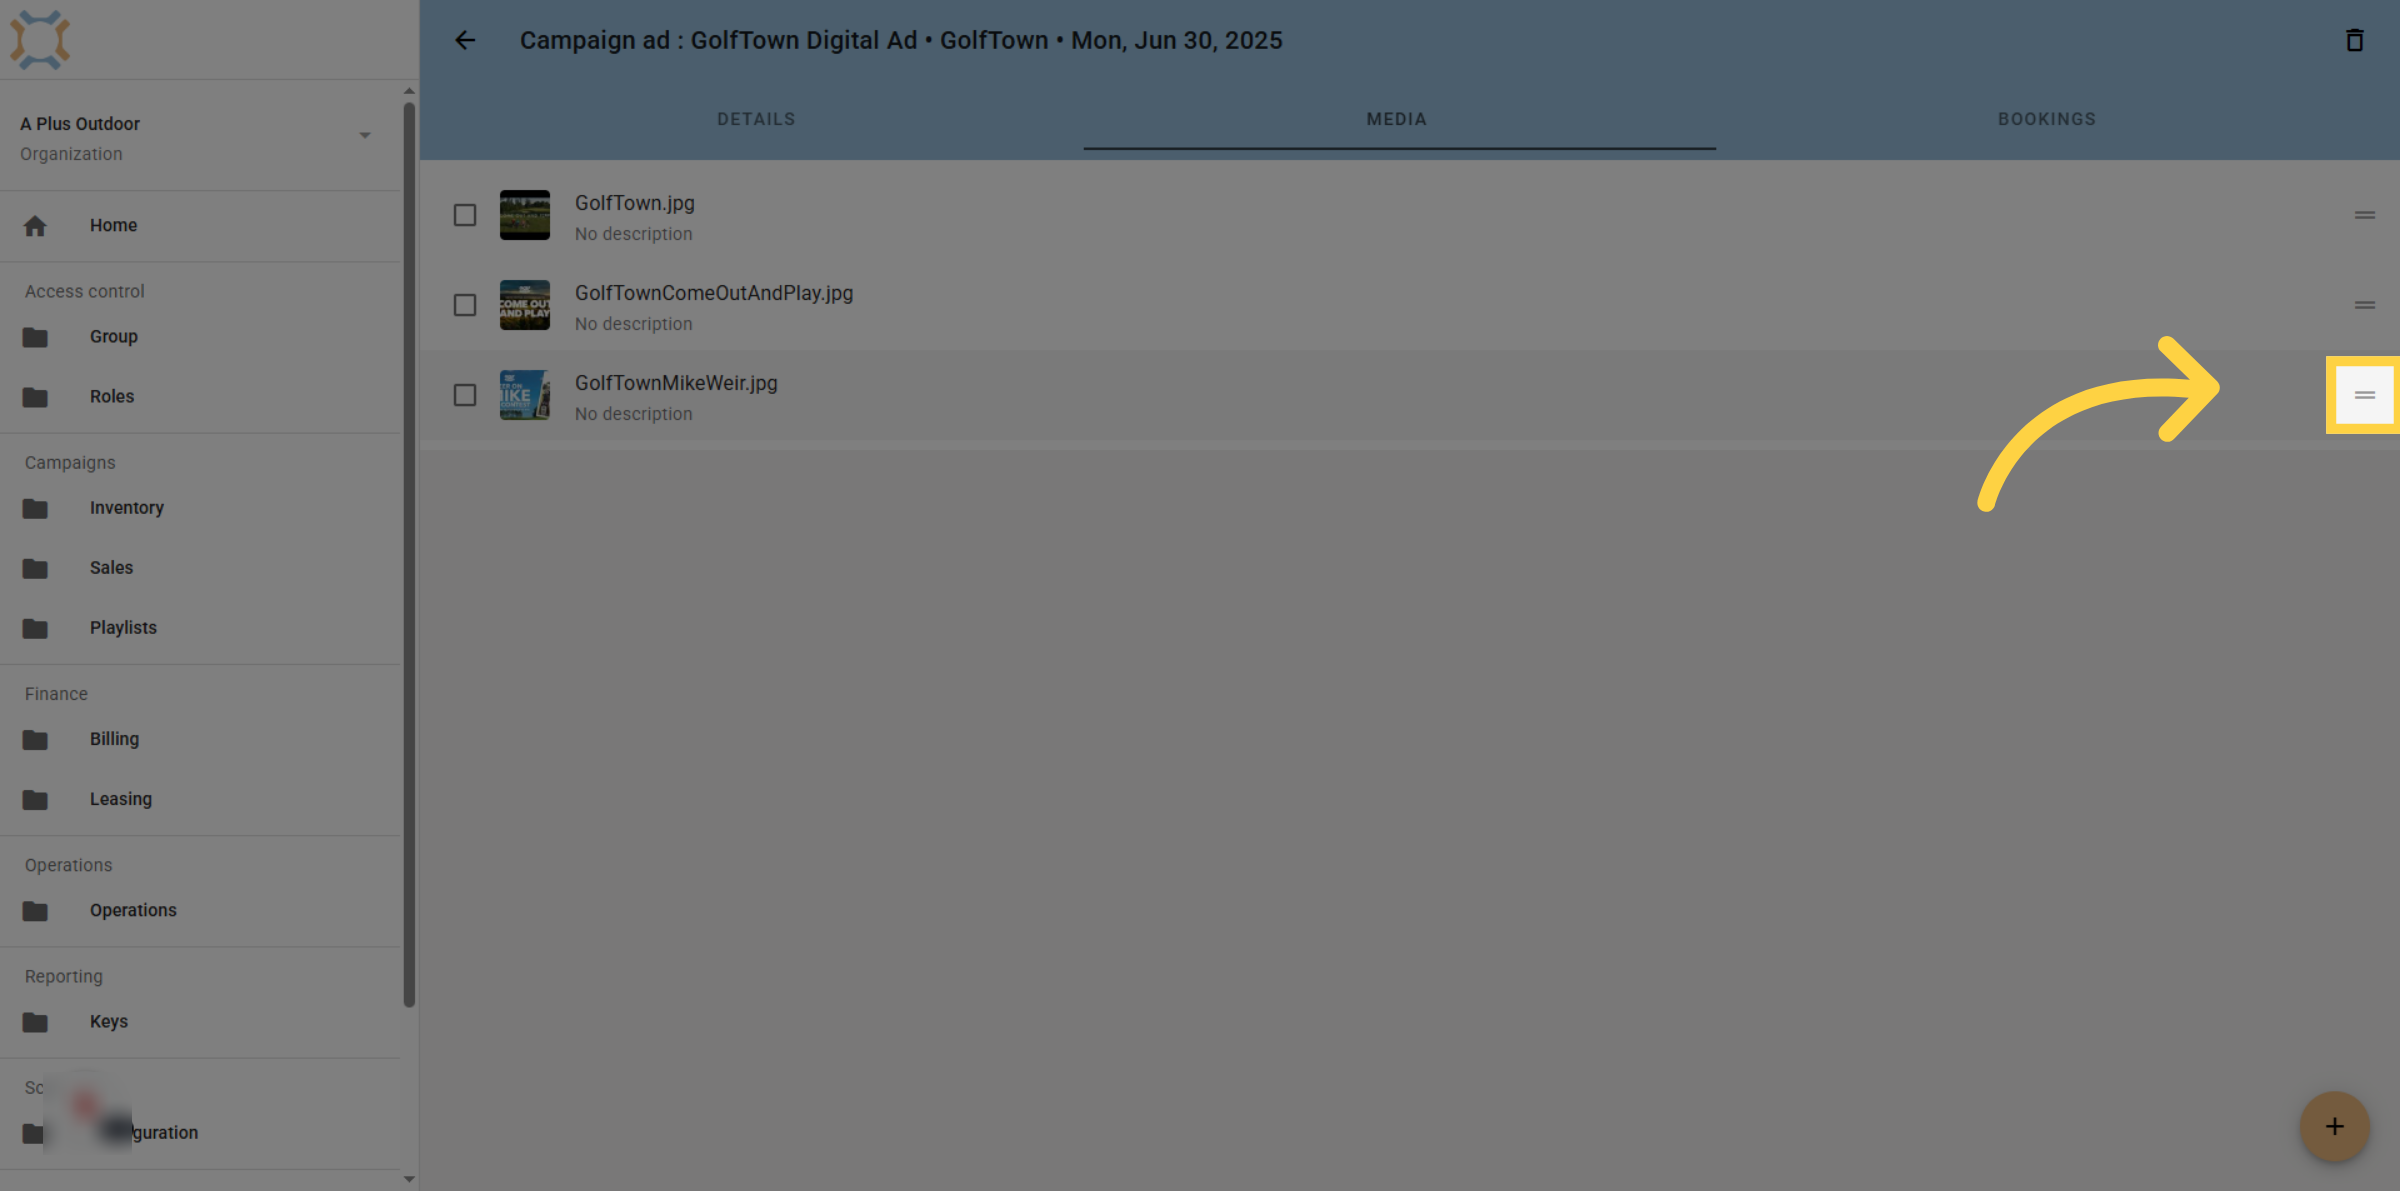
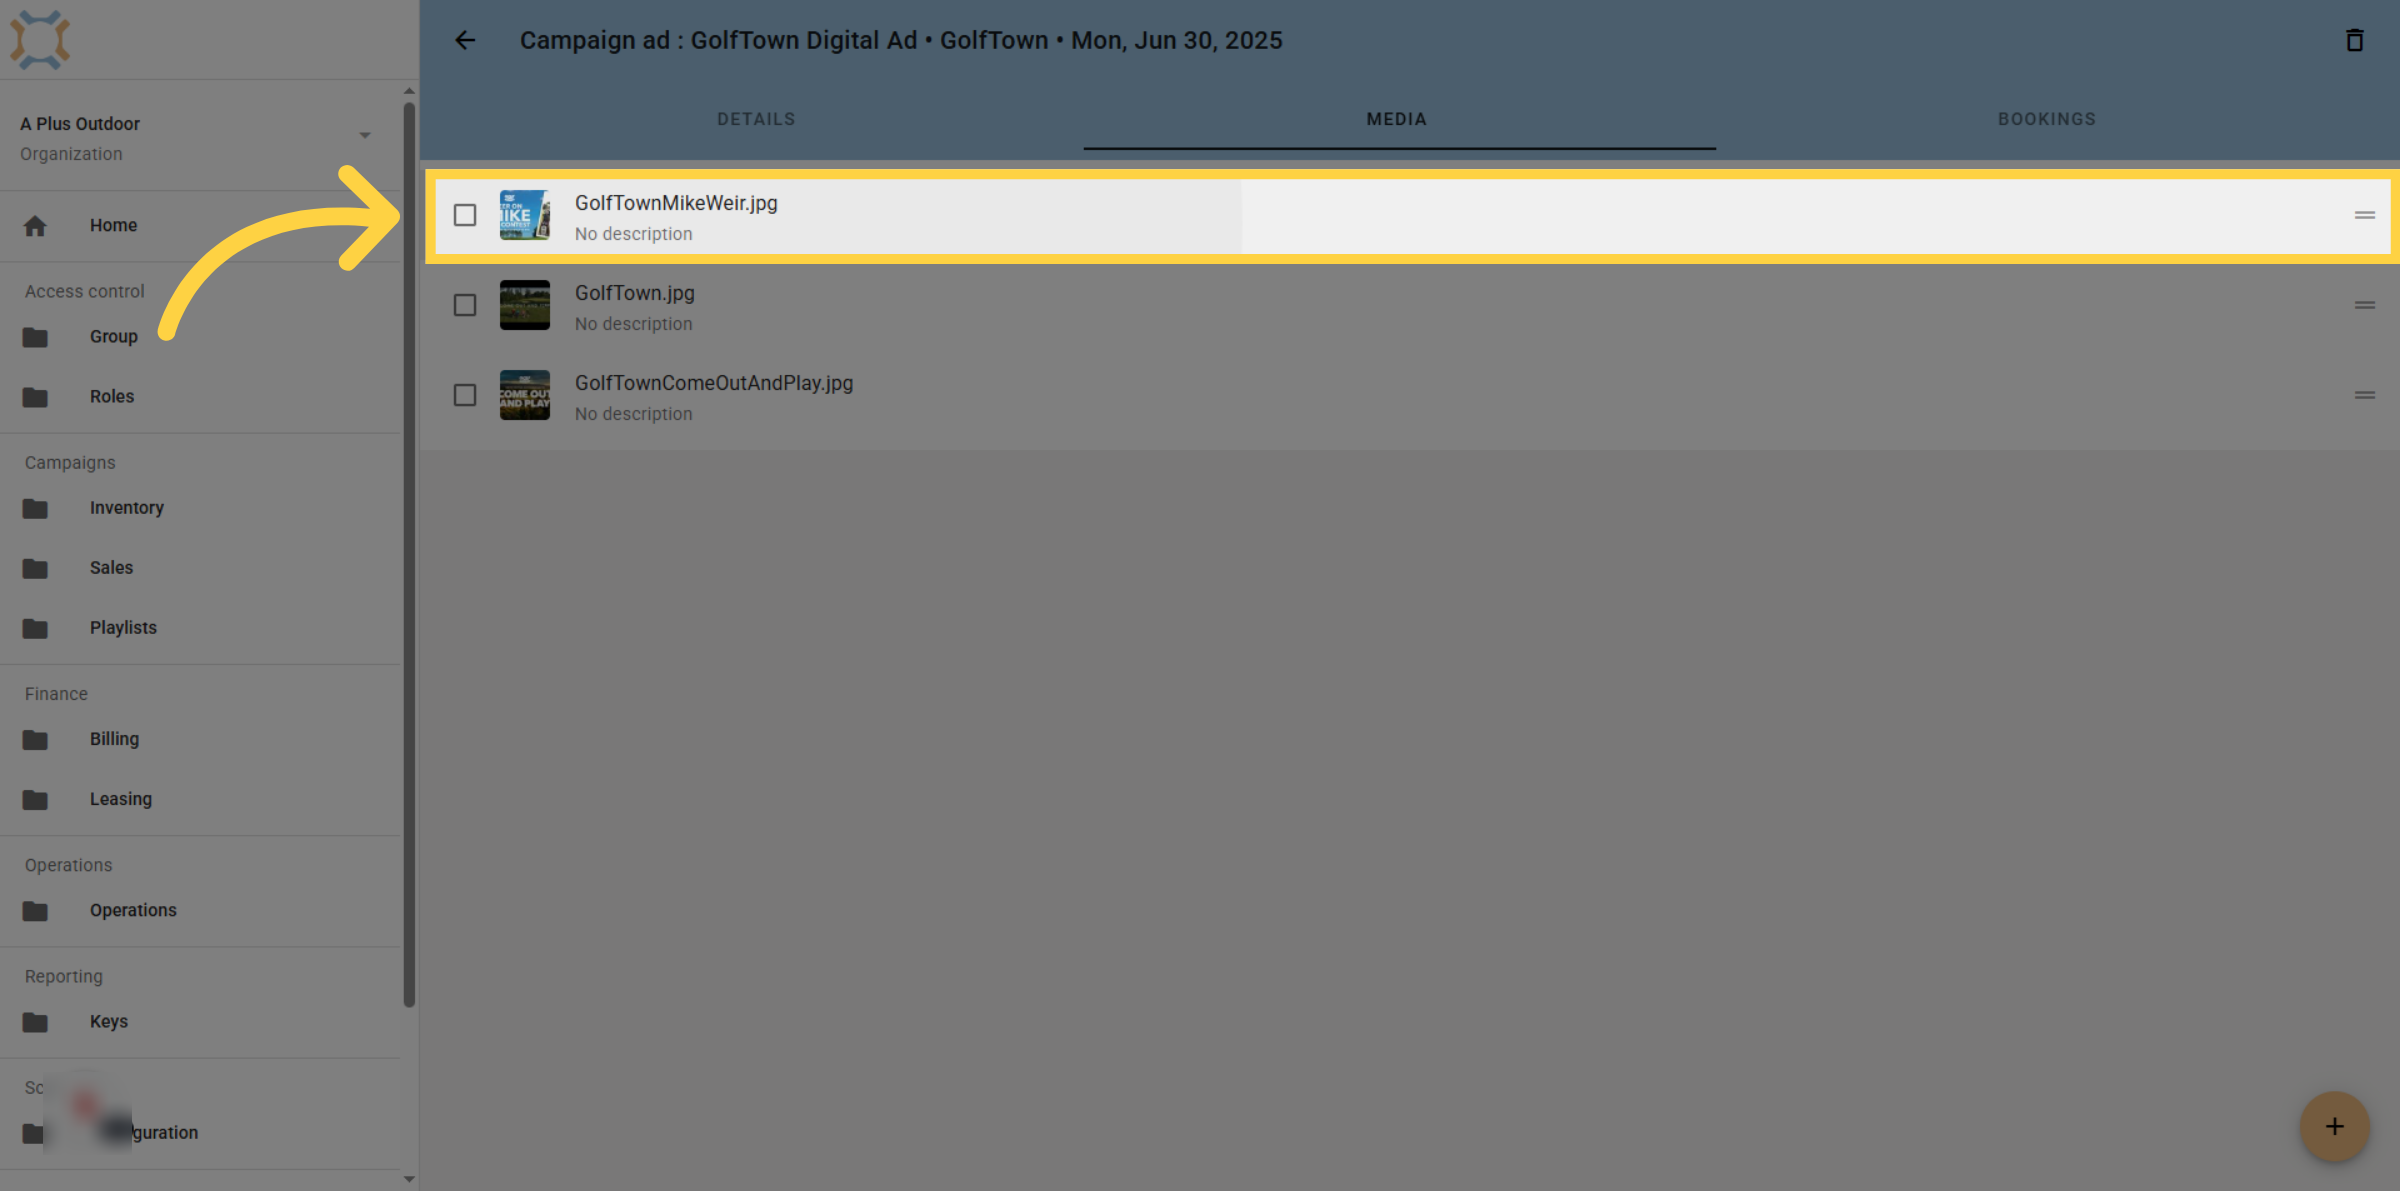
10. Change Order
You can change the order of media items by dragging the handles to the appropriate positions. During playback, the system loops through the media content, displaying one item at a time. Each time the loop runs, a different media item is shown. The order in which the content plays is based on how the items are arranged in the media library—top to bottom.
11. Click a media item to add a schedule
You can also set individual media items to play on certain days and certain times of day. Click on a media item to set its schedule
12. Click "edit"
Click on the "edit" field to change when an add is eligible to play
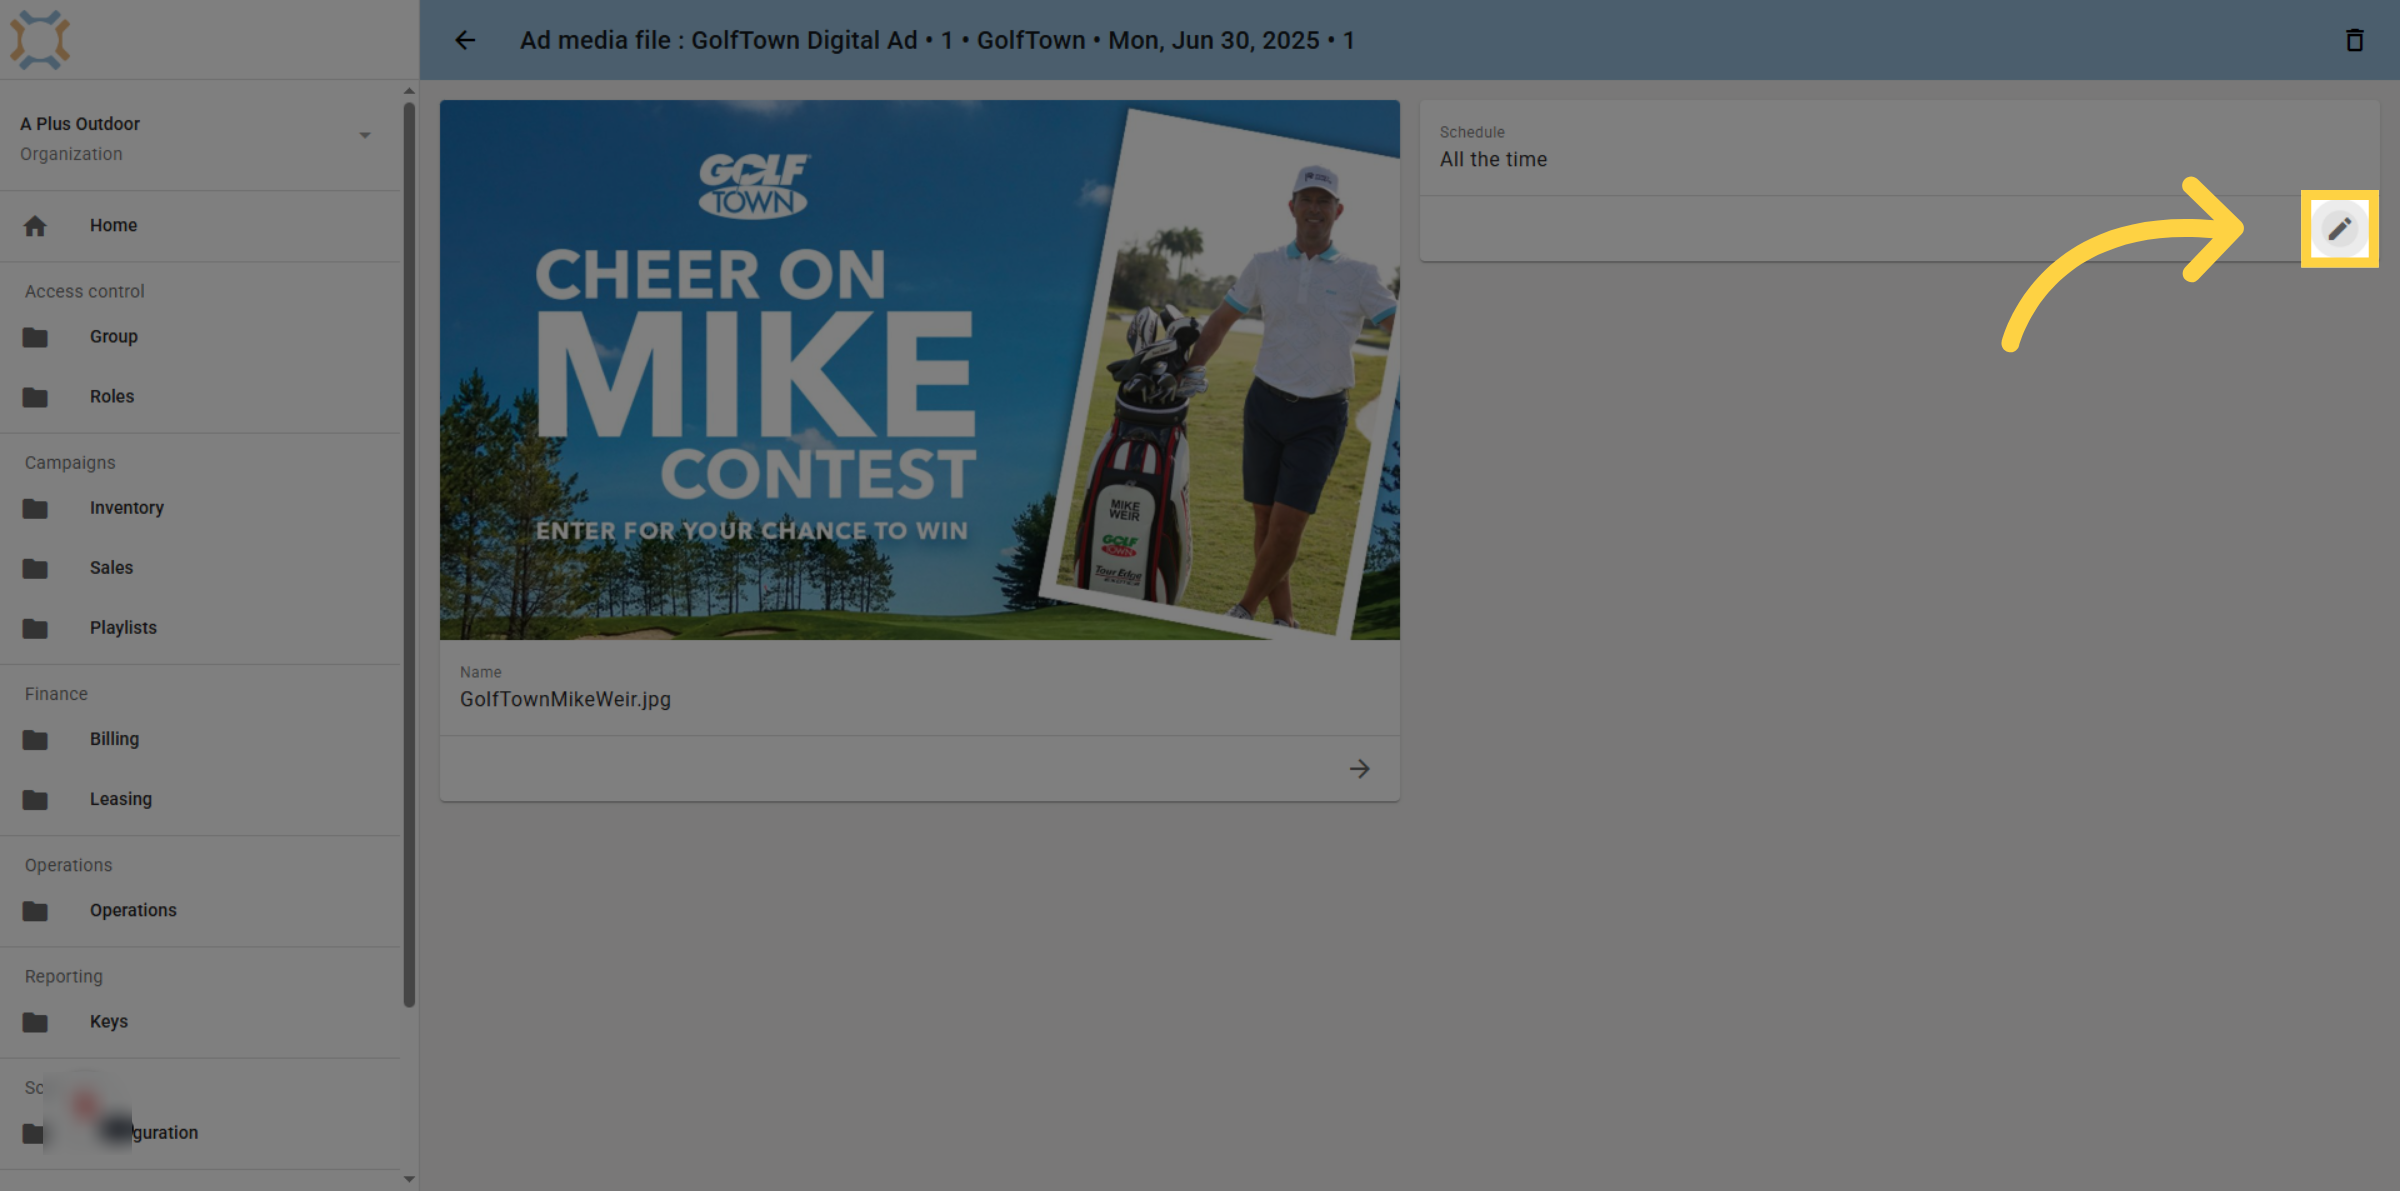
13. Choose Days of Week
Select the days of the week you wish to have this ad play. The default is to play for all days.
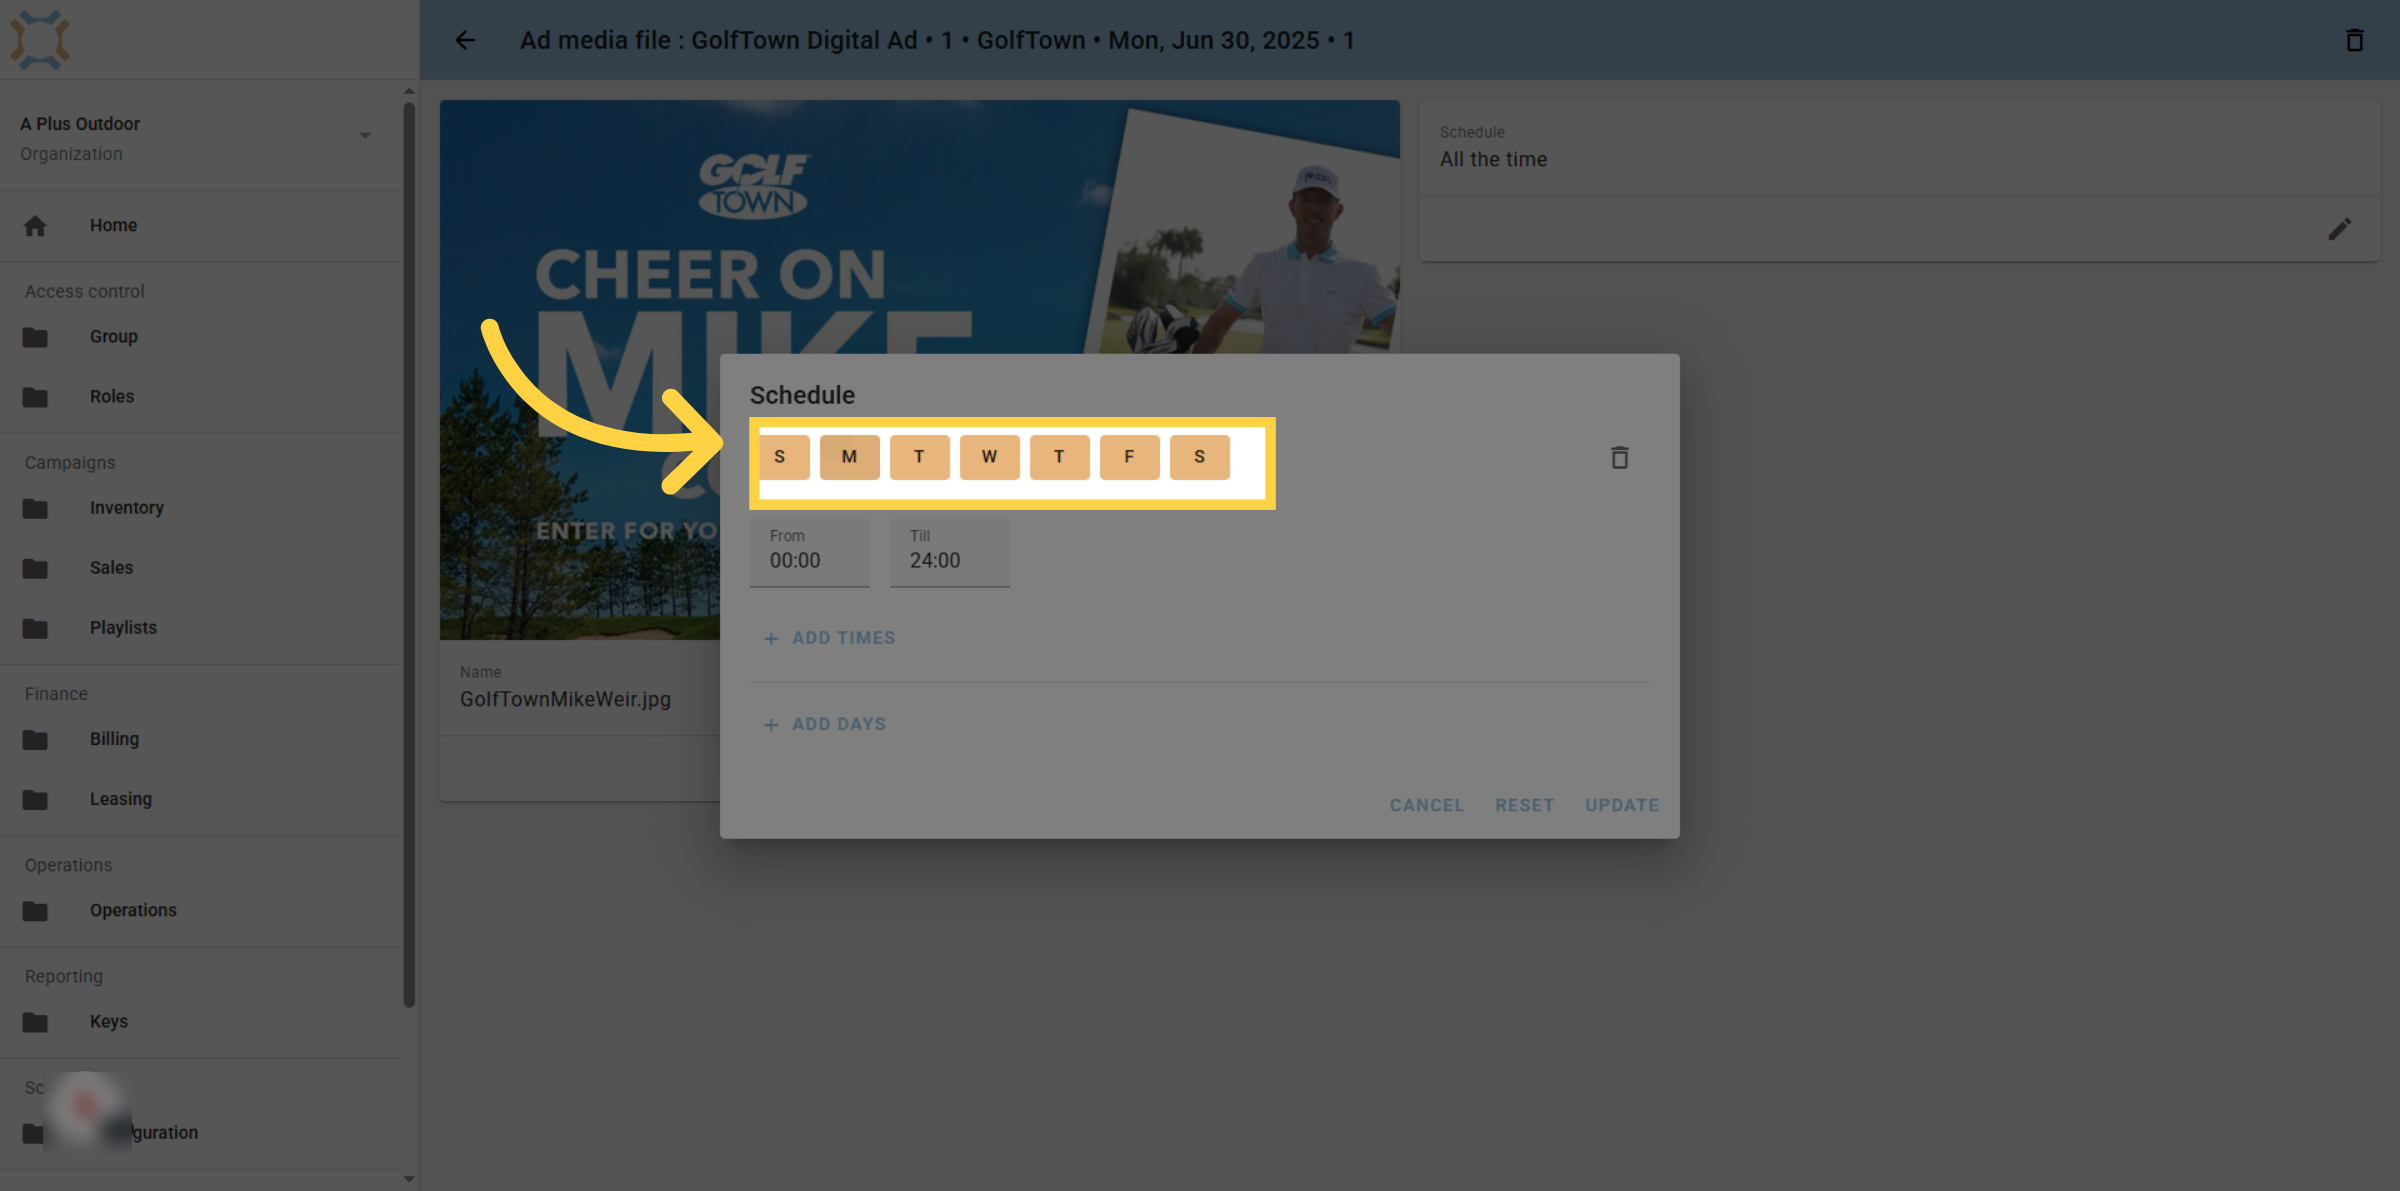
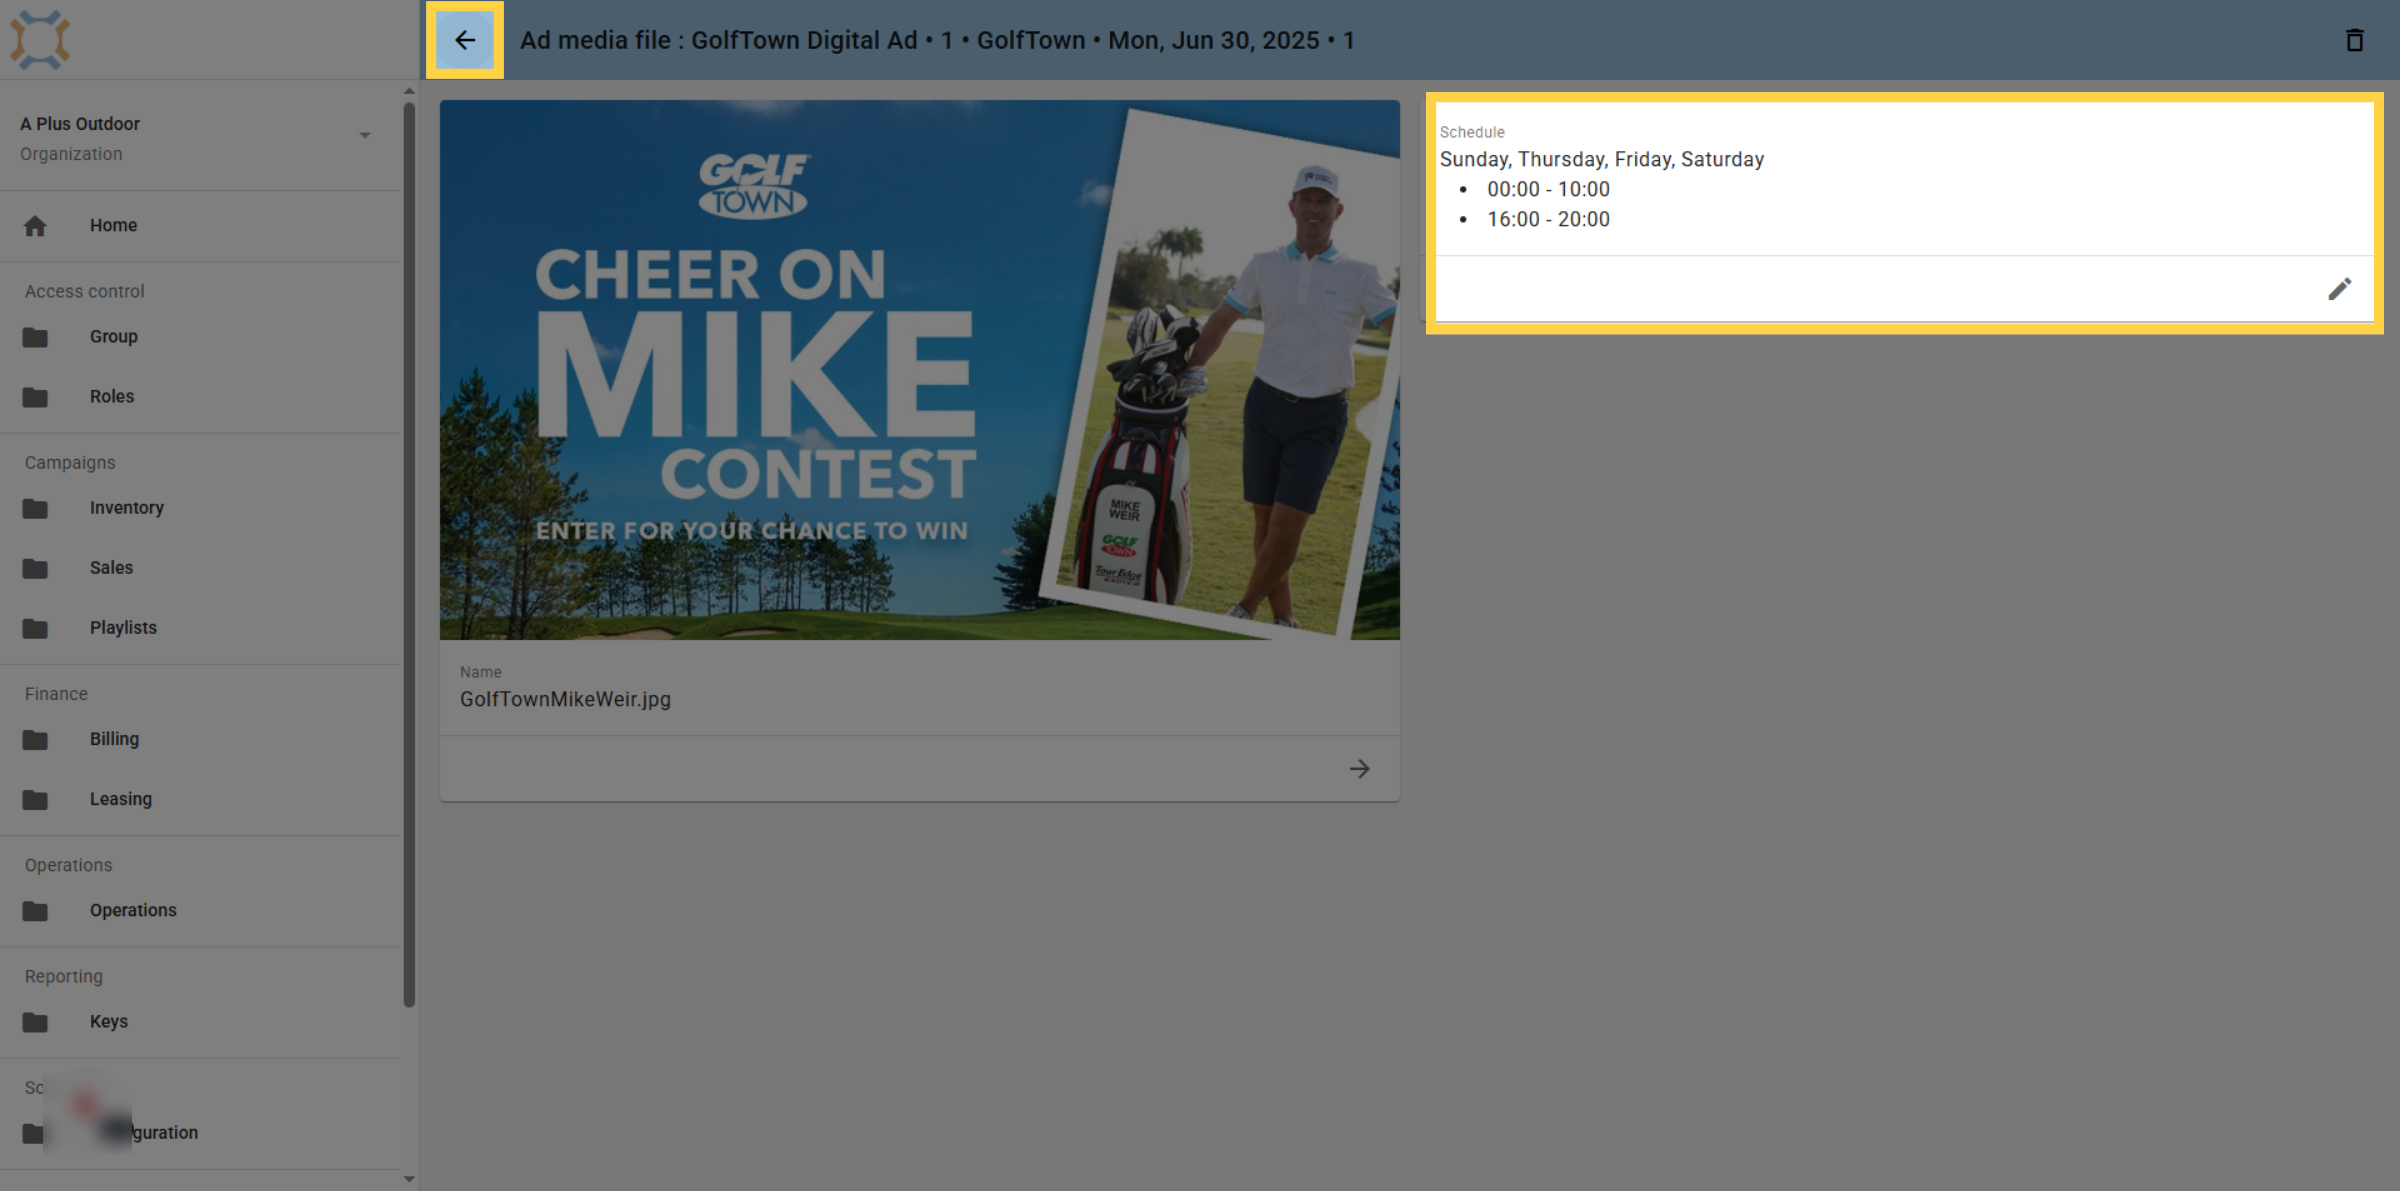
14. Example
In this example, the media item will only play on Sunday, Thursday, Friday and Saturday.
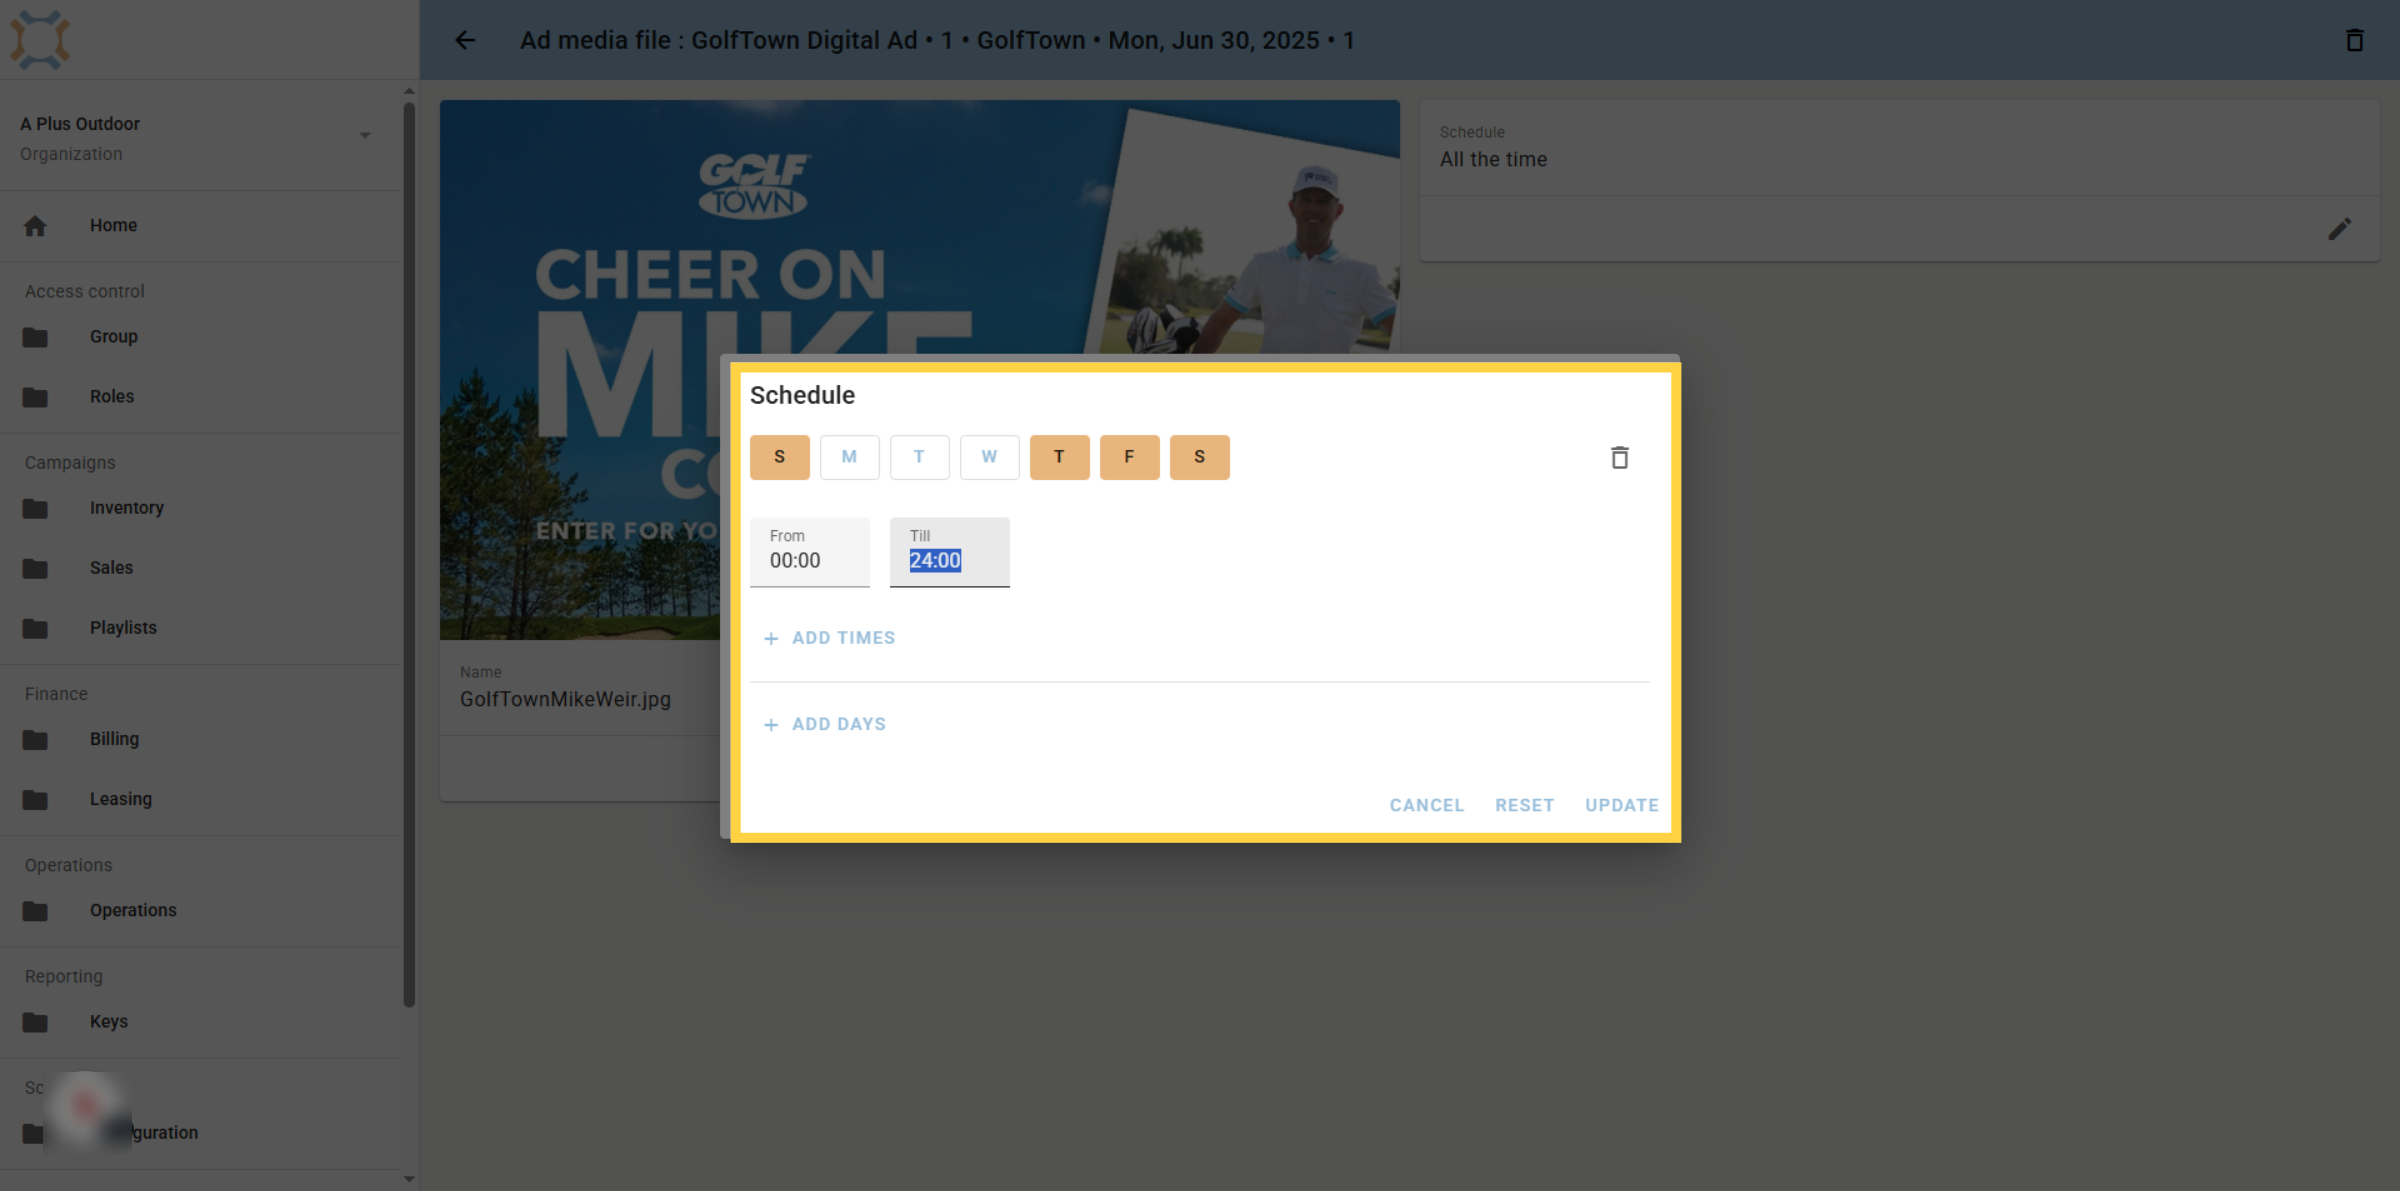
15. Choose Times of Day
You can also enter the start time and end time that a media item can play. Please note that times are entered using a 24 hour clock.
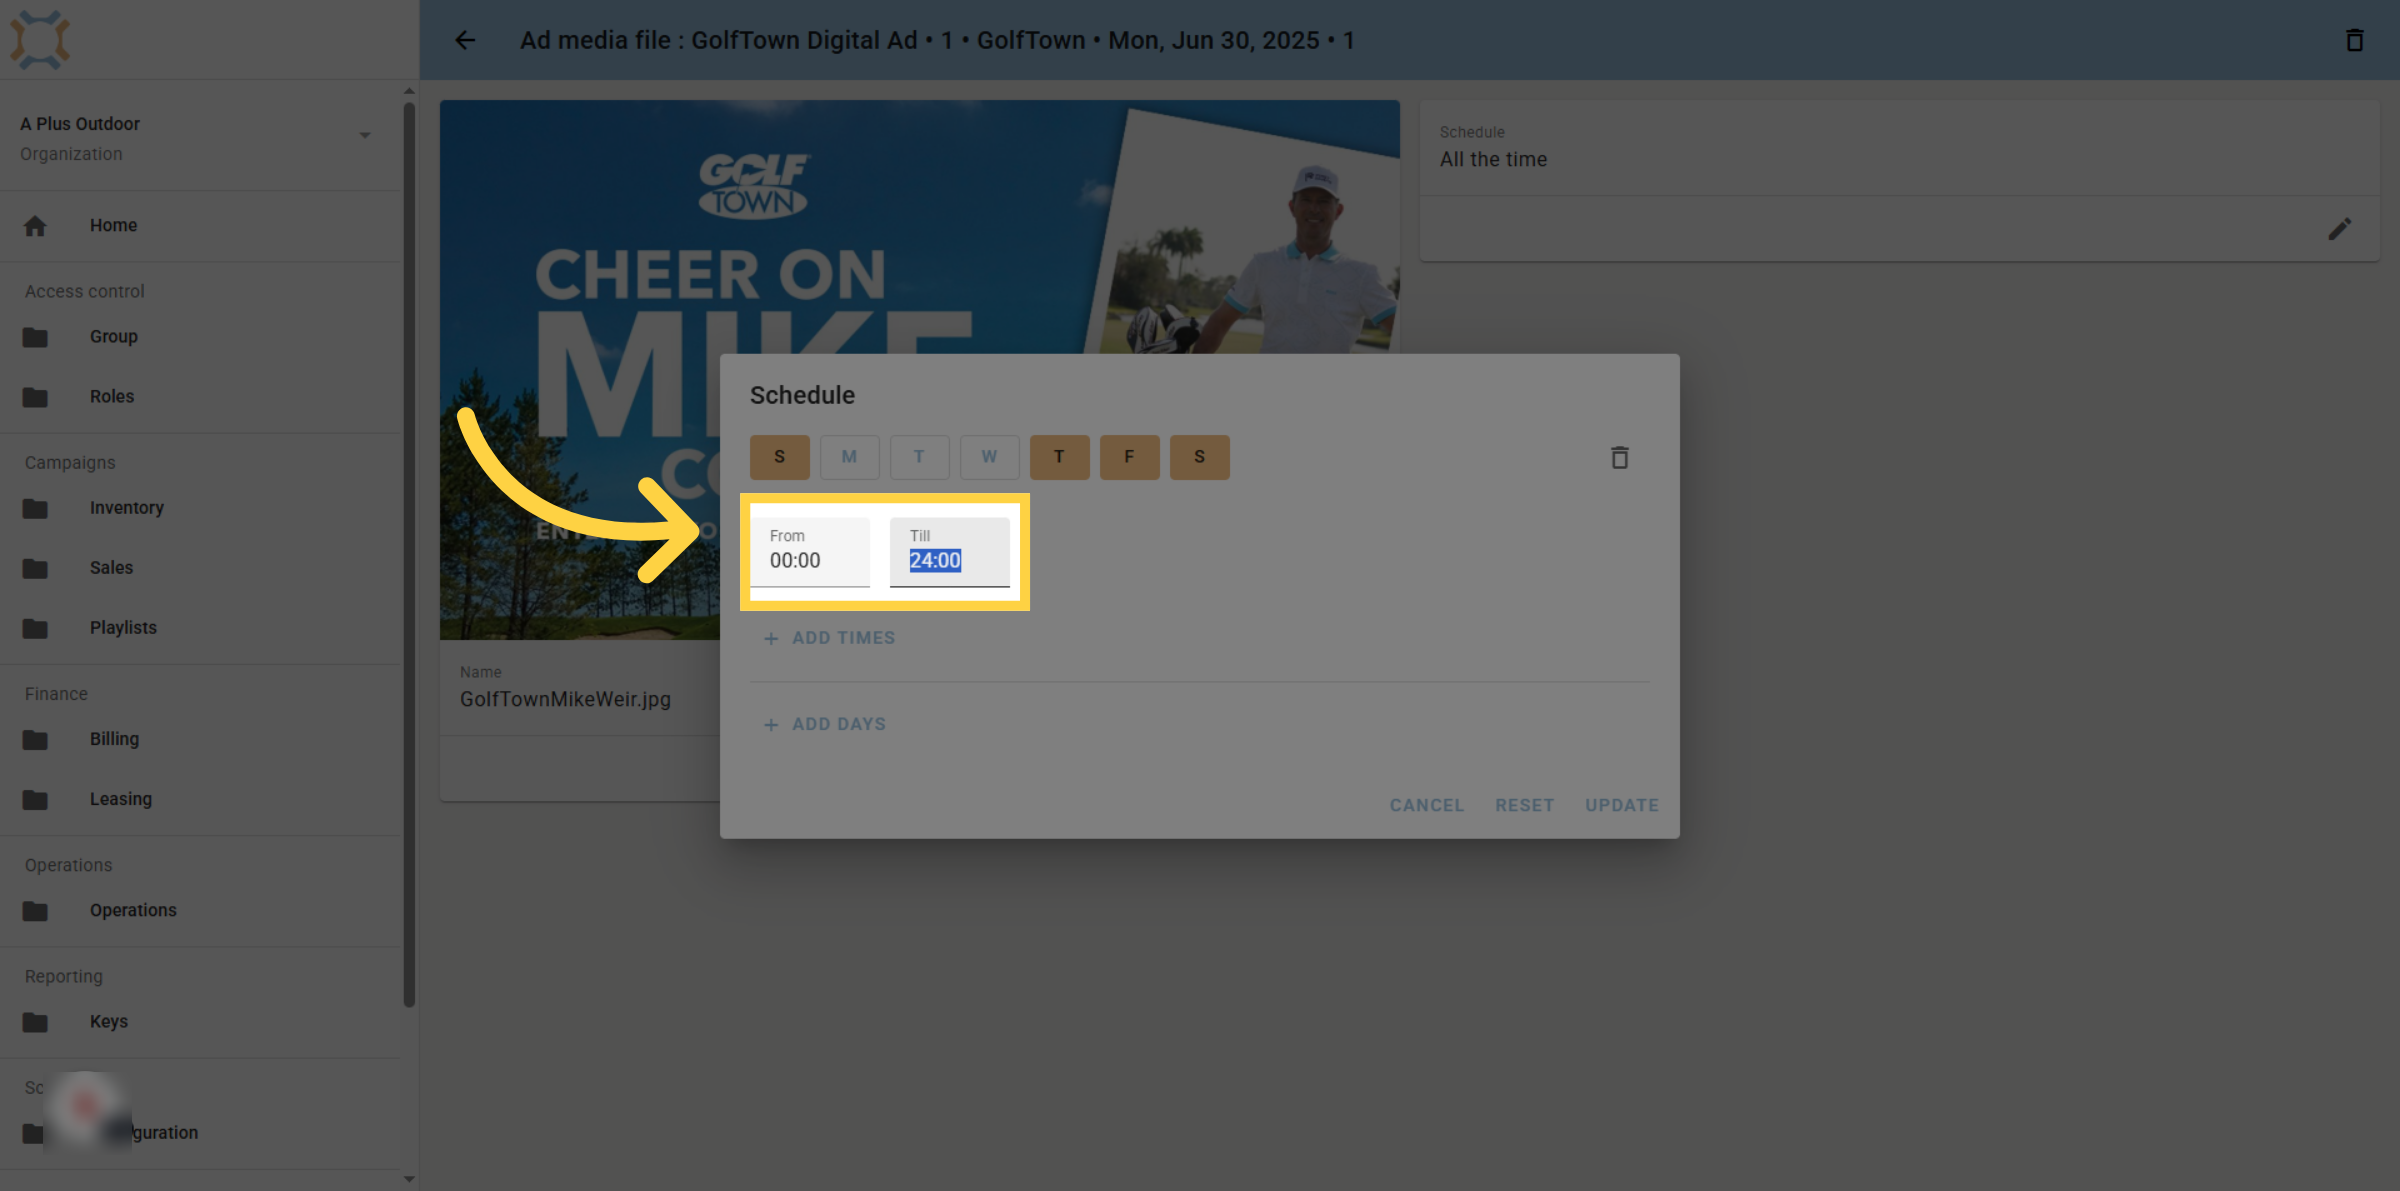
16. Add more times or days
You can add more time periods during the days selected, or more days with different time periods by using the Add Times and Add Days options.
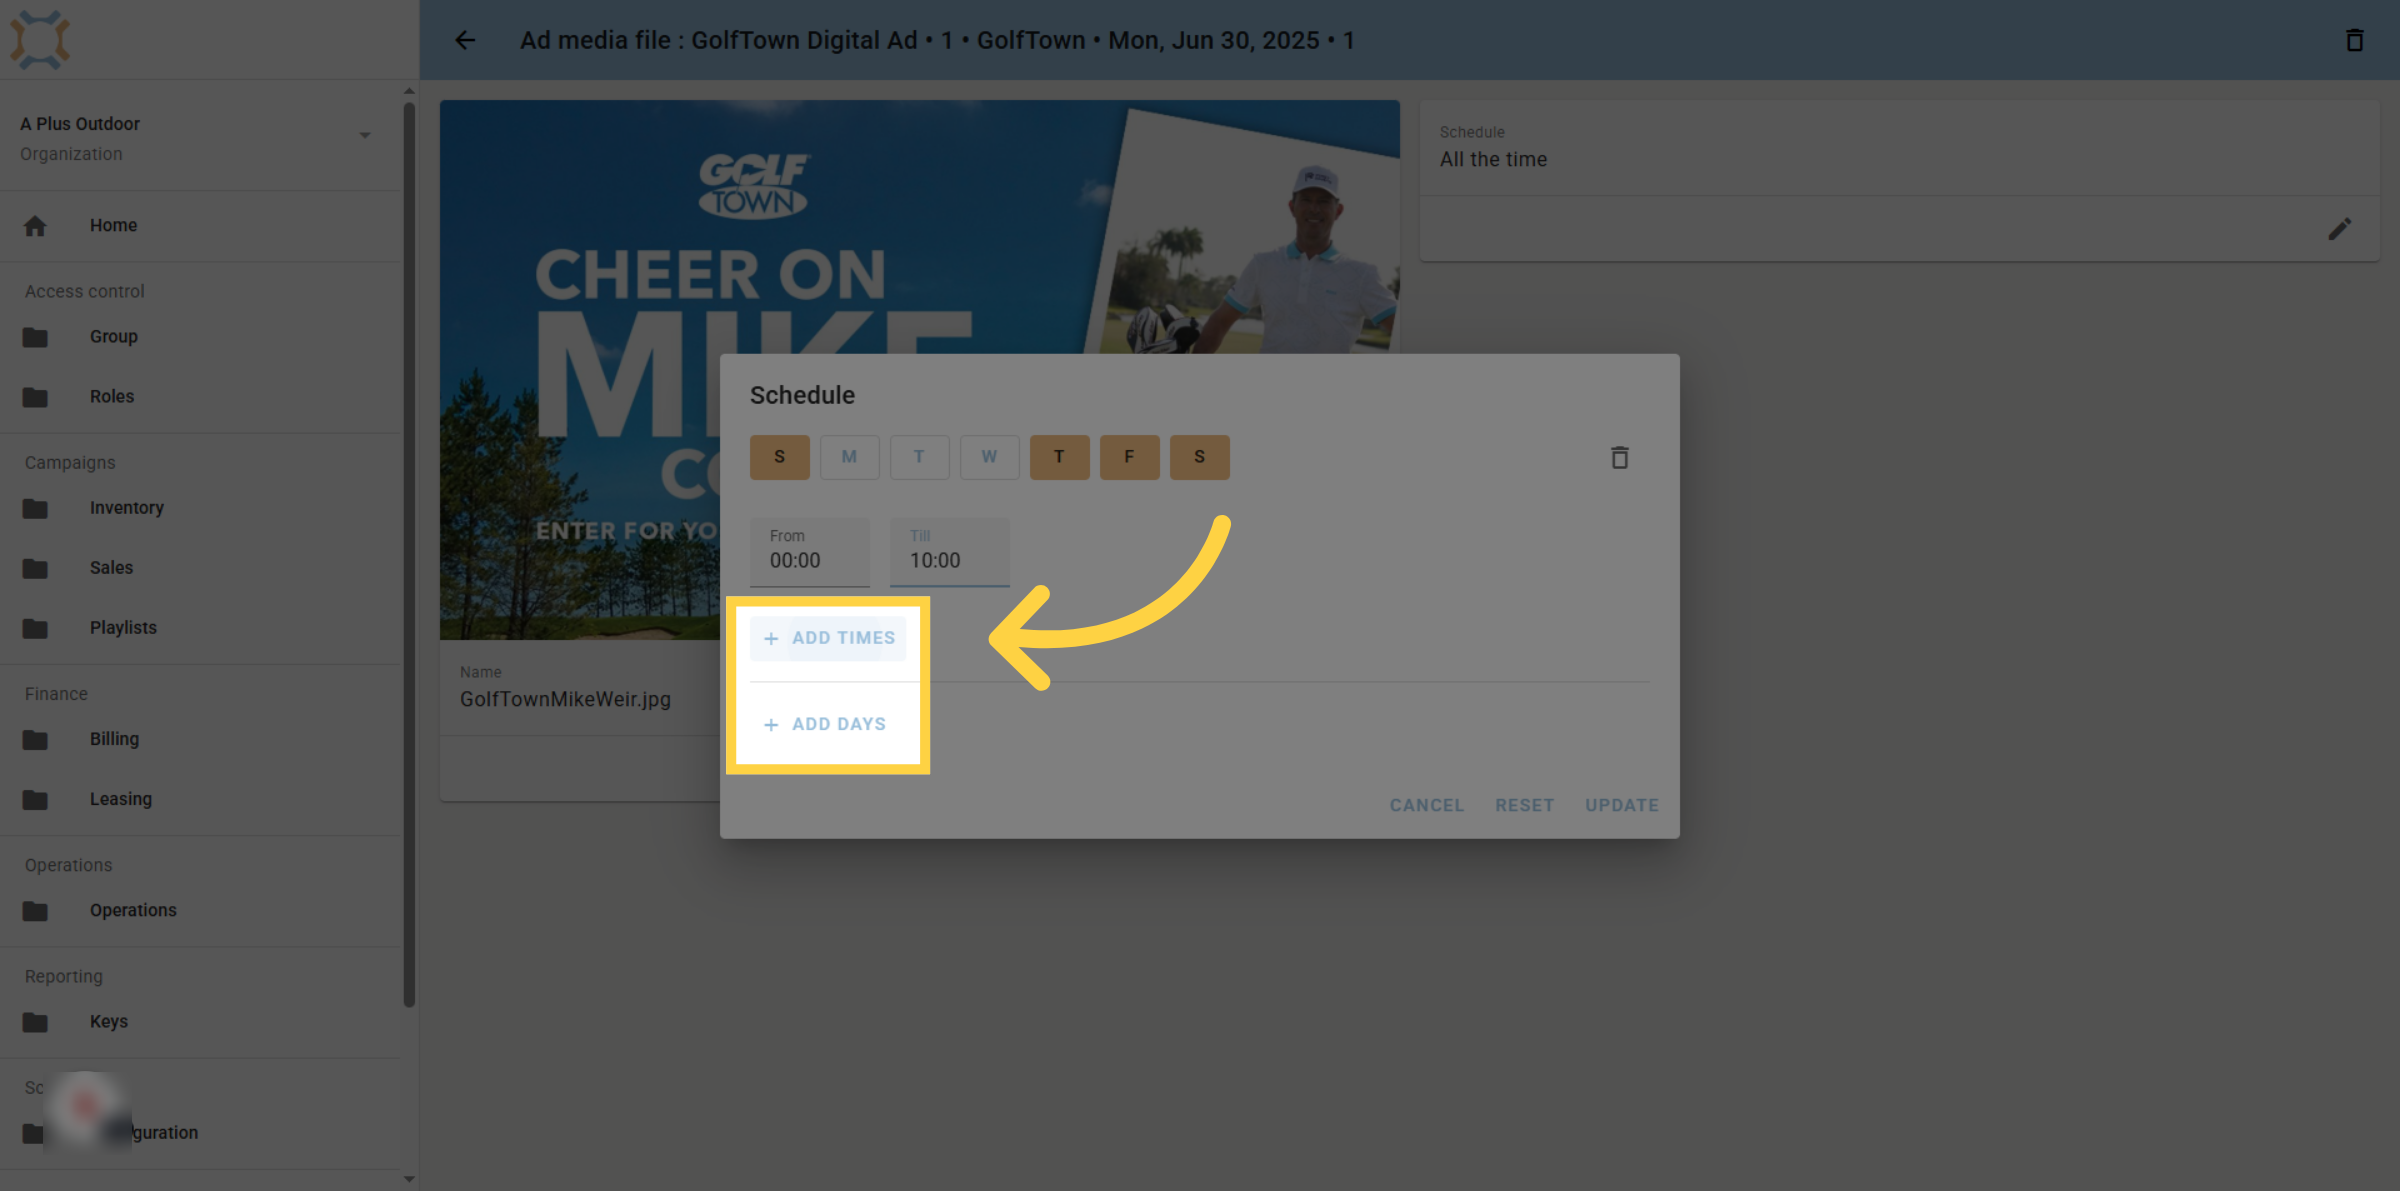
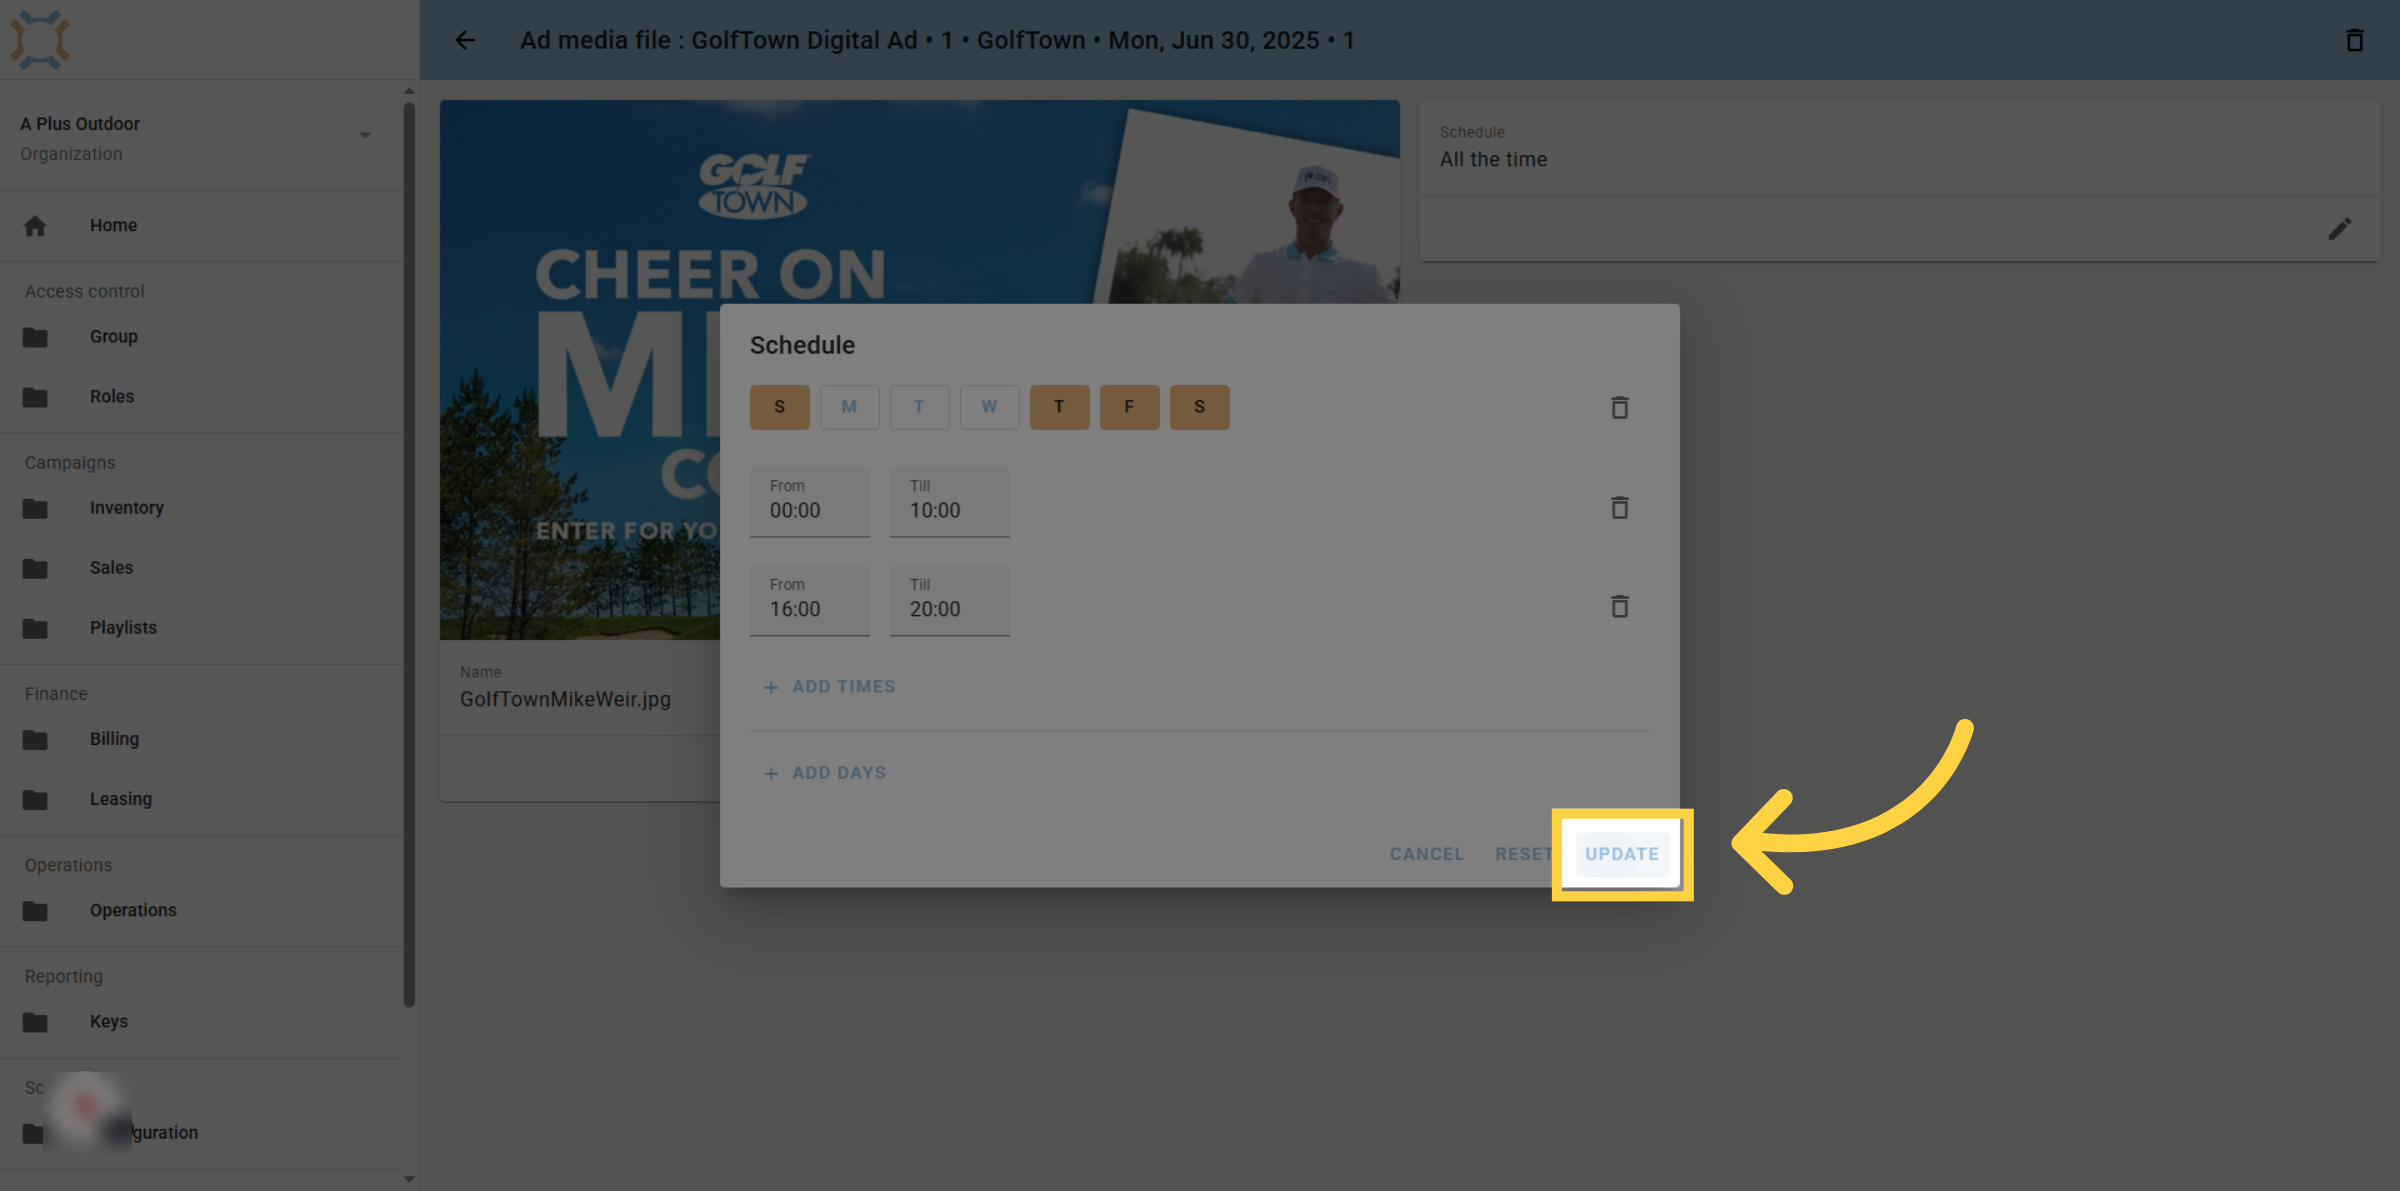
17. Click "update"
When you have finished setting the dates and times for a media item on this ad, click Update.
18. Check schedule and return
Check the schedule to make sure it accurately represents when you want this media item on the ad to play, and make any changes as appropriate. When done, click the back button to return to the ad.
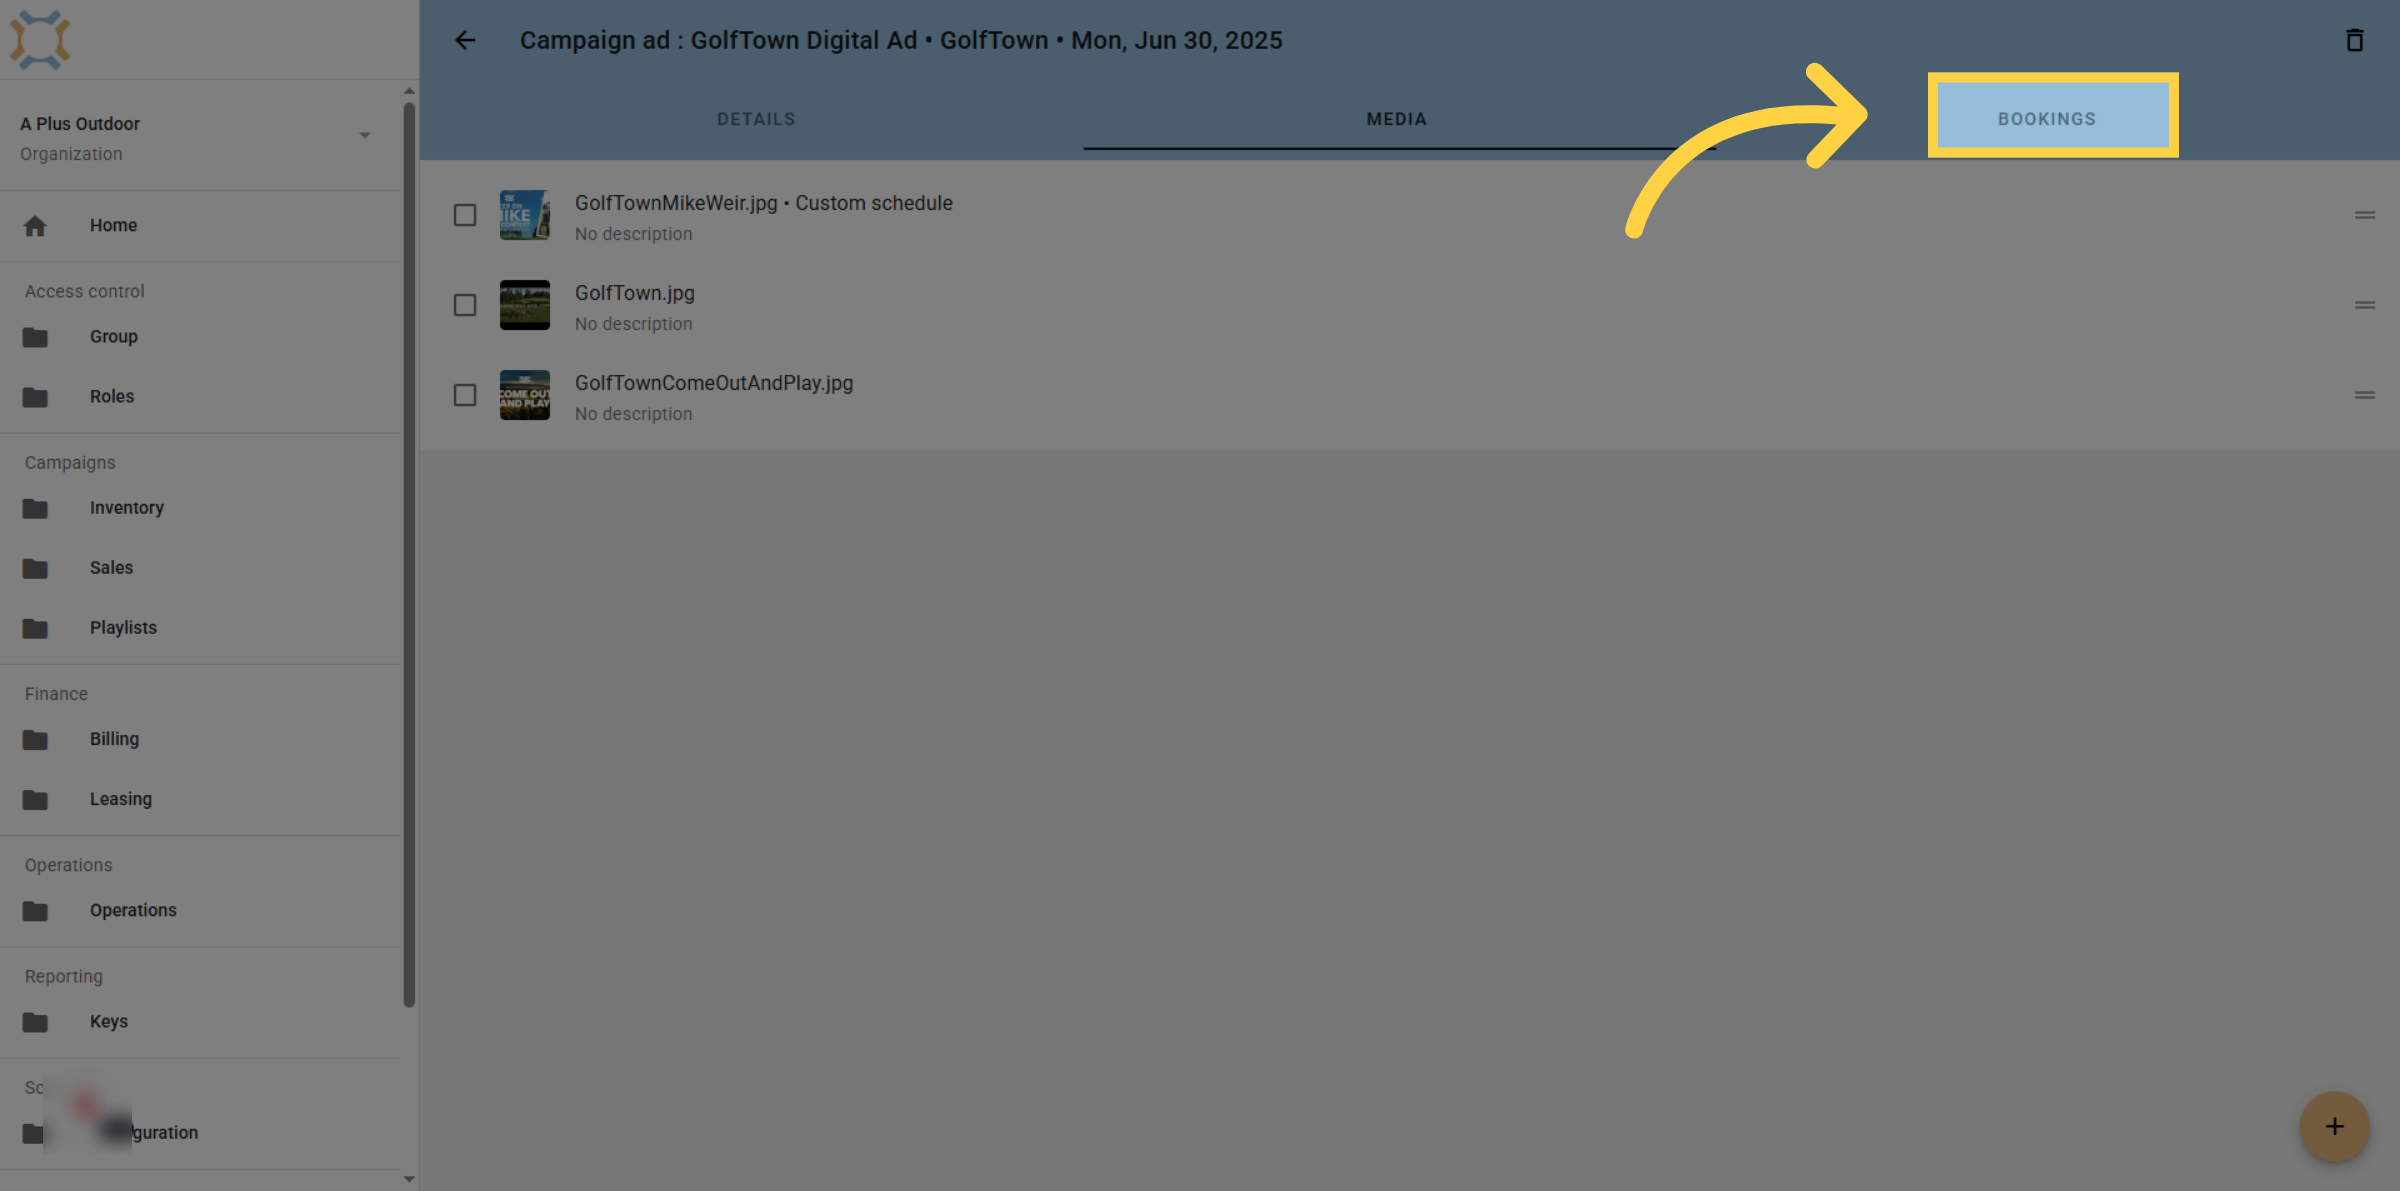
19. Click "bookings"
You can assign this ad to bookings by clicking on the bookings tab
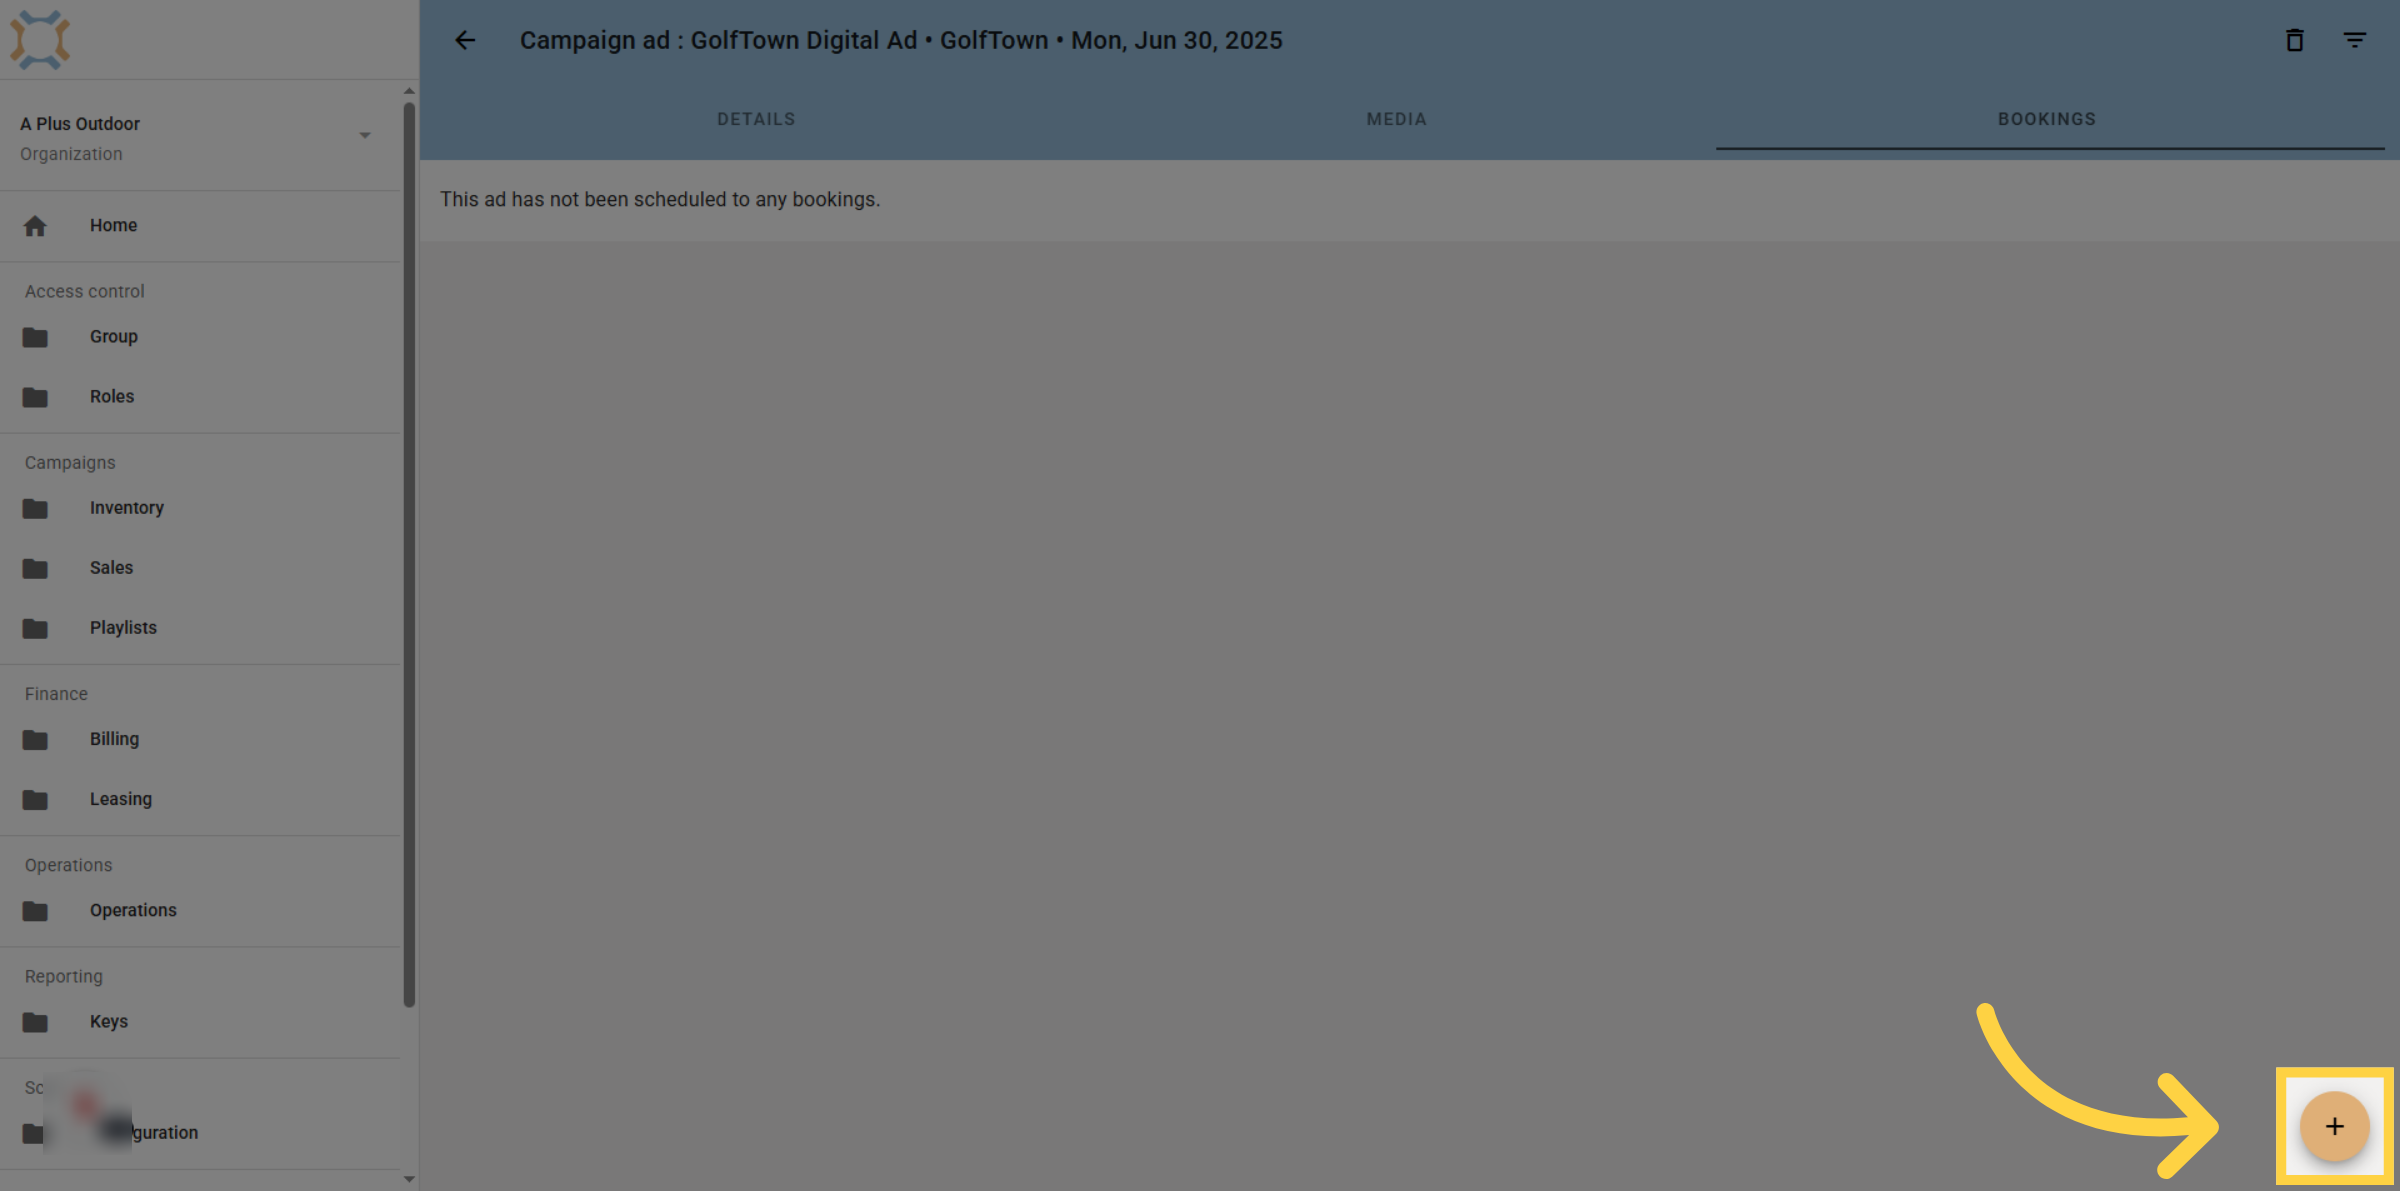
20. Click "add"
Click on "add" to select a booking.
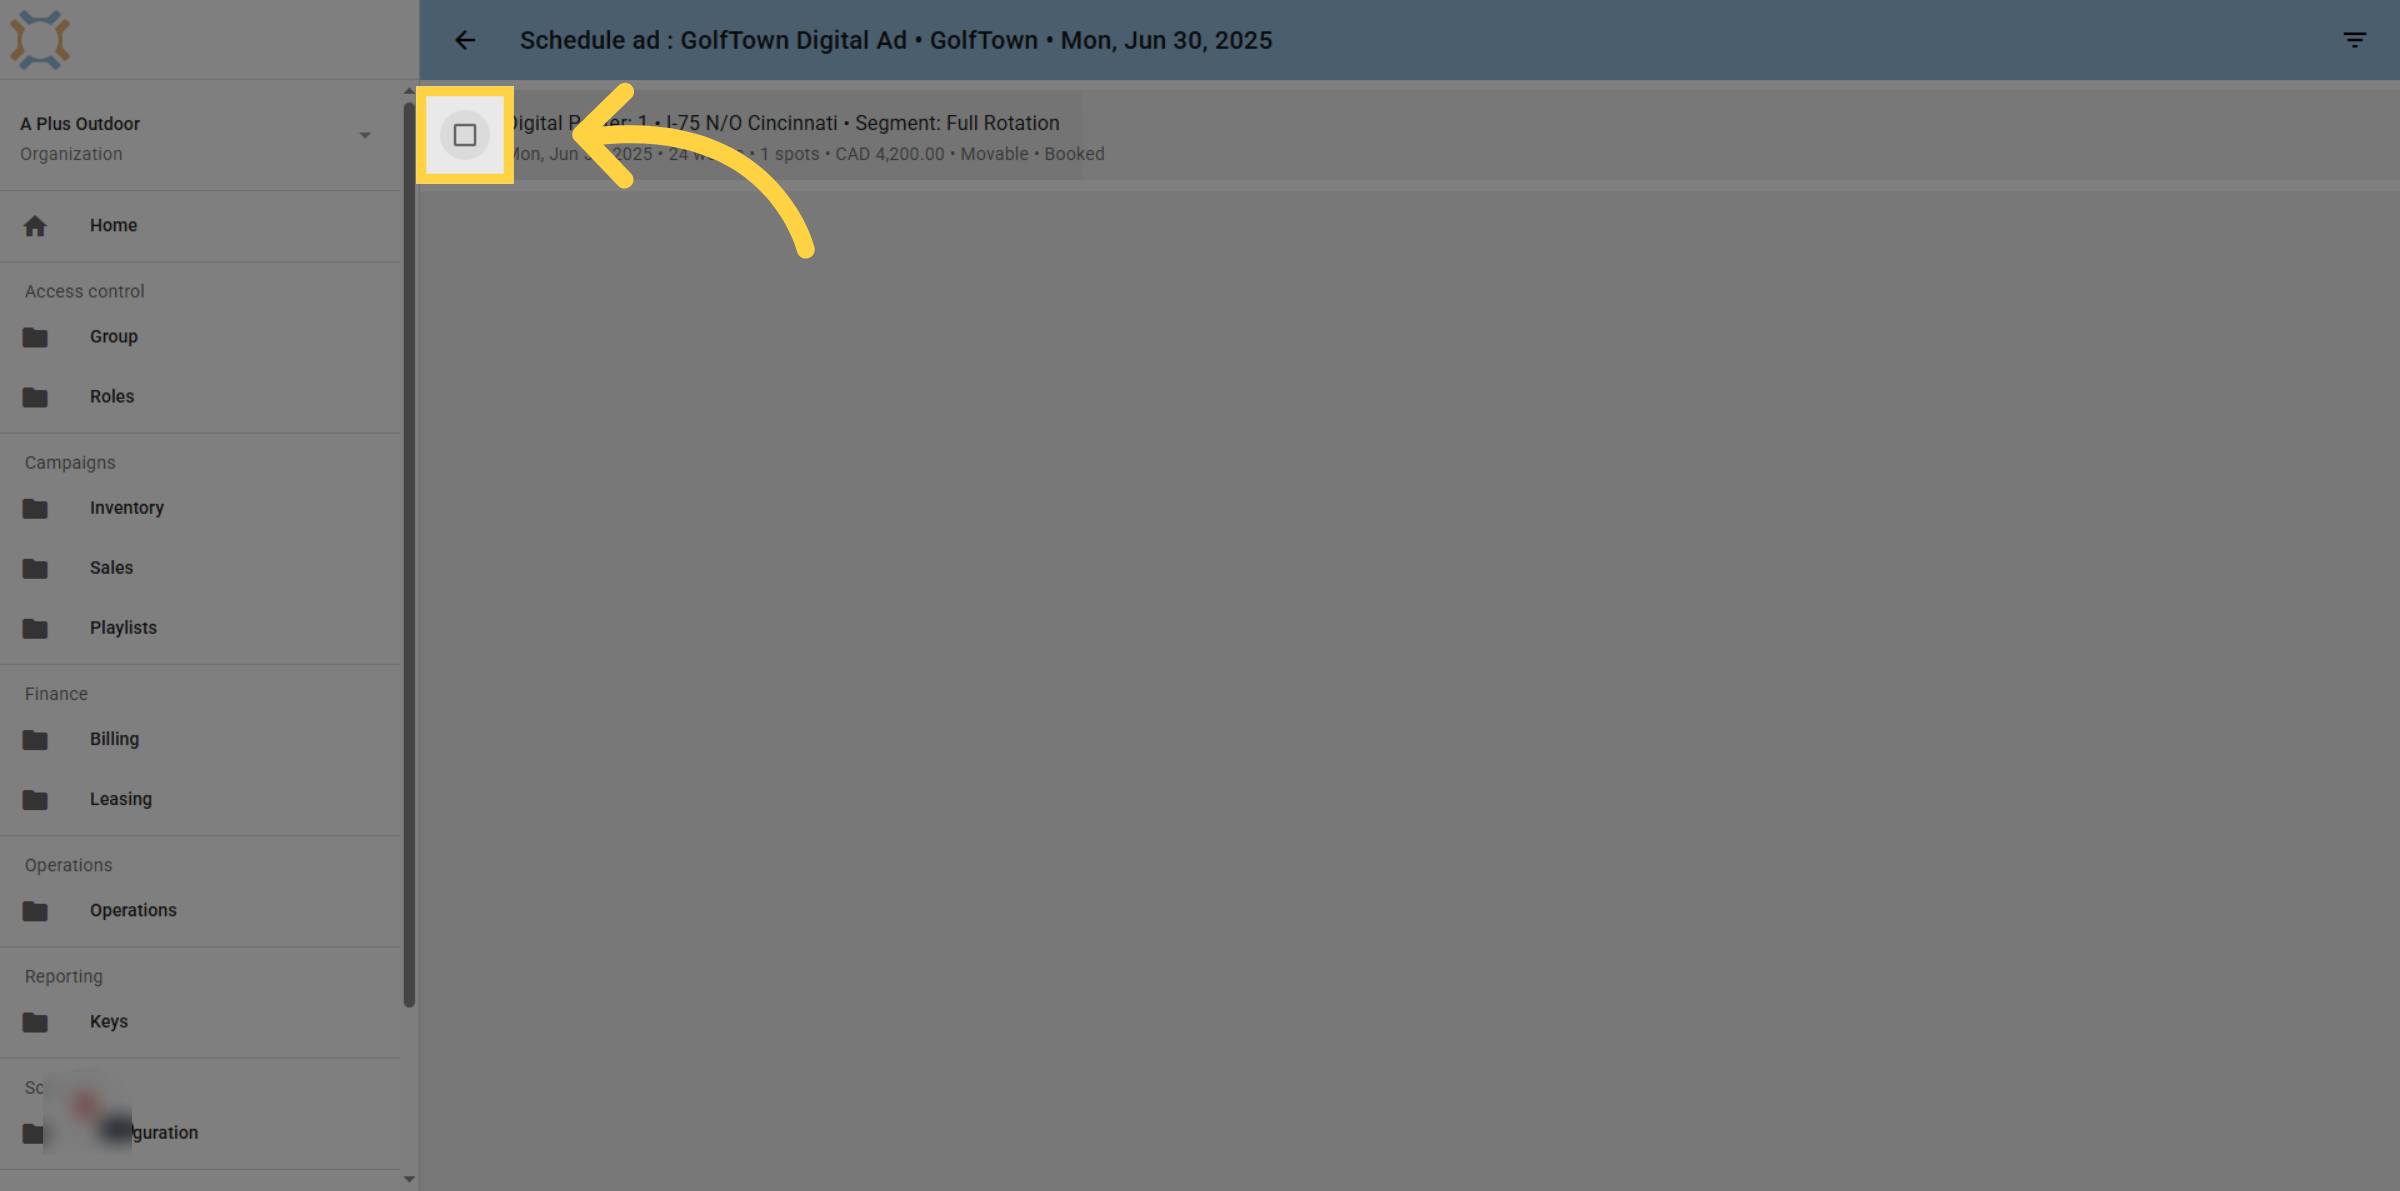
21. Click "on"
Select the bookings to add by clicking on the check box.
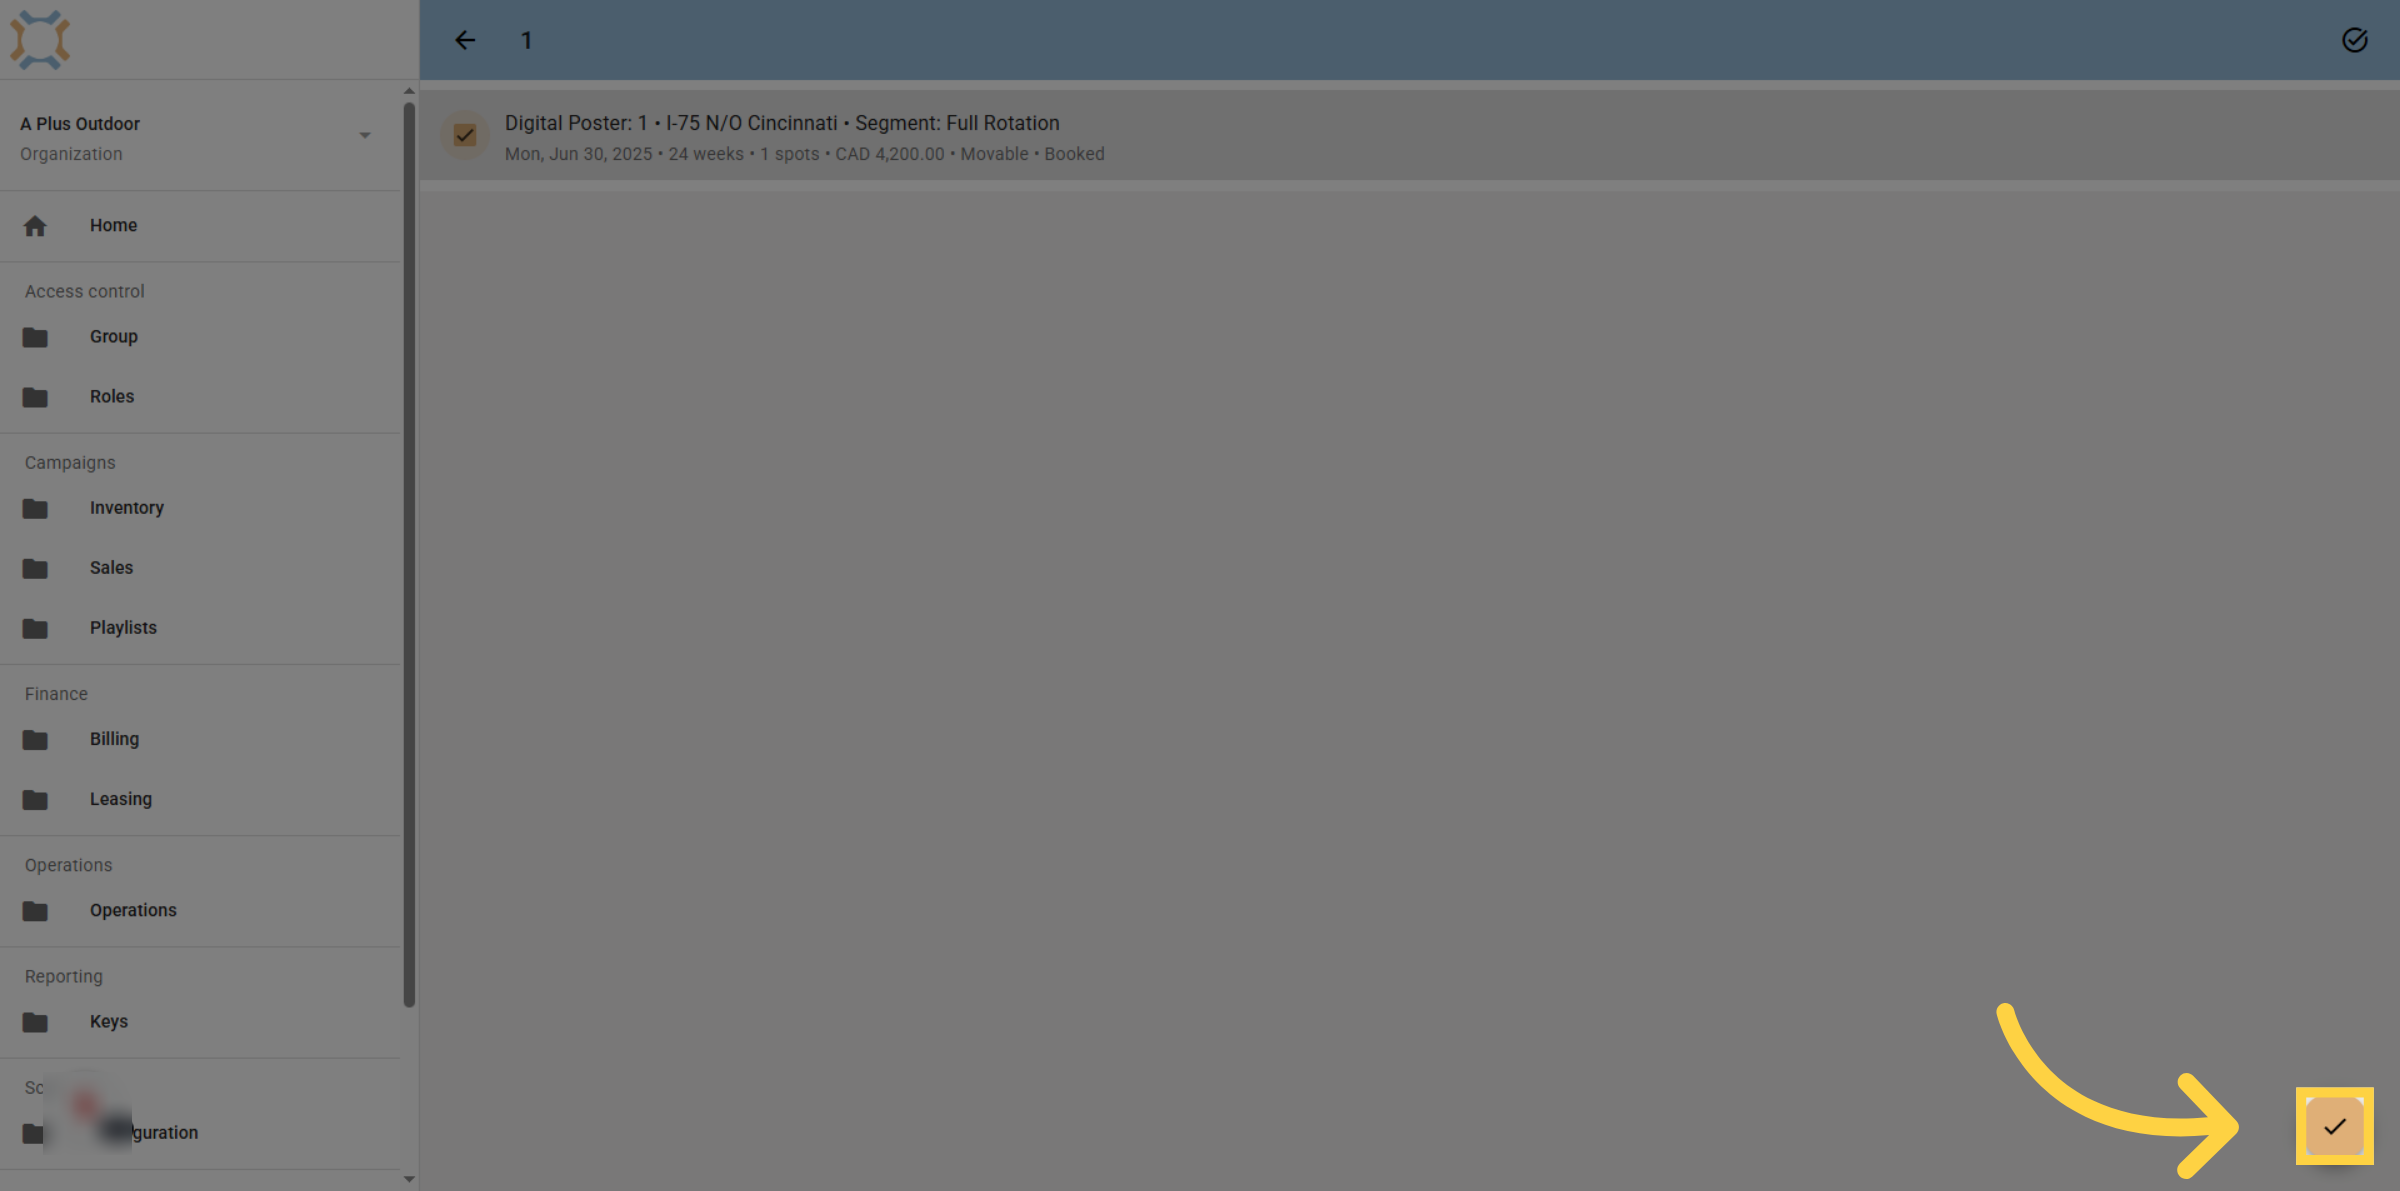
22. Click "done"
When you have finished identifying bookings for this ad, click done.
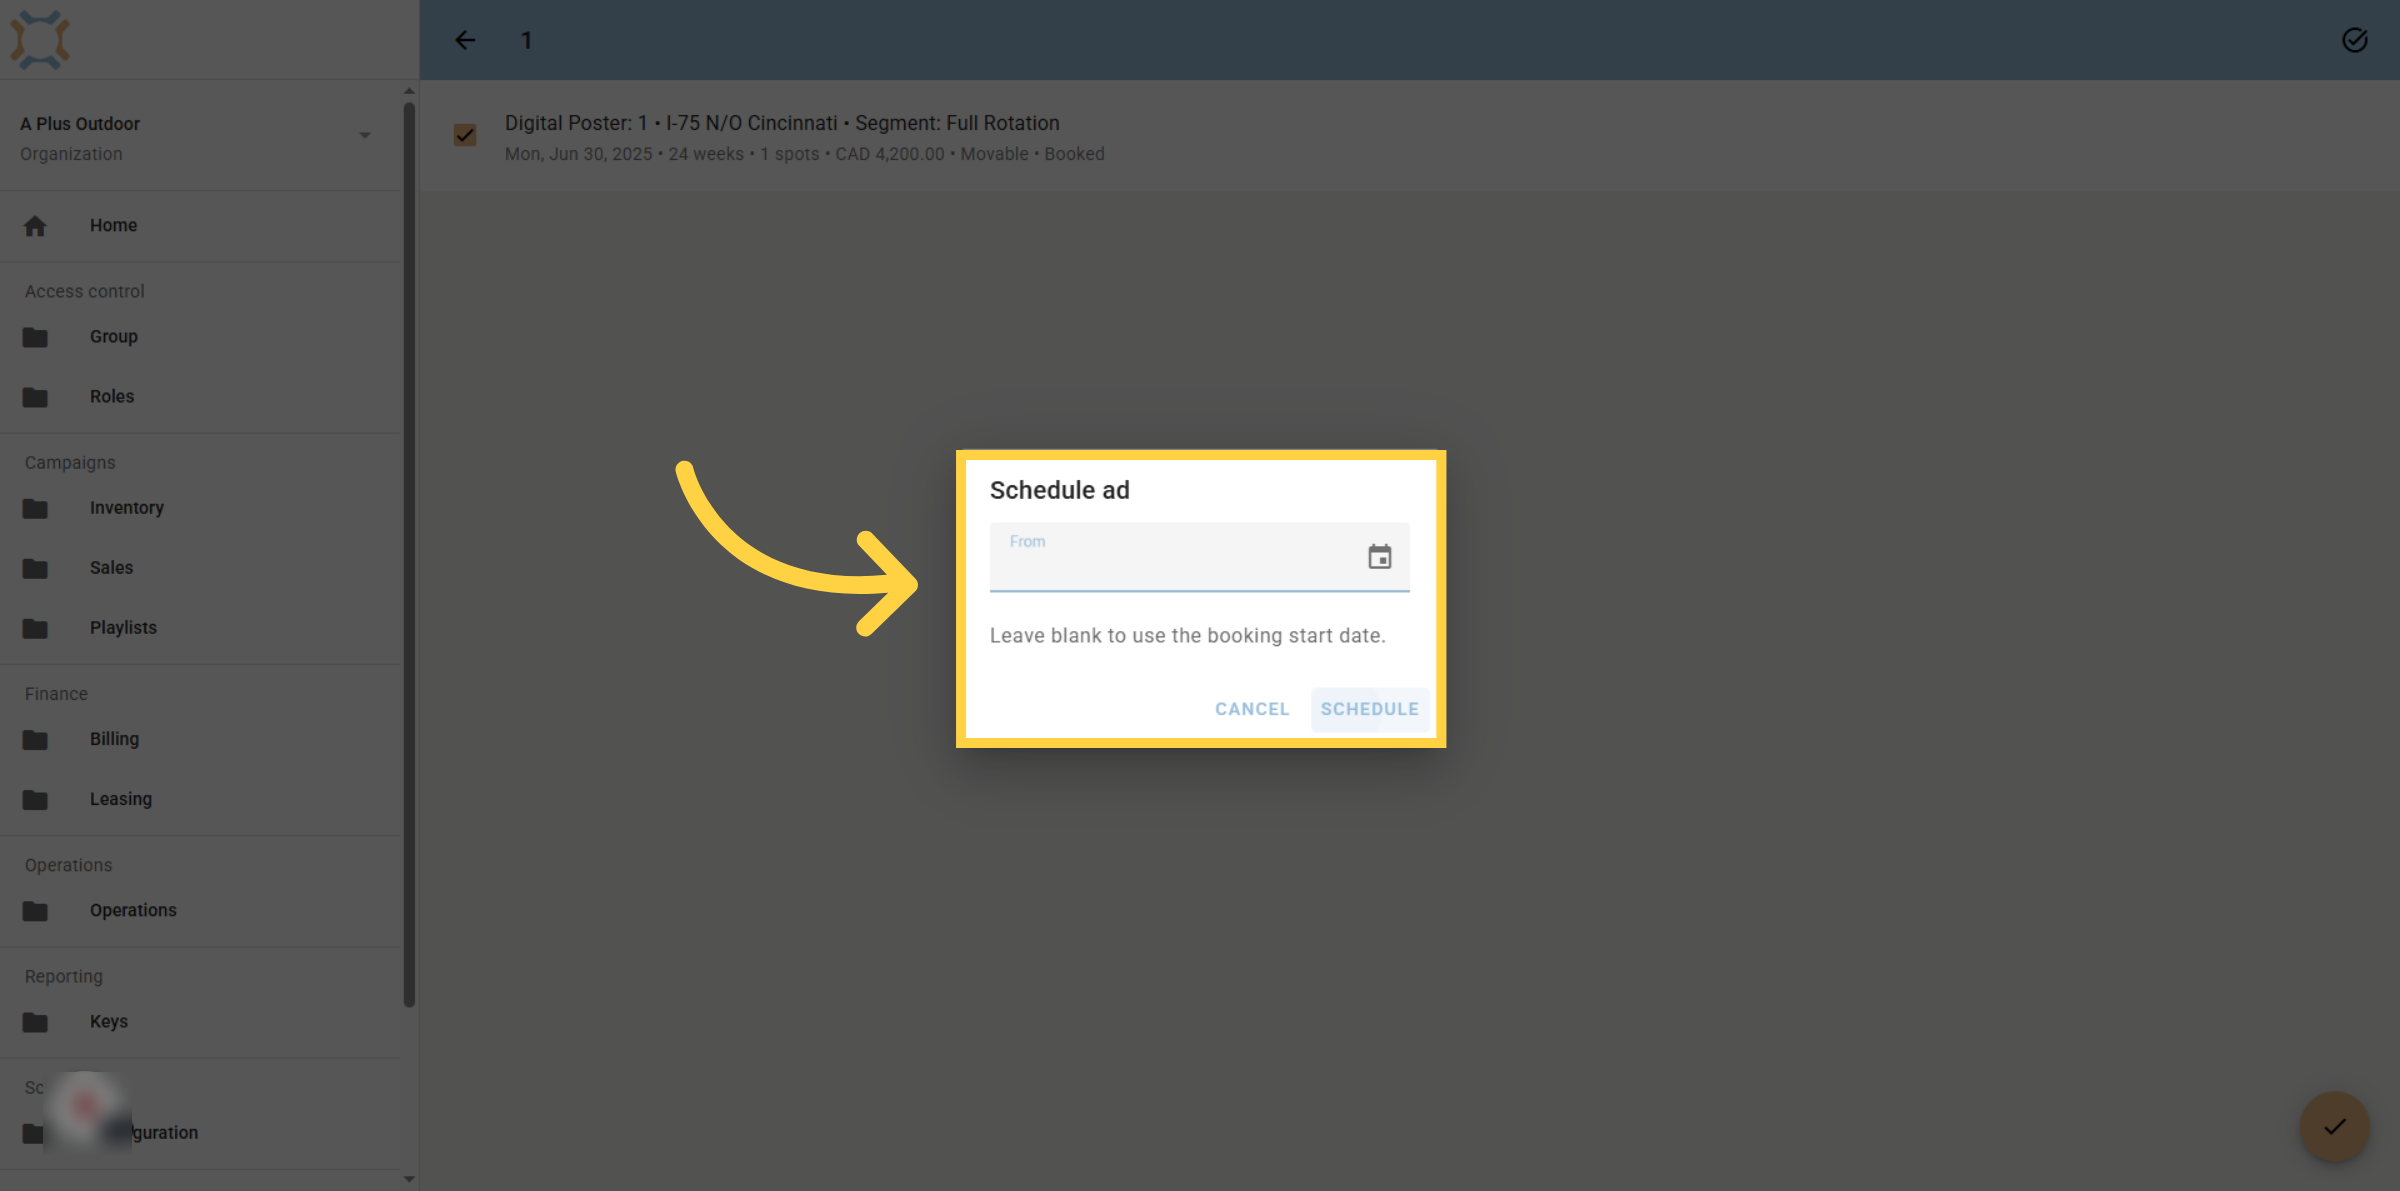
23. Choose start date
You can also choose the date that this ad is to start playing on these locations. If the ad is to start on the first booking date, you can leave the date blank. Click Schedule to confirm the date the ad is to start playing.
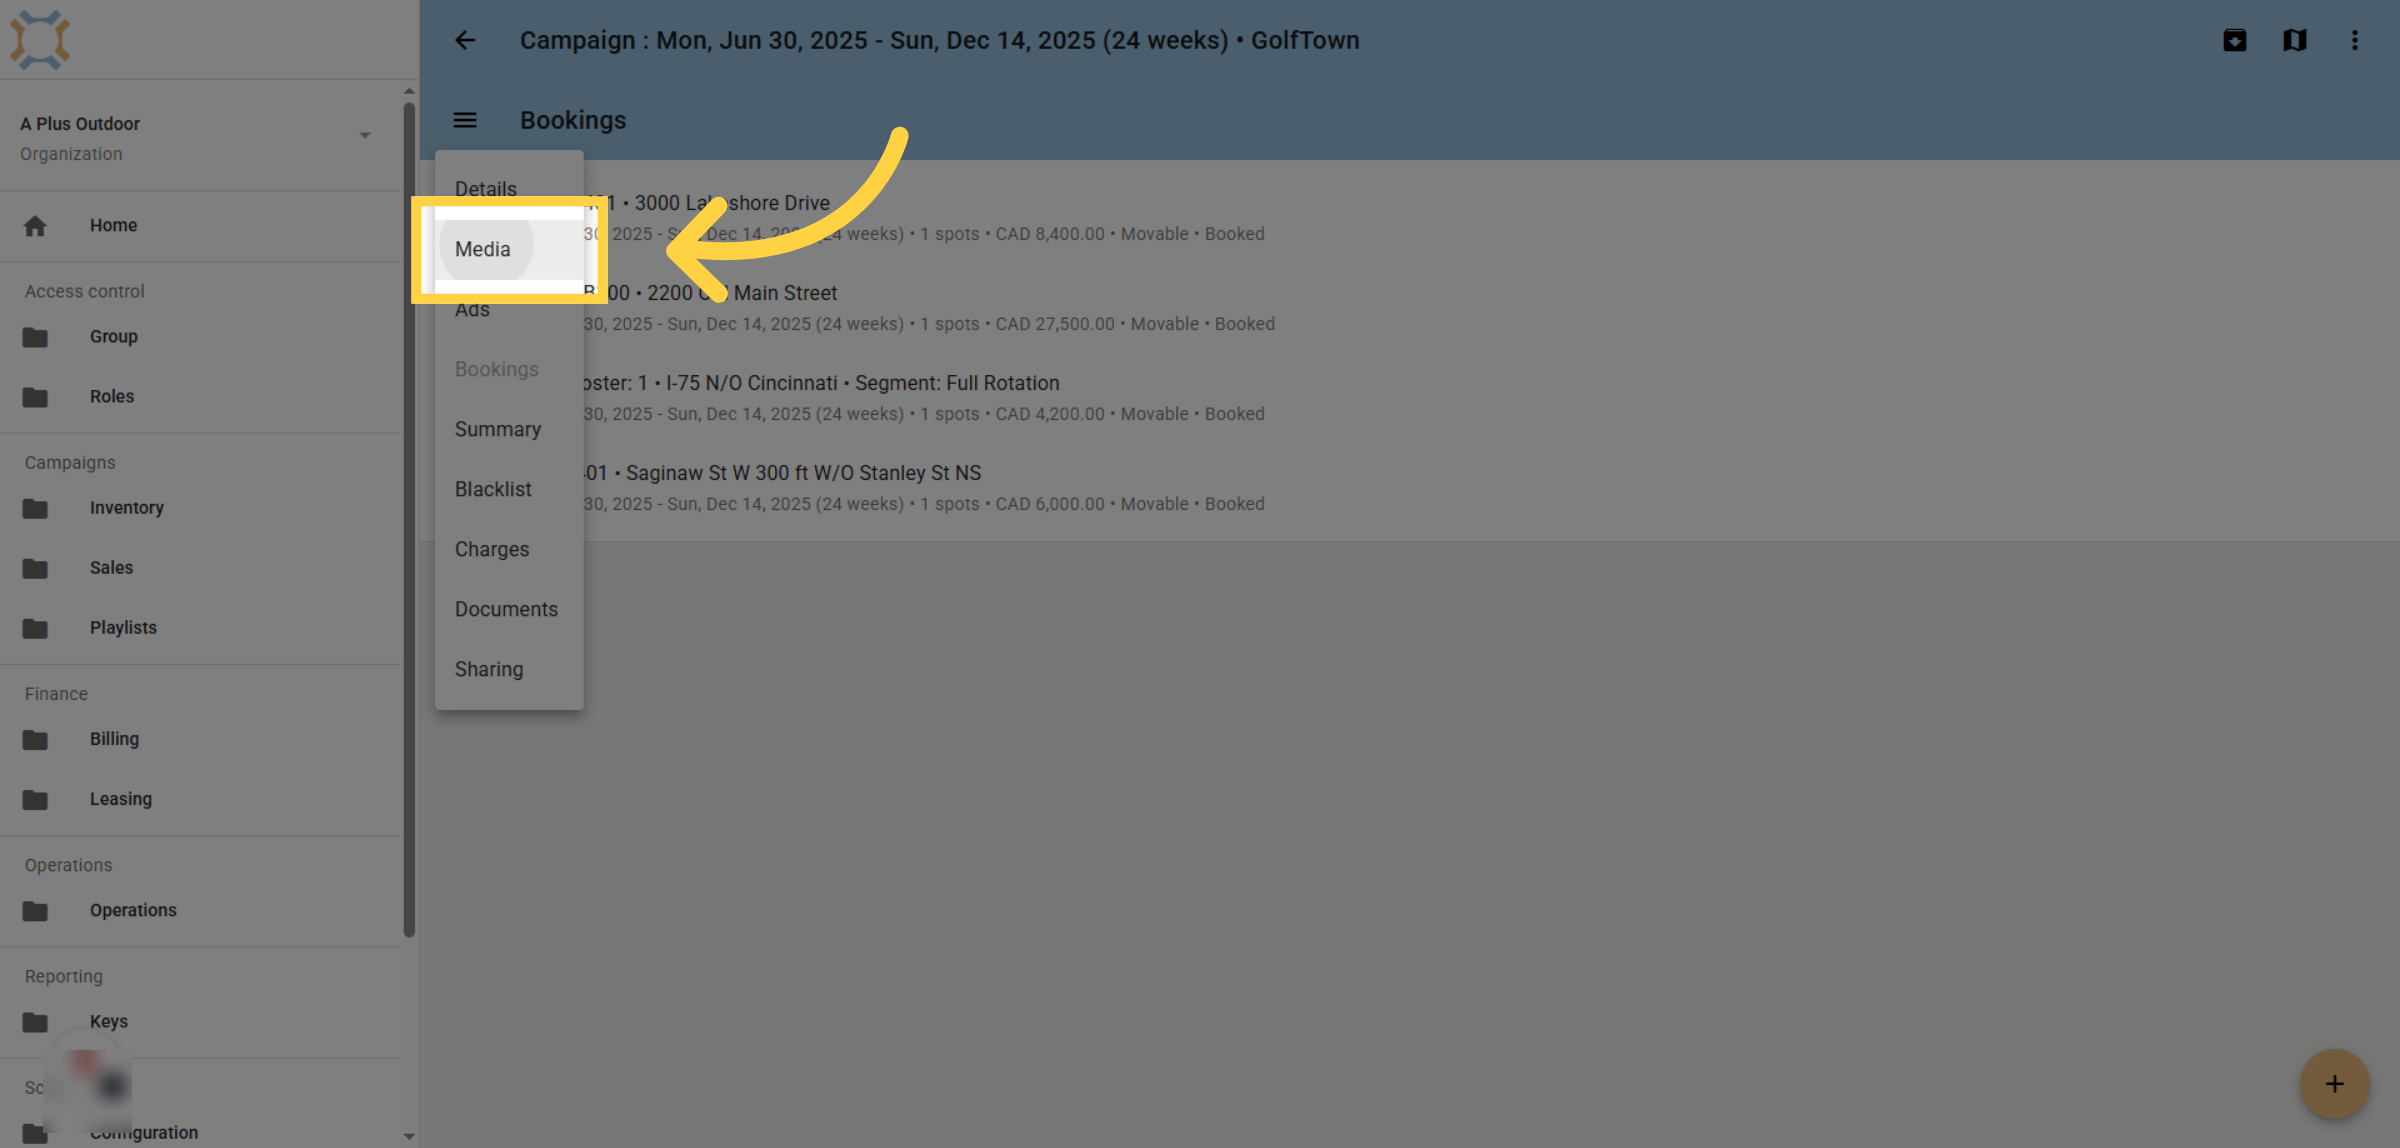
24. Click Media
If you wish to add a valid date period for any media item, go to the menu and select Media.
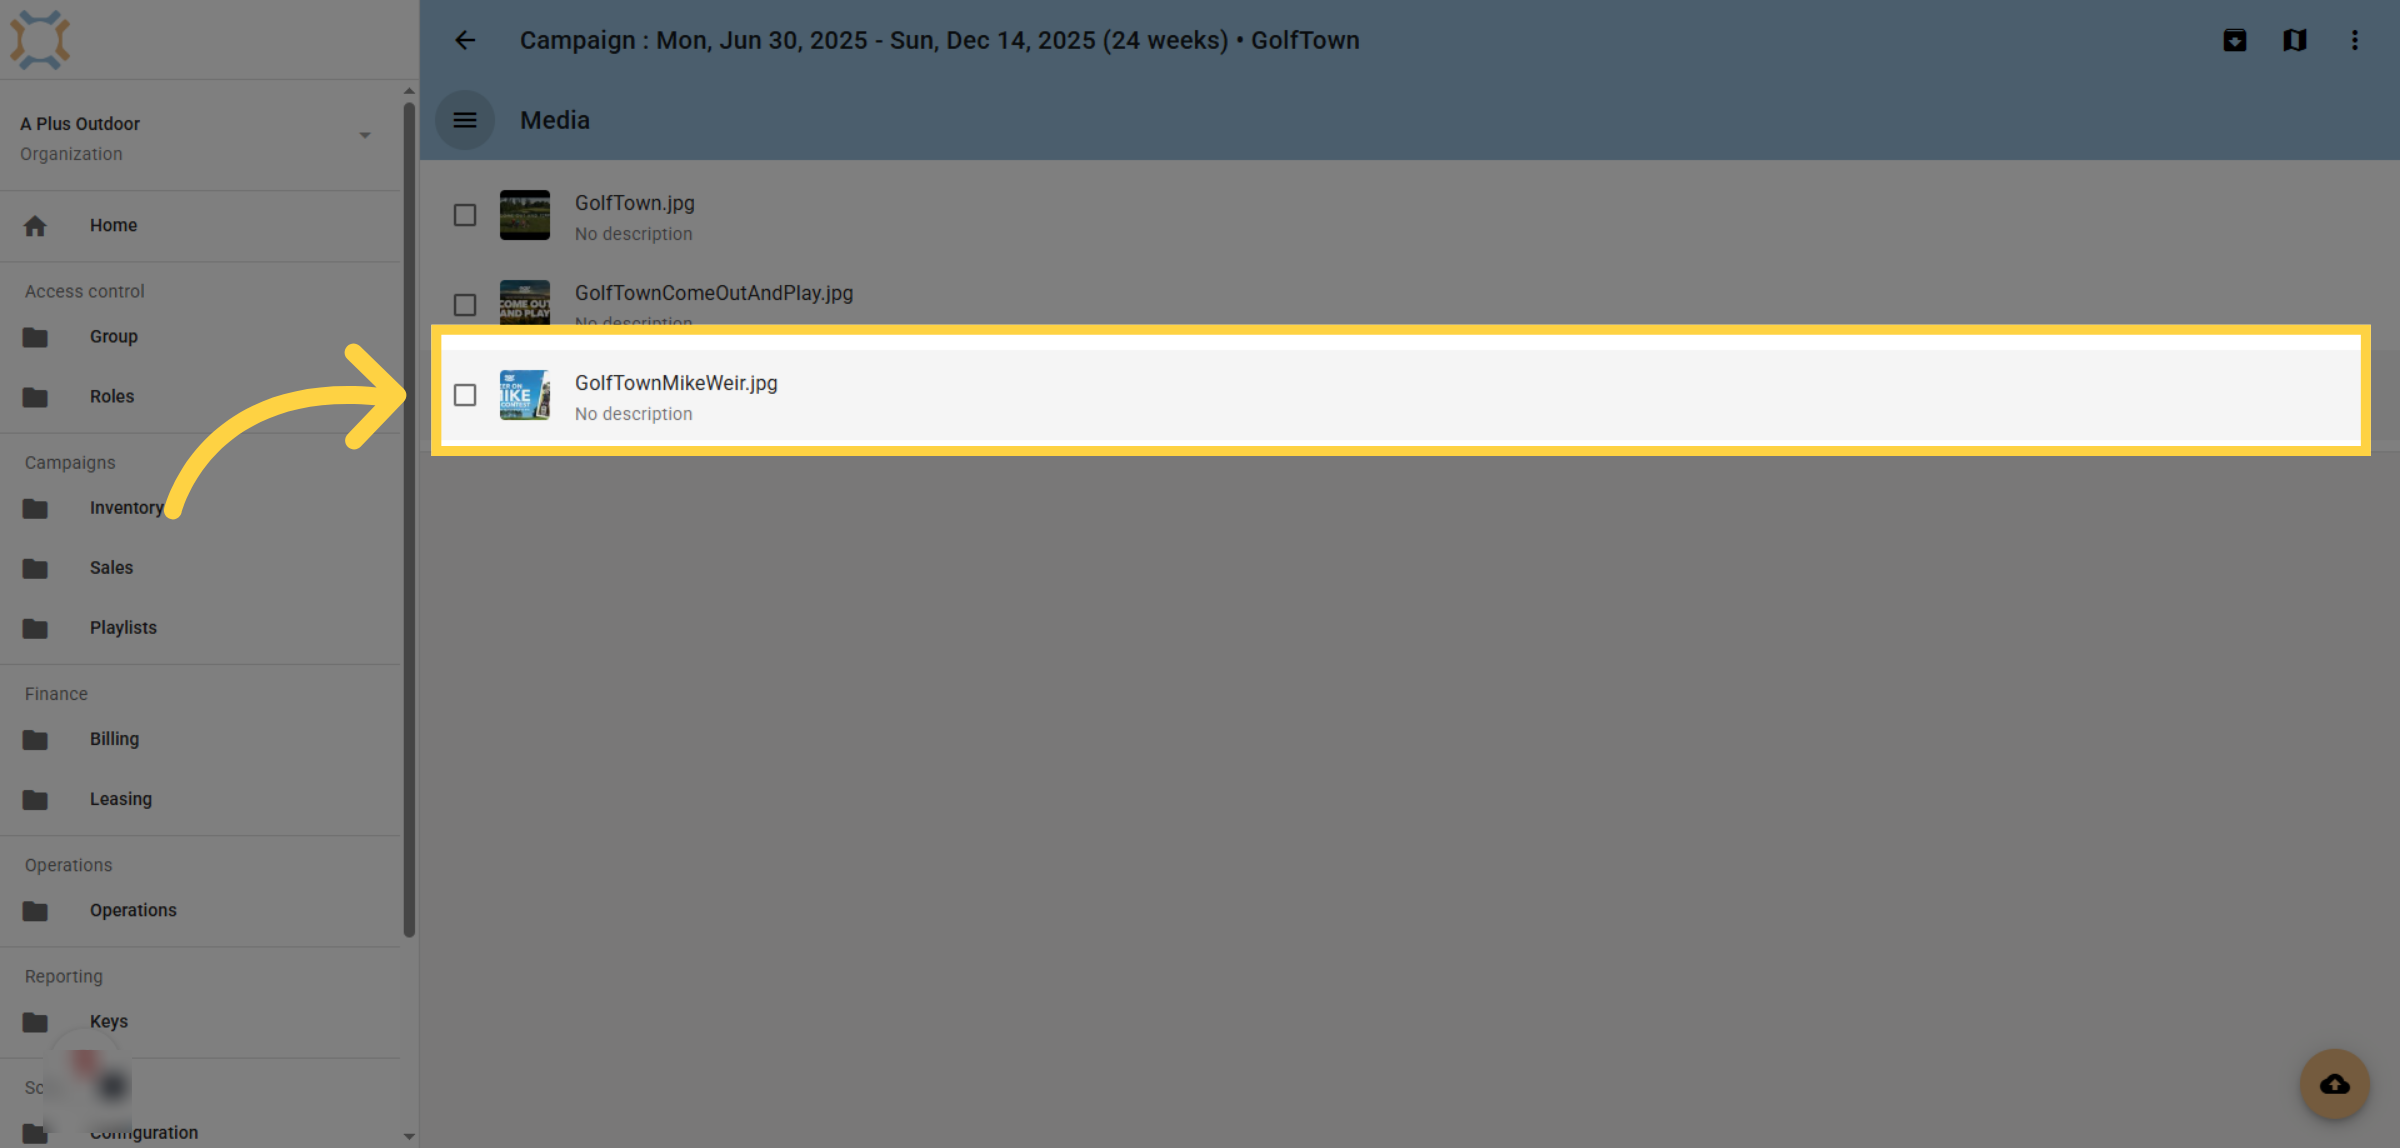
25. Select Media File
Select the media file you wish to put date constraints on.
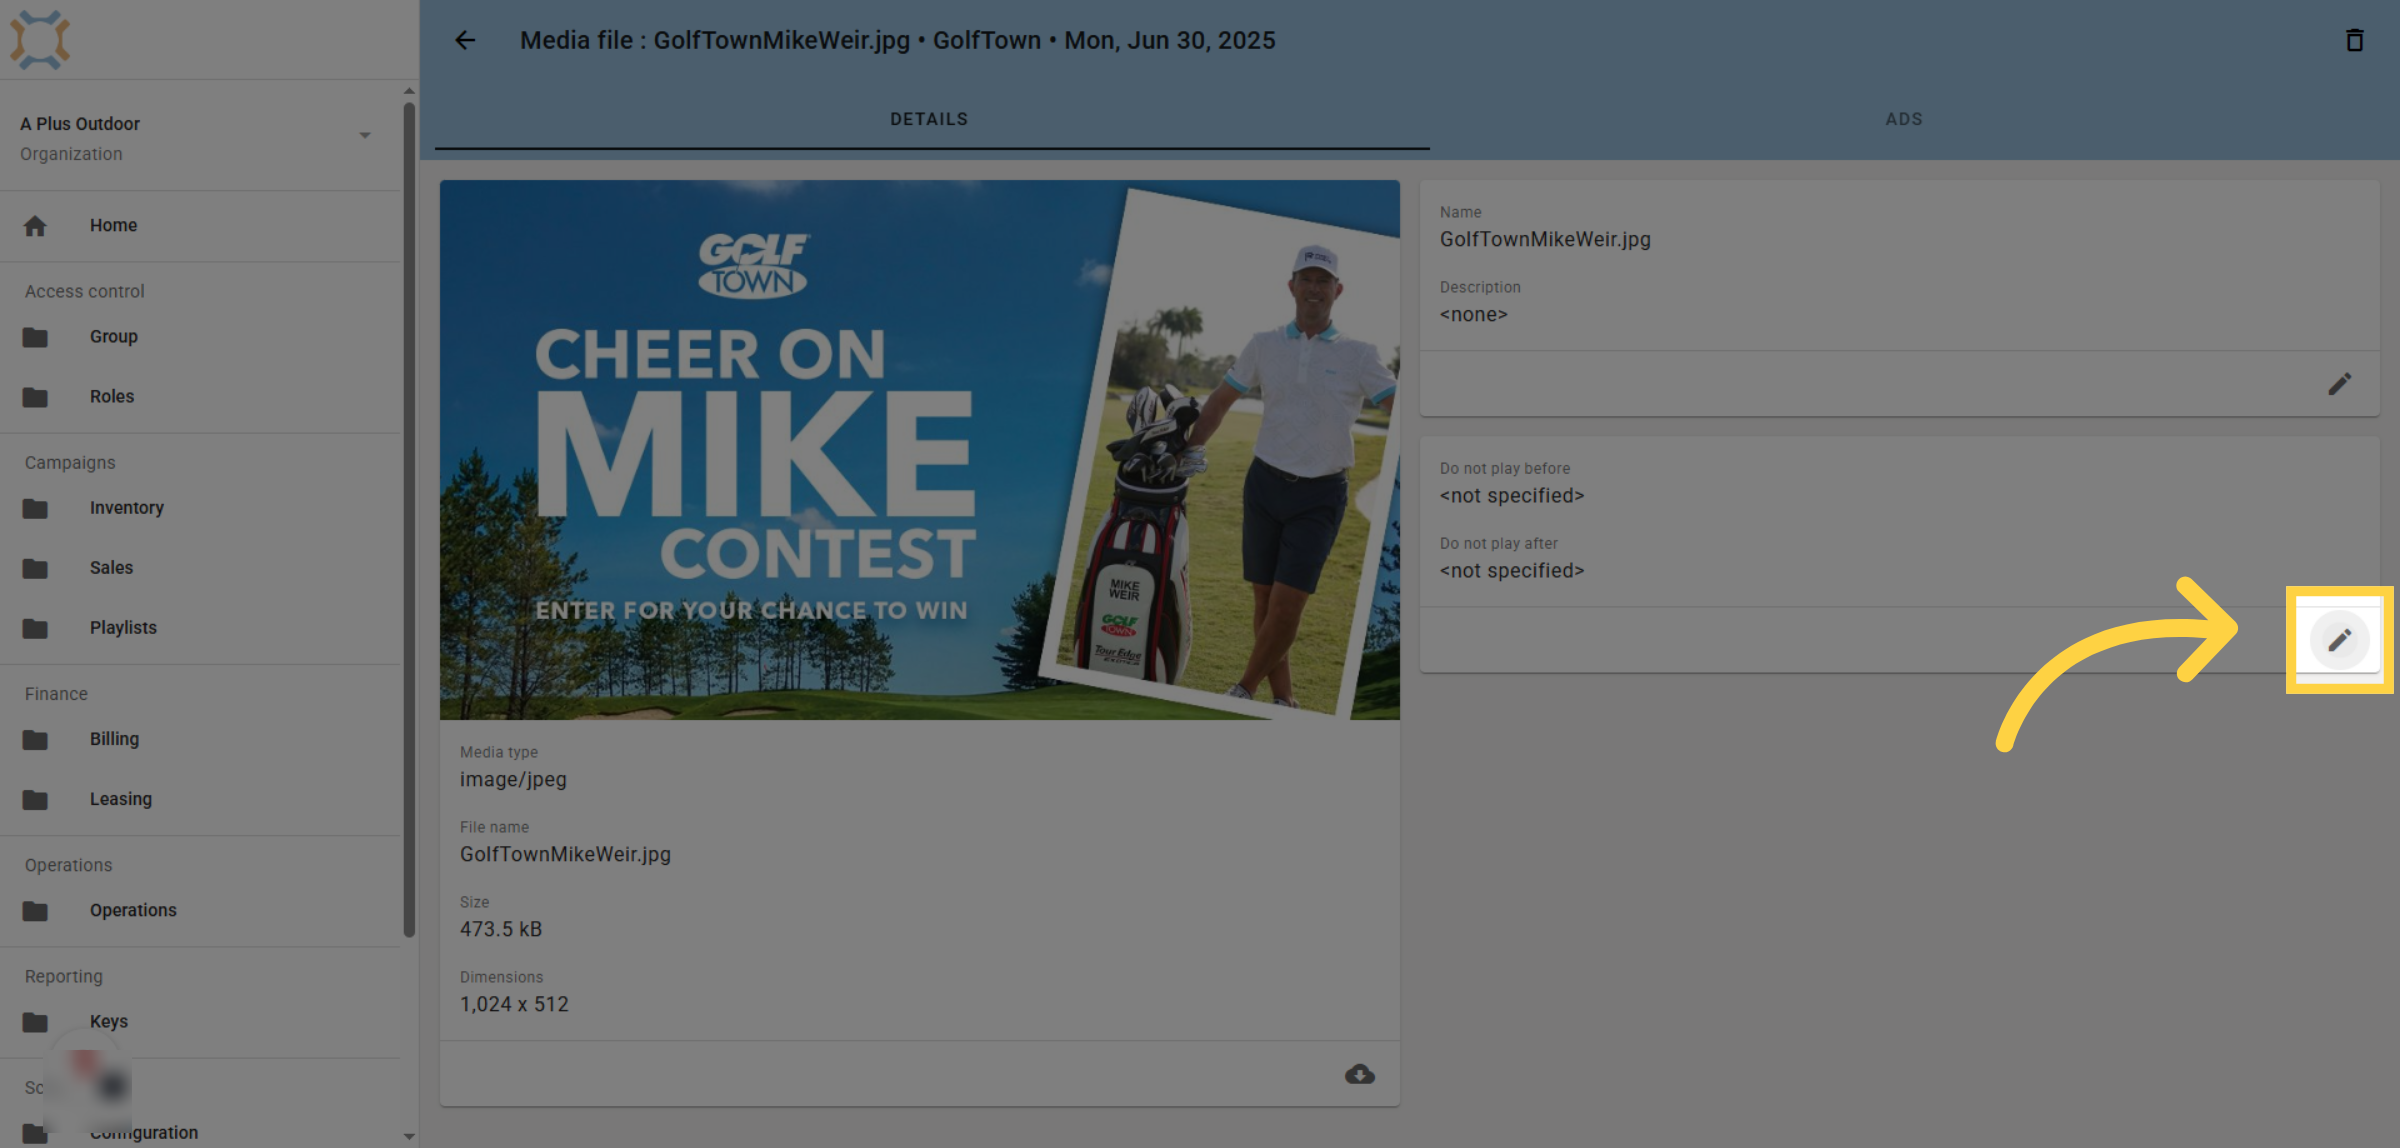
26. Edit Media File
Click on the edit button in the card that displays the valid date range.
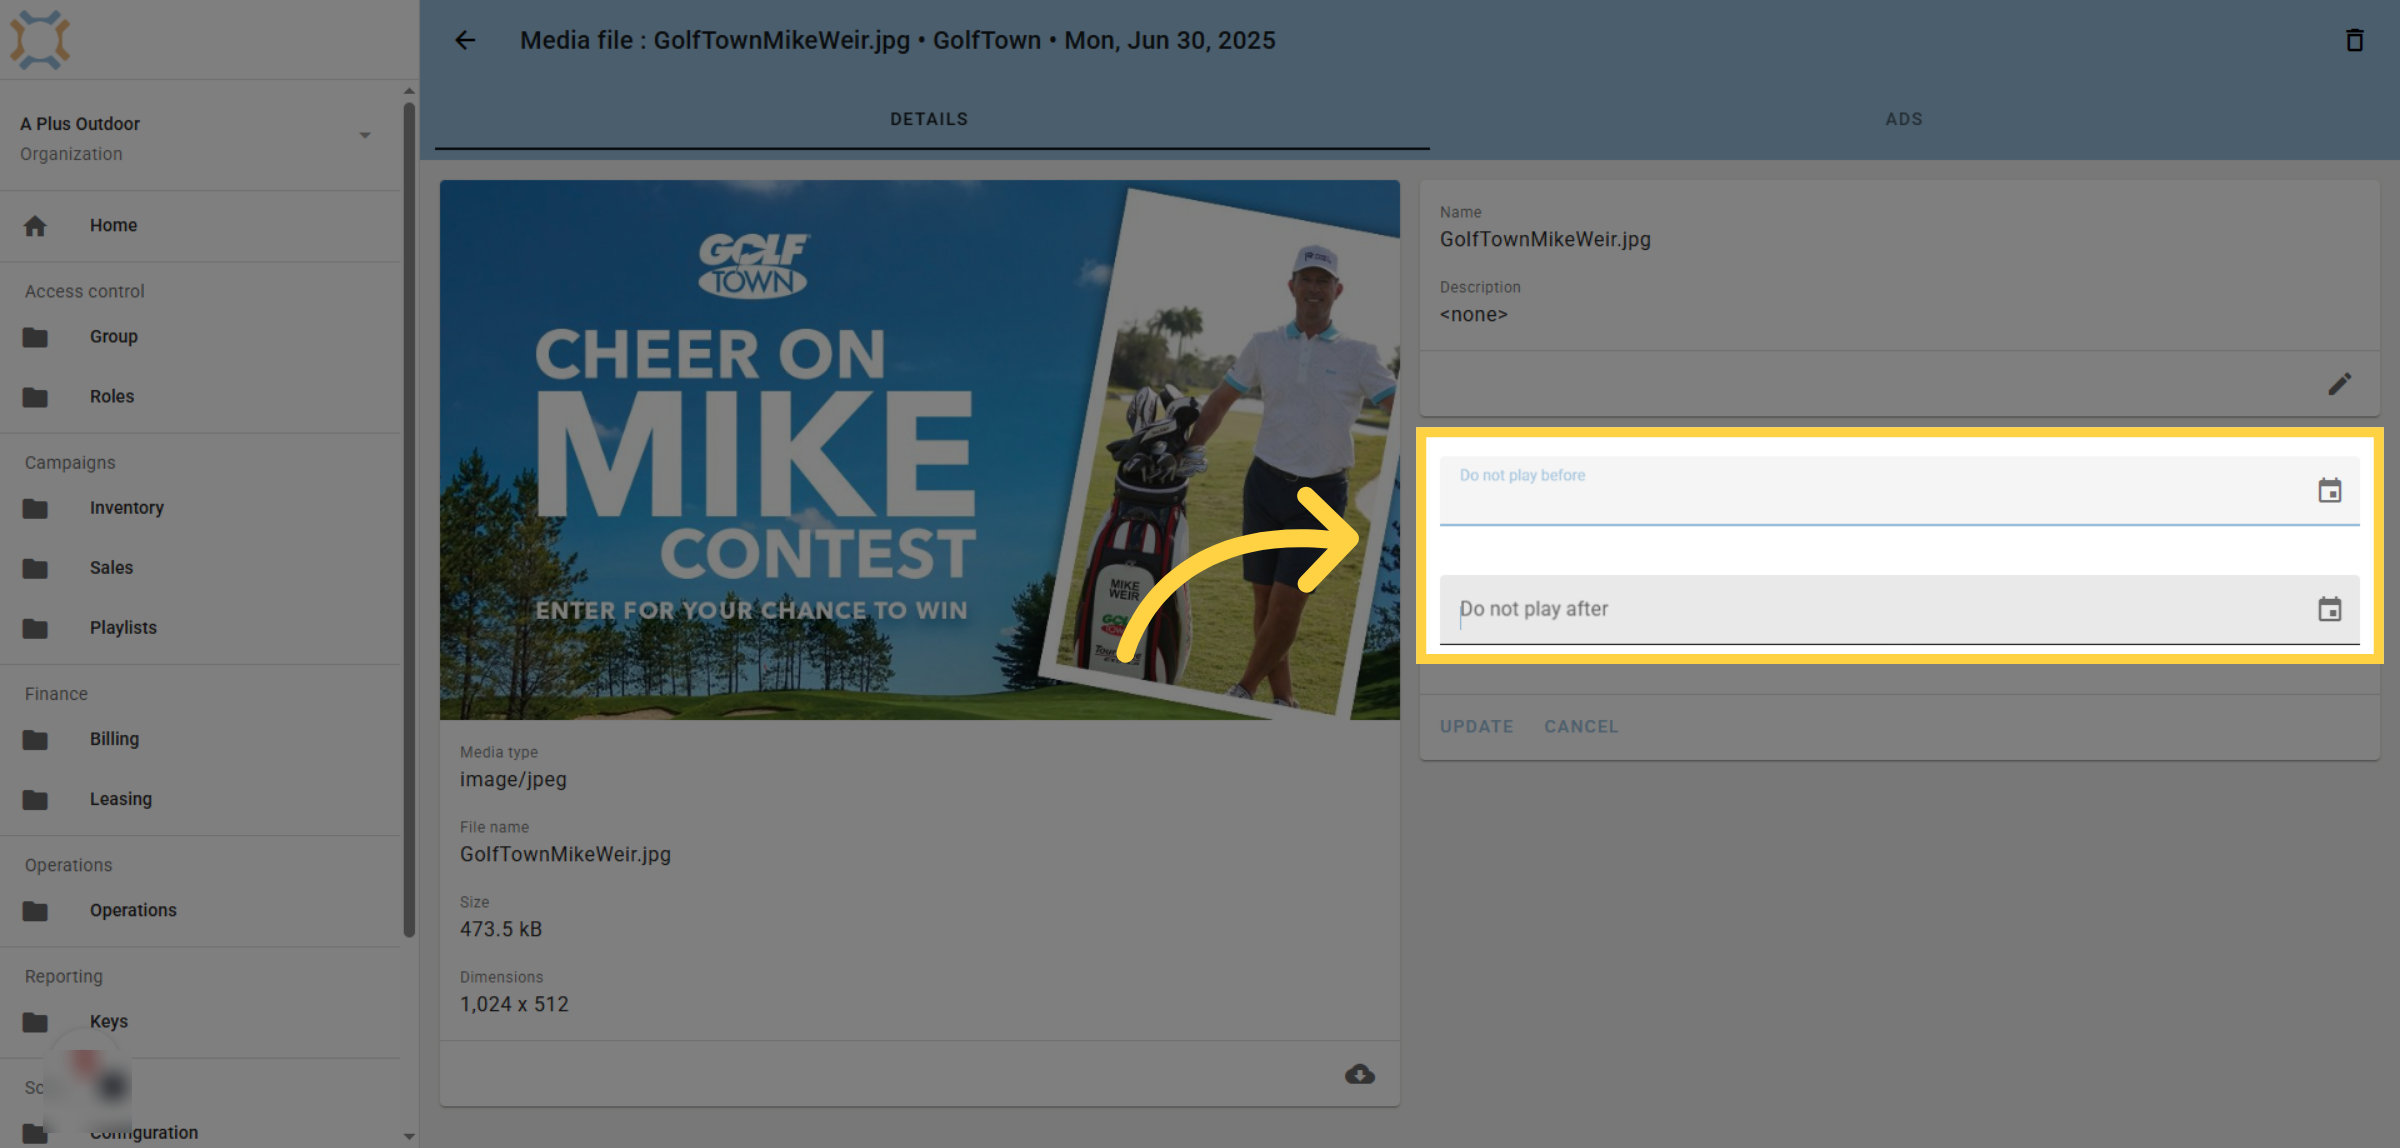
27. Open Playback Restrictions
You can enter a date that this media item cannot play before, as well as adding a date this media item cannot play after. If you leave a date blank, there is no restriction on that starting or ending tim
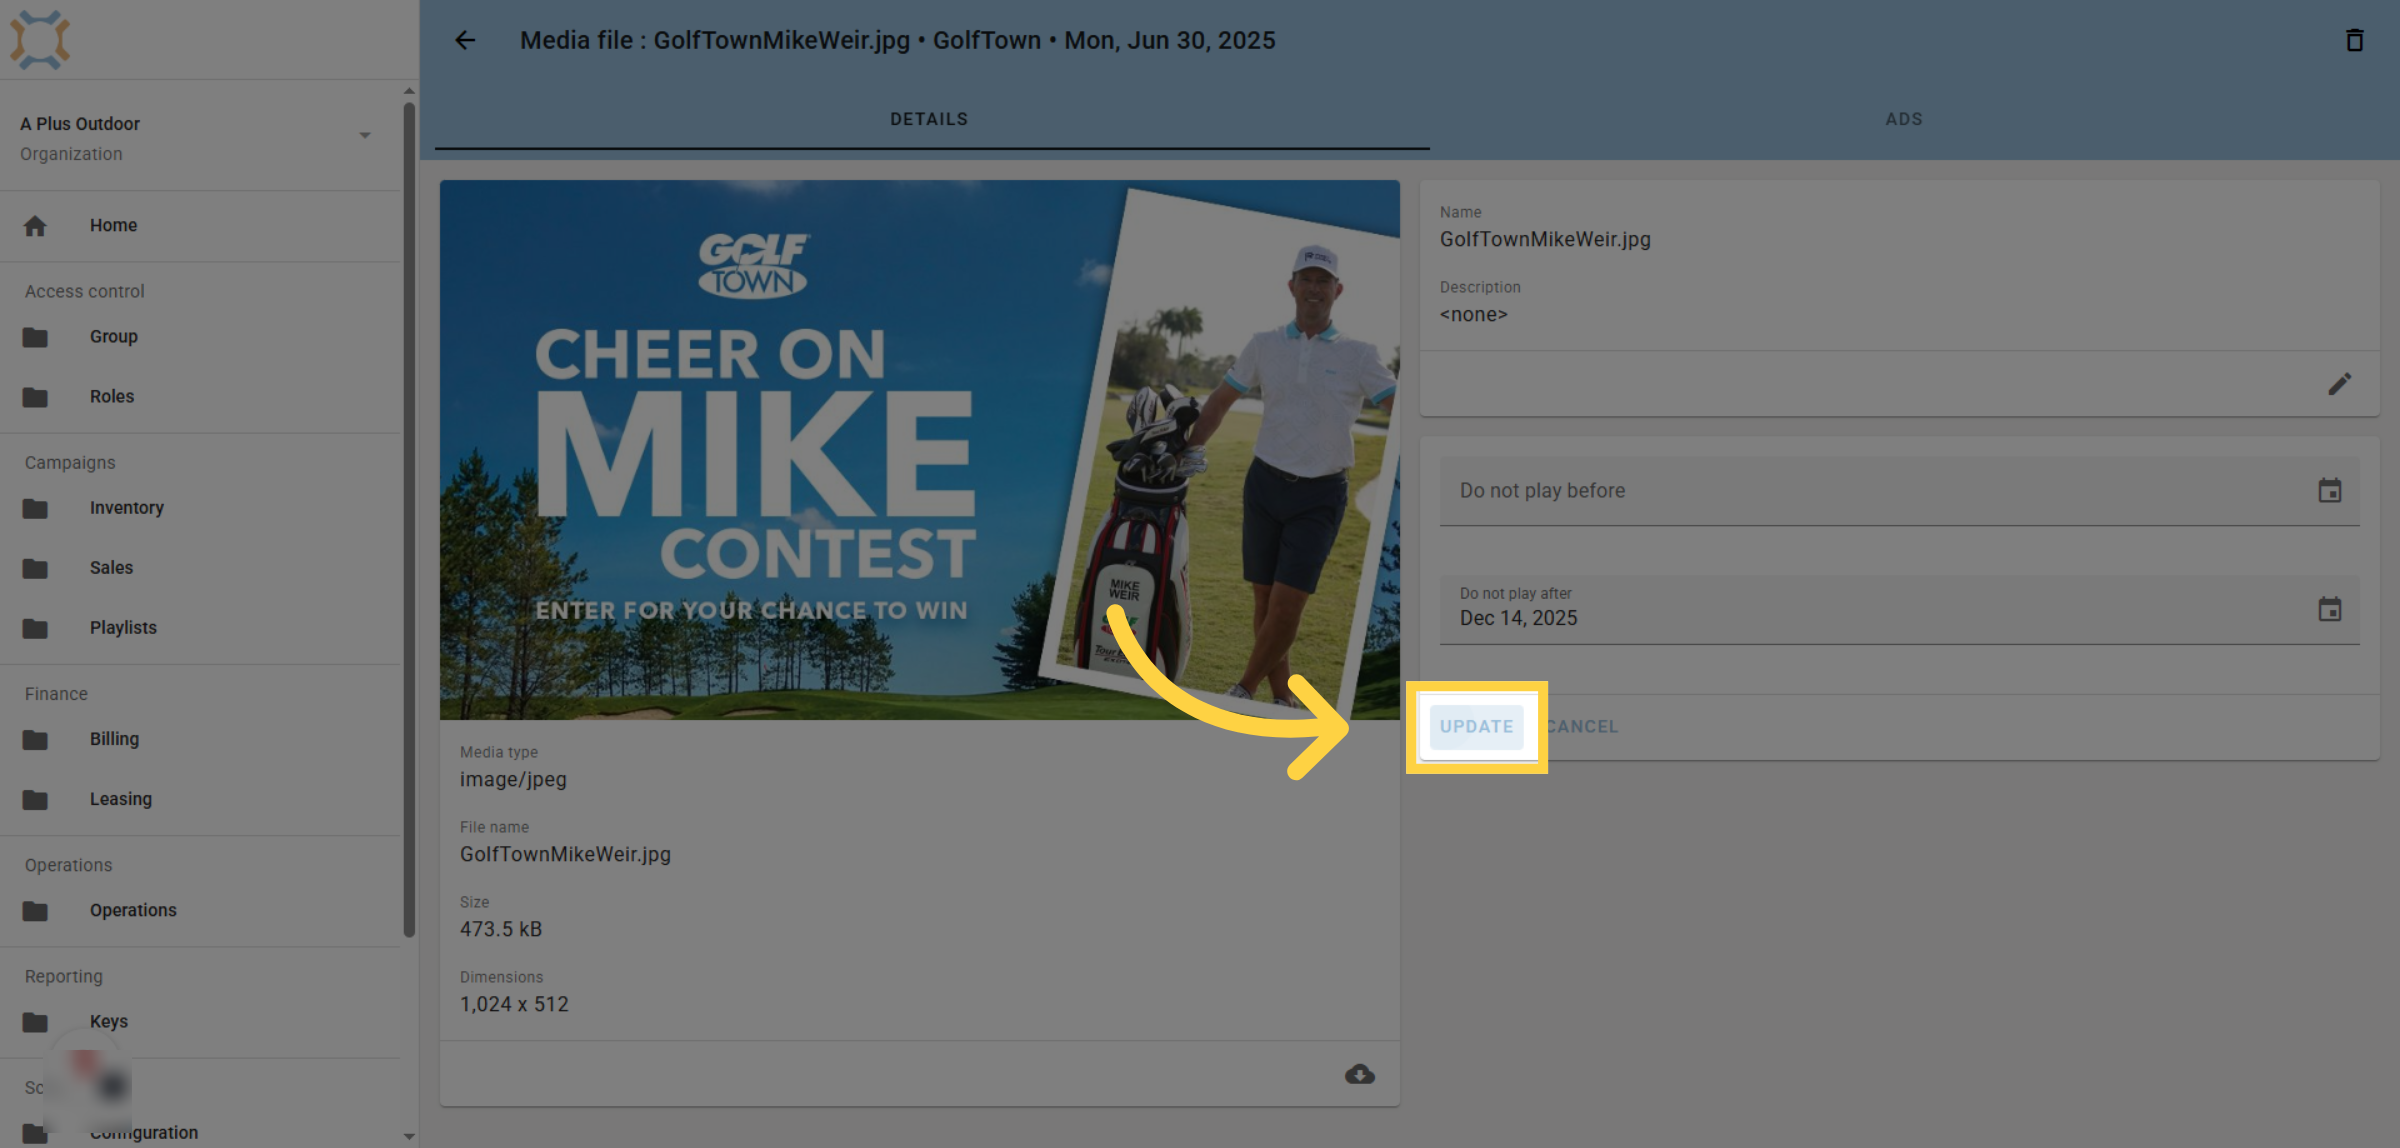
28. Click Update
Click Update to save your changes. This media item will now only play between the dates specified on this campaign
If you have any additional questions, please contact Dot2Dot for assistance.
Comments
0 comments
Article is closed for comments.