
Learn how to view and verify sales postings effectively using the View P.O.P. feature.
1. Introduction
Ad Manager Connect allows you to view P.O.P. information for a campaign
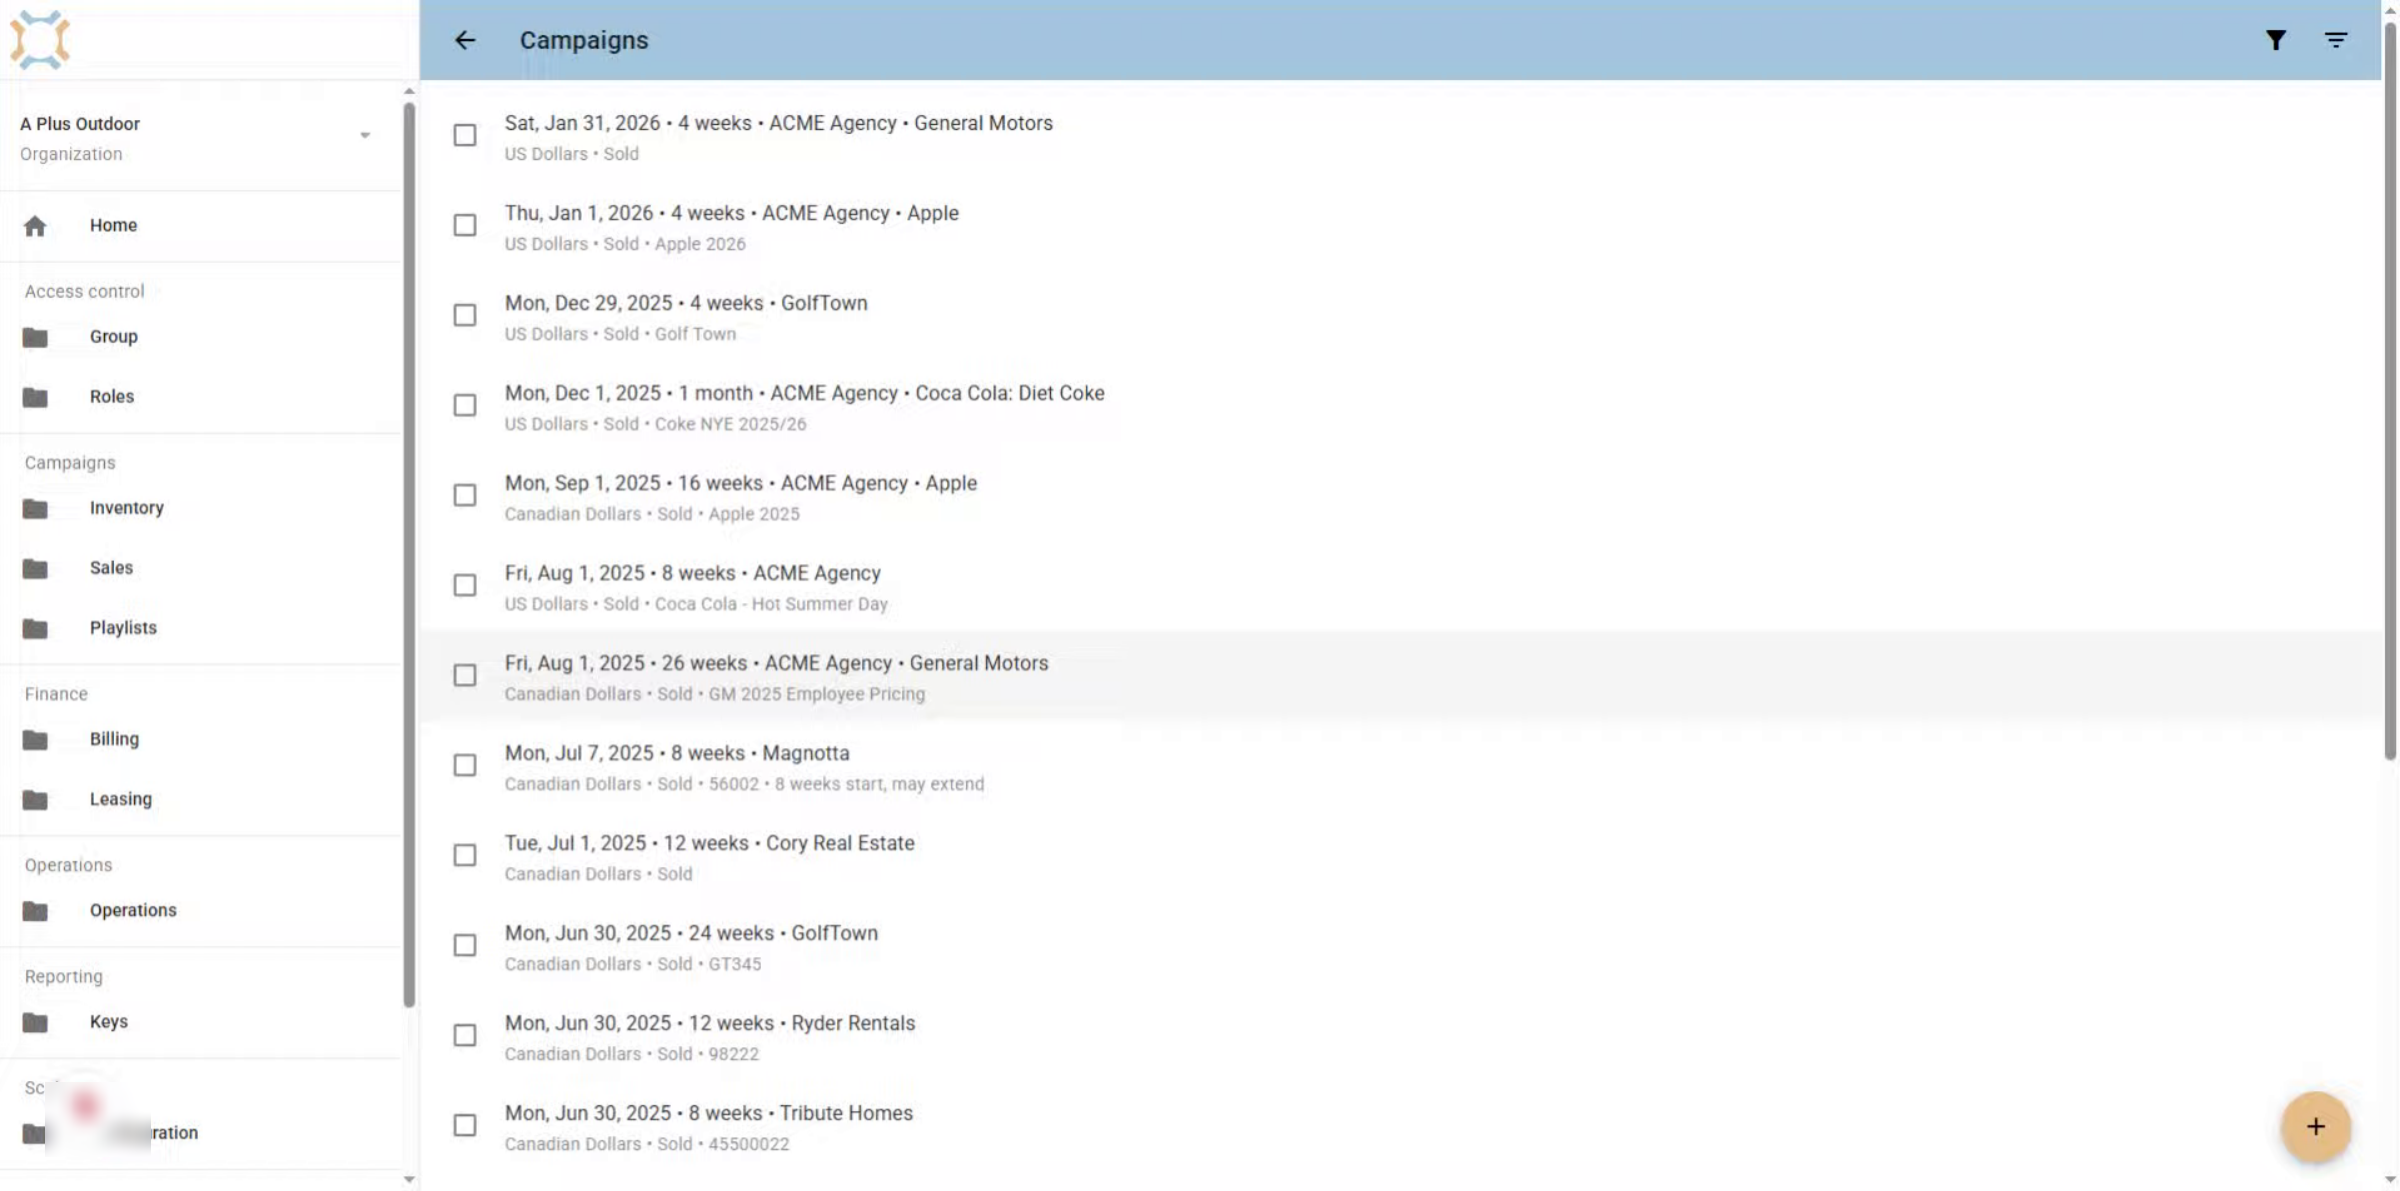
2. Select Campaign
Select the campaign you wish to view the P.O.P. information for.
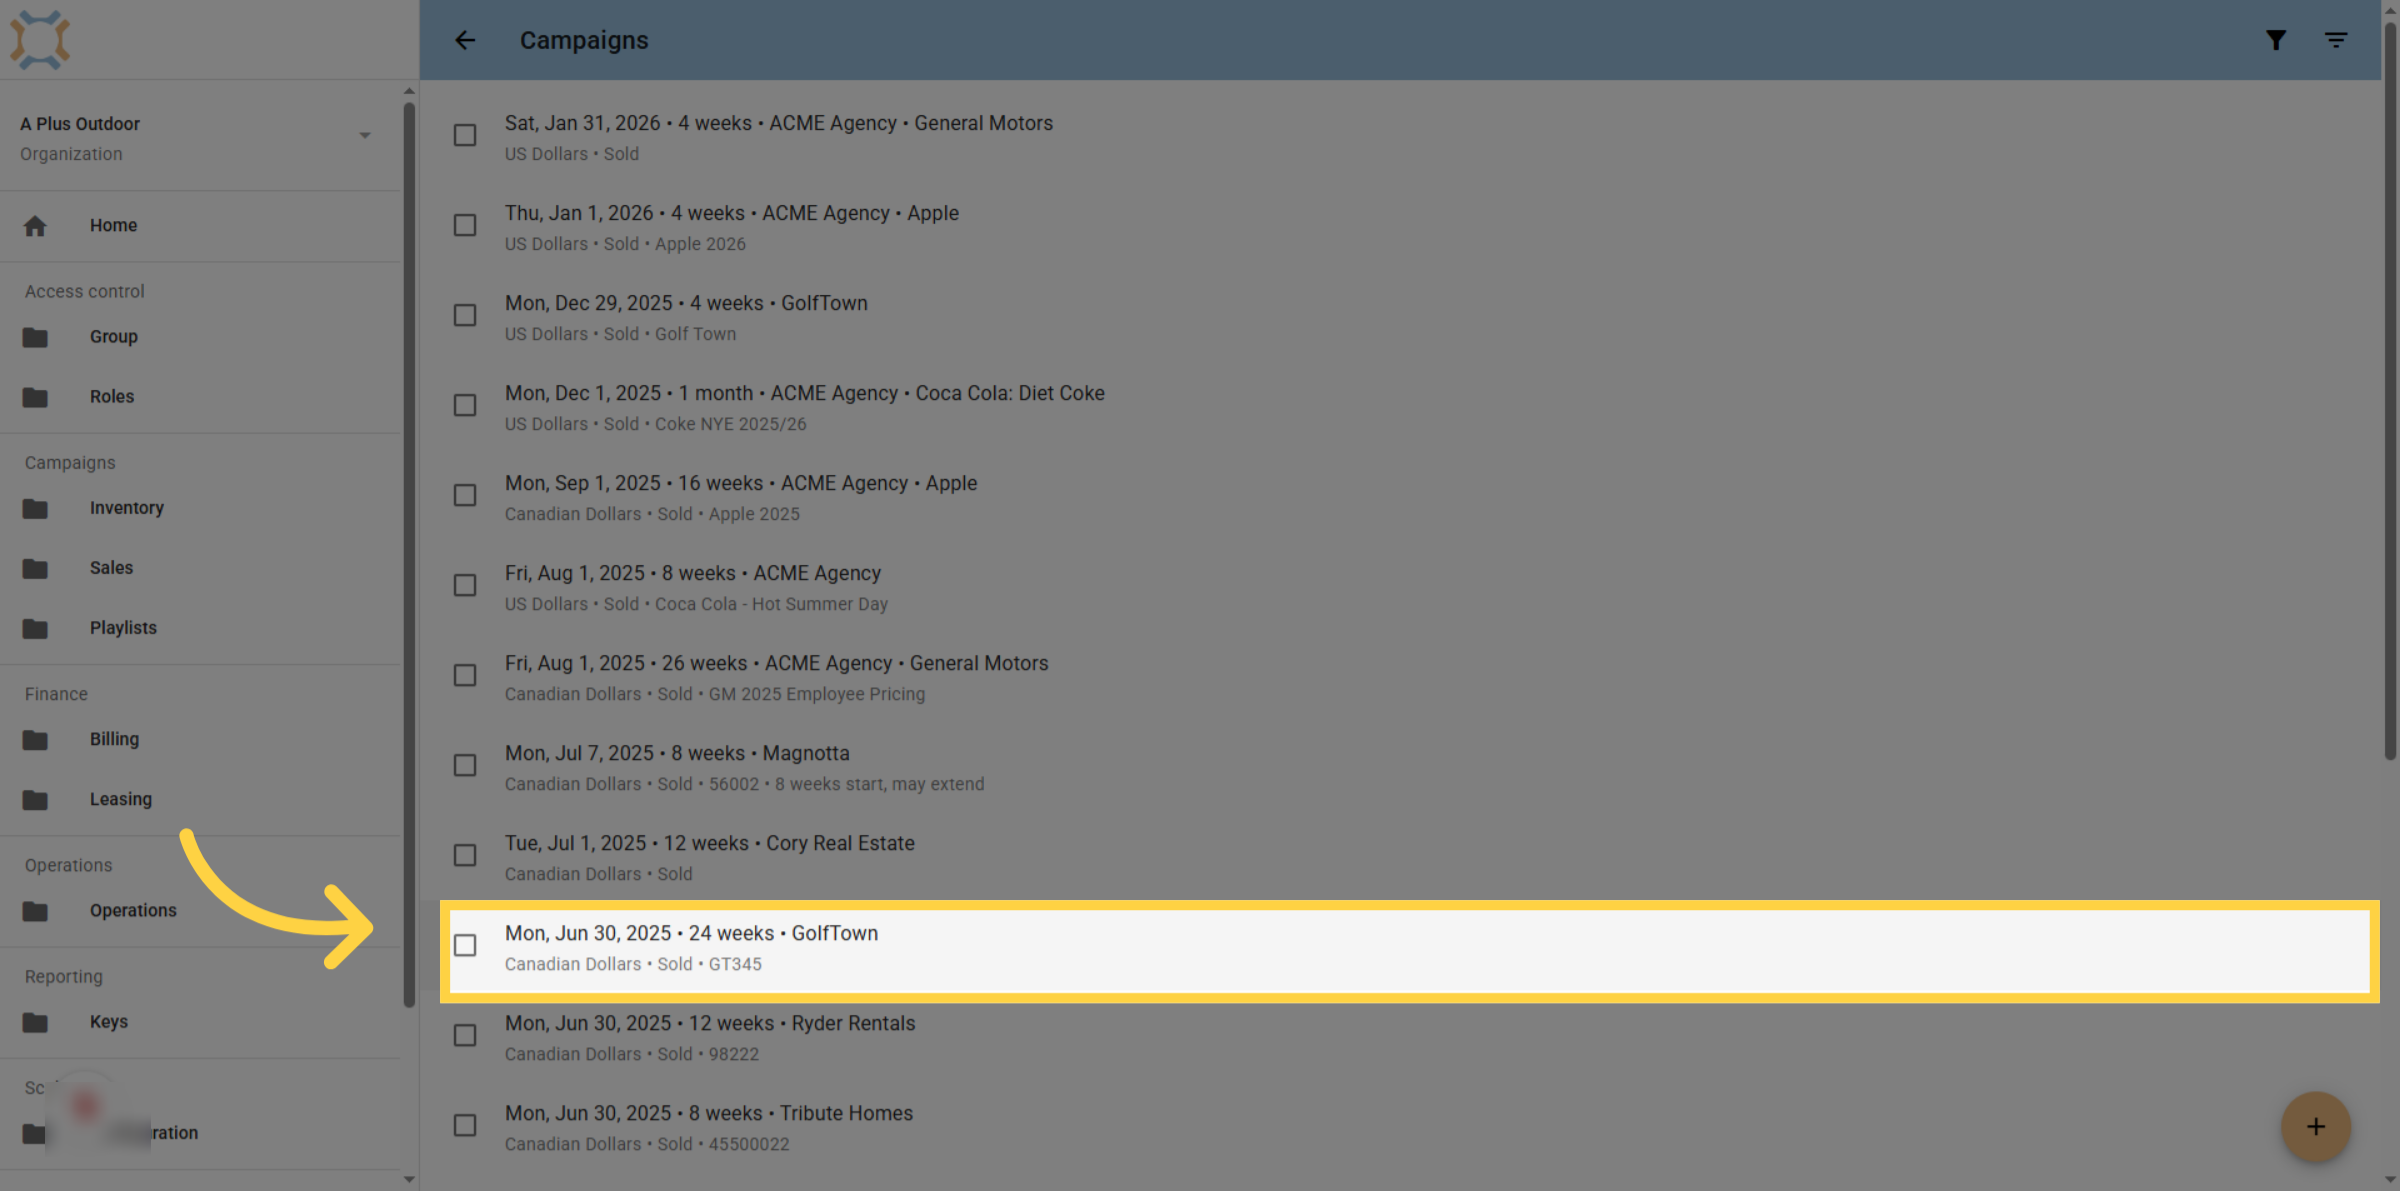
3. Click menu
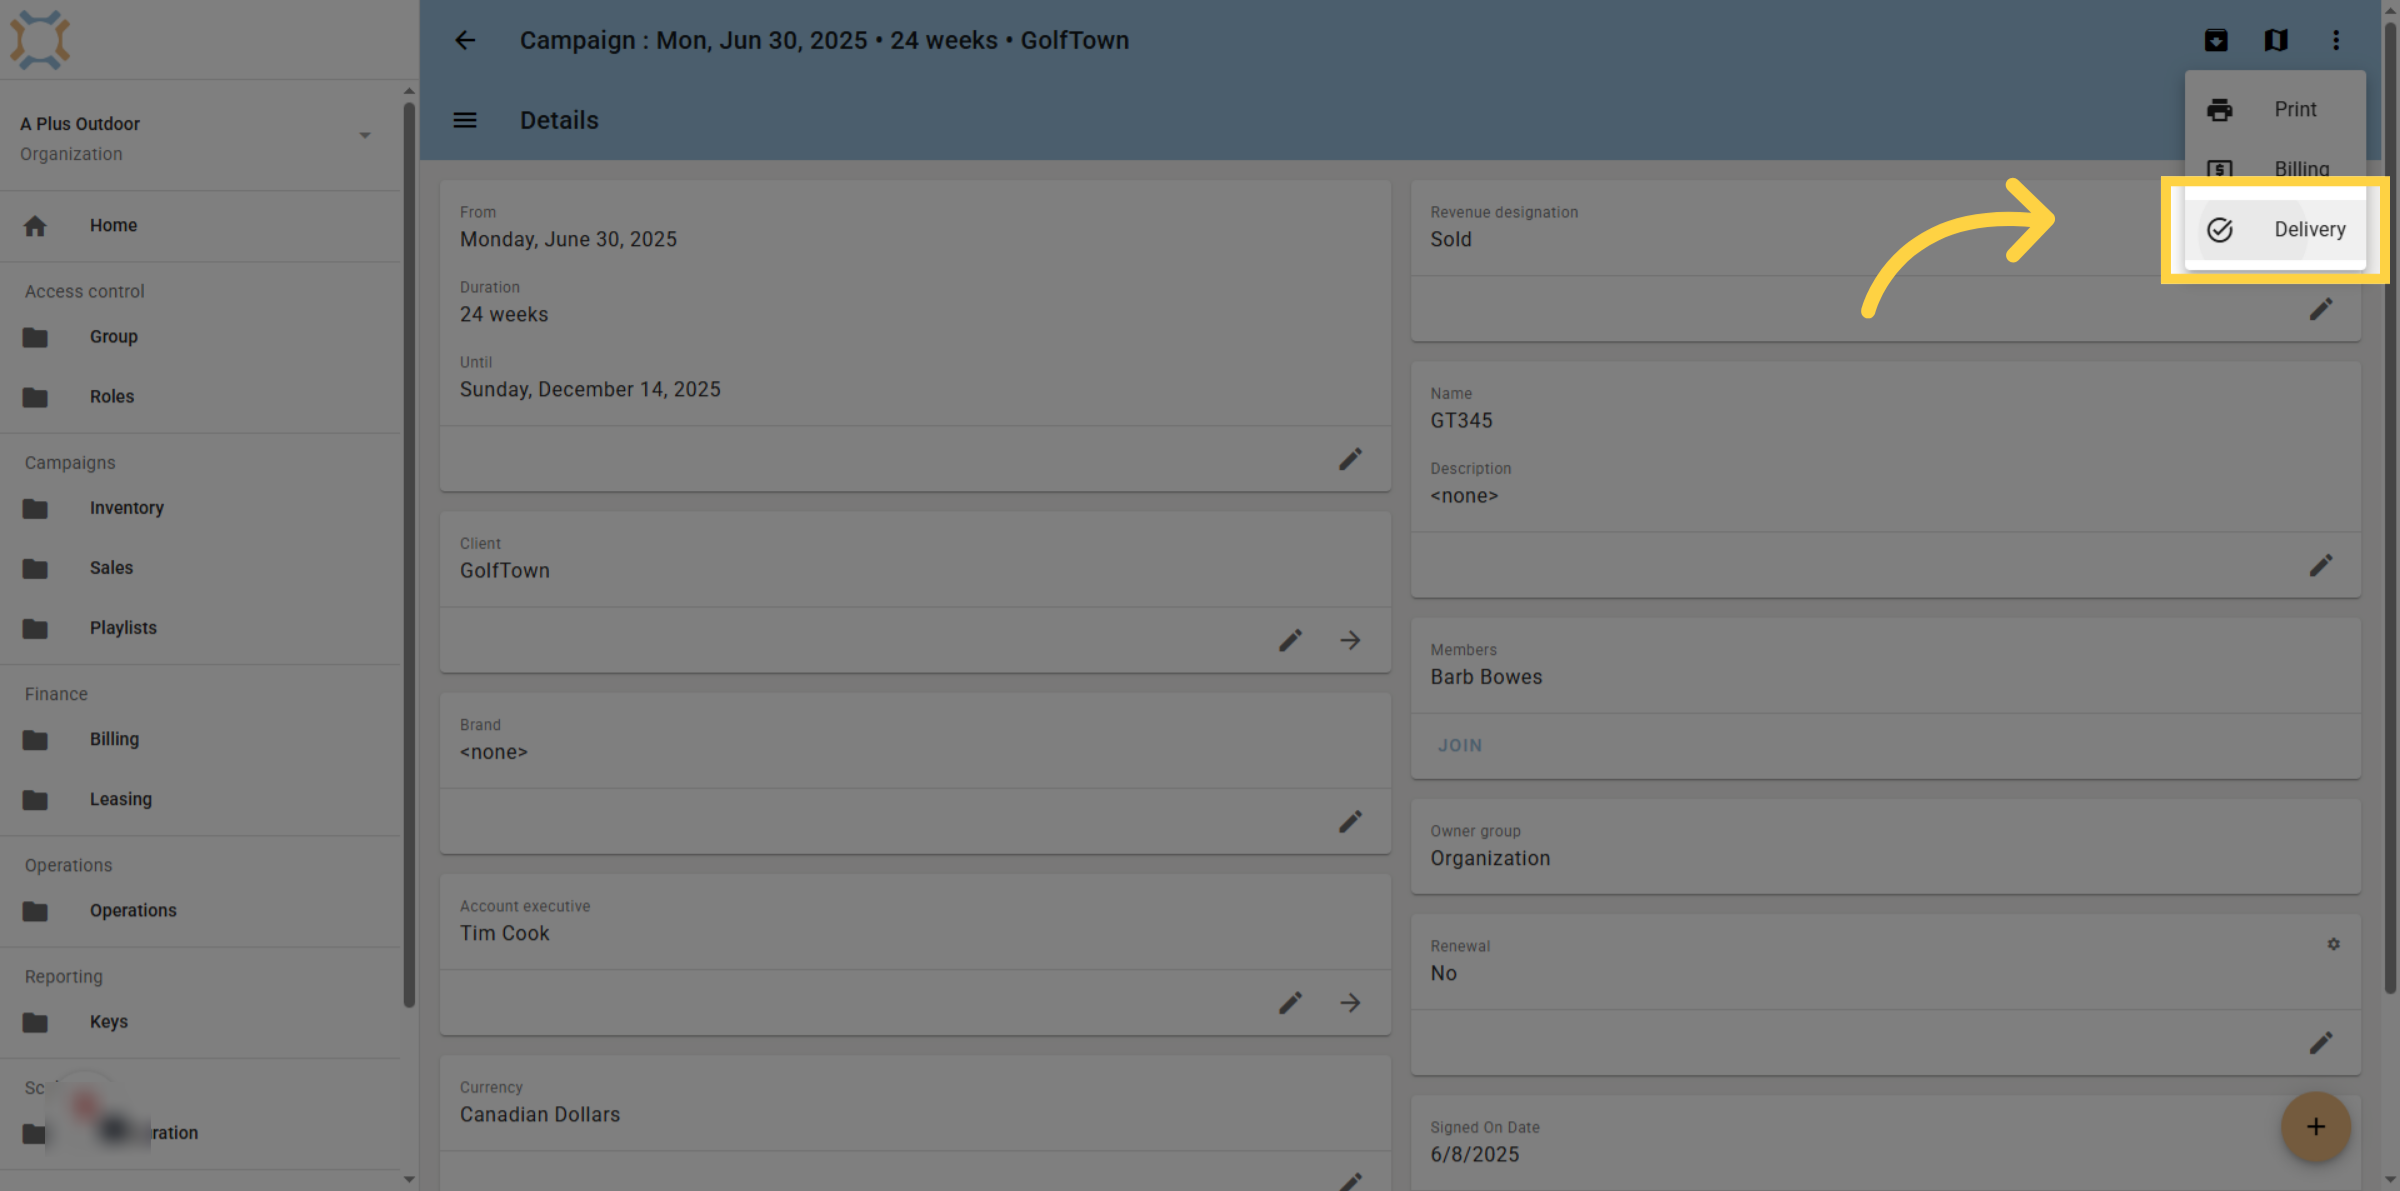
Click on the menu in the top right corner
4. Click "Delivery"
Click Delivery to see the P.O.P. details for this campaign
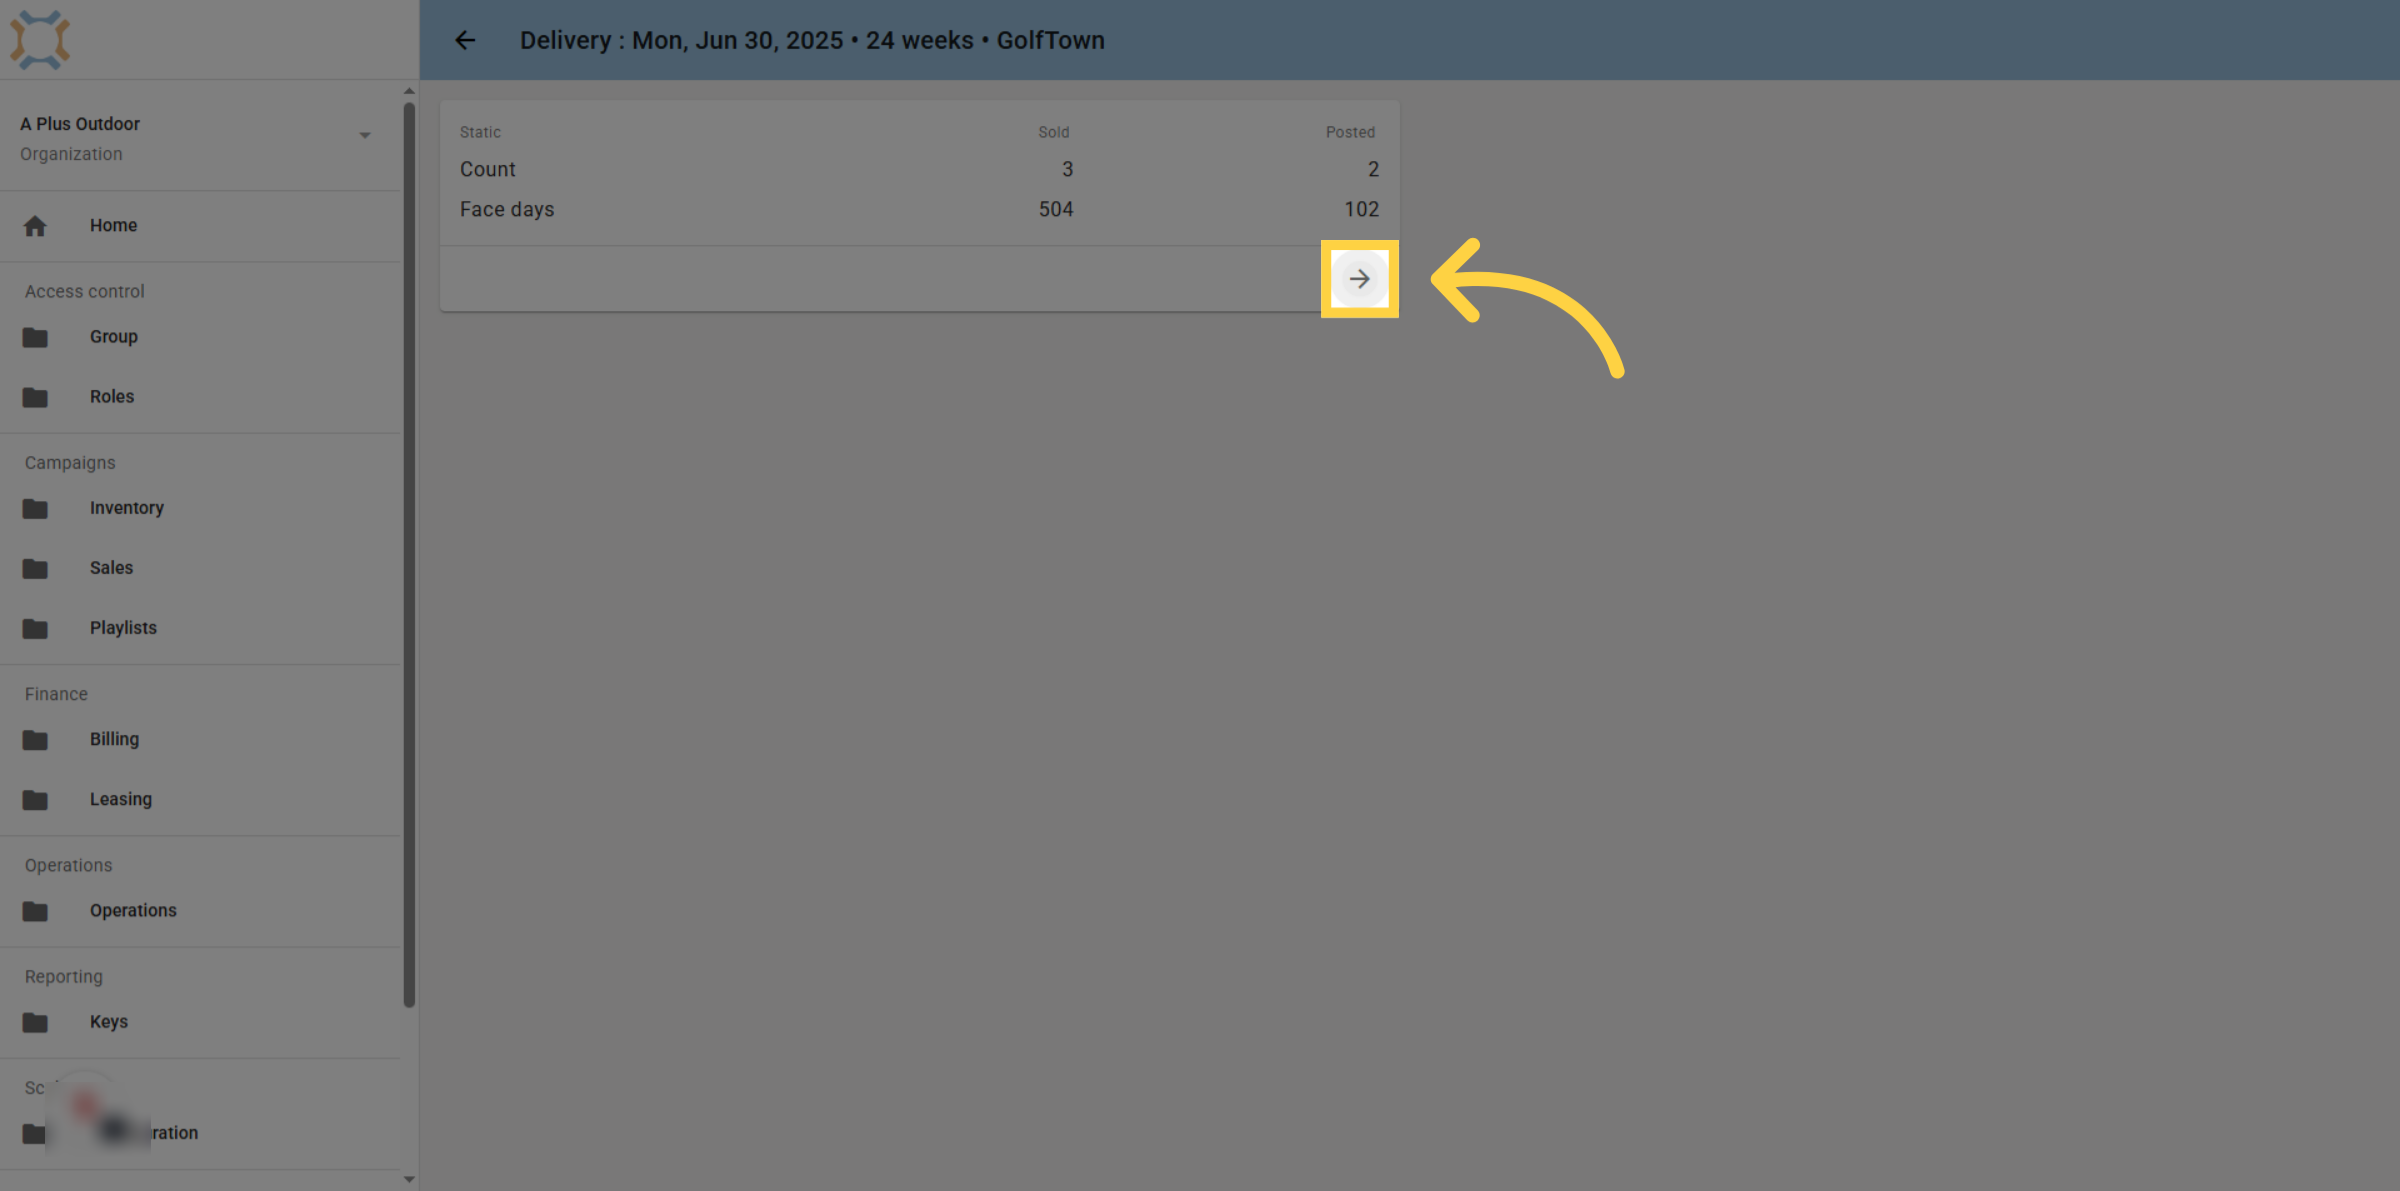
5. Click arrow for details
This summary page provides you with a high level summary about this campaign. For more information click the arrow button for more details.
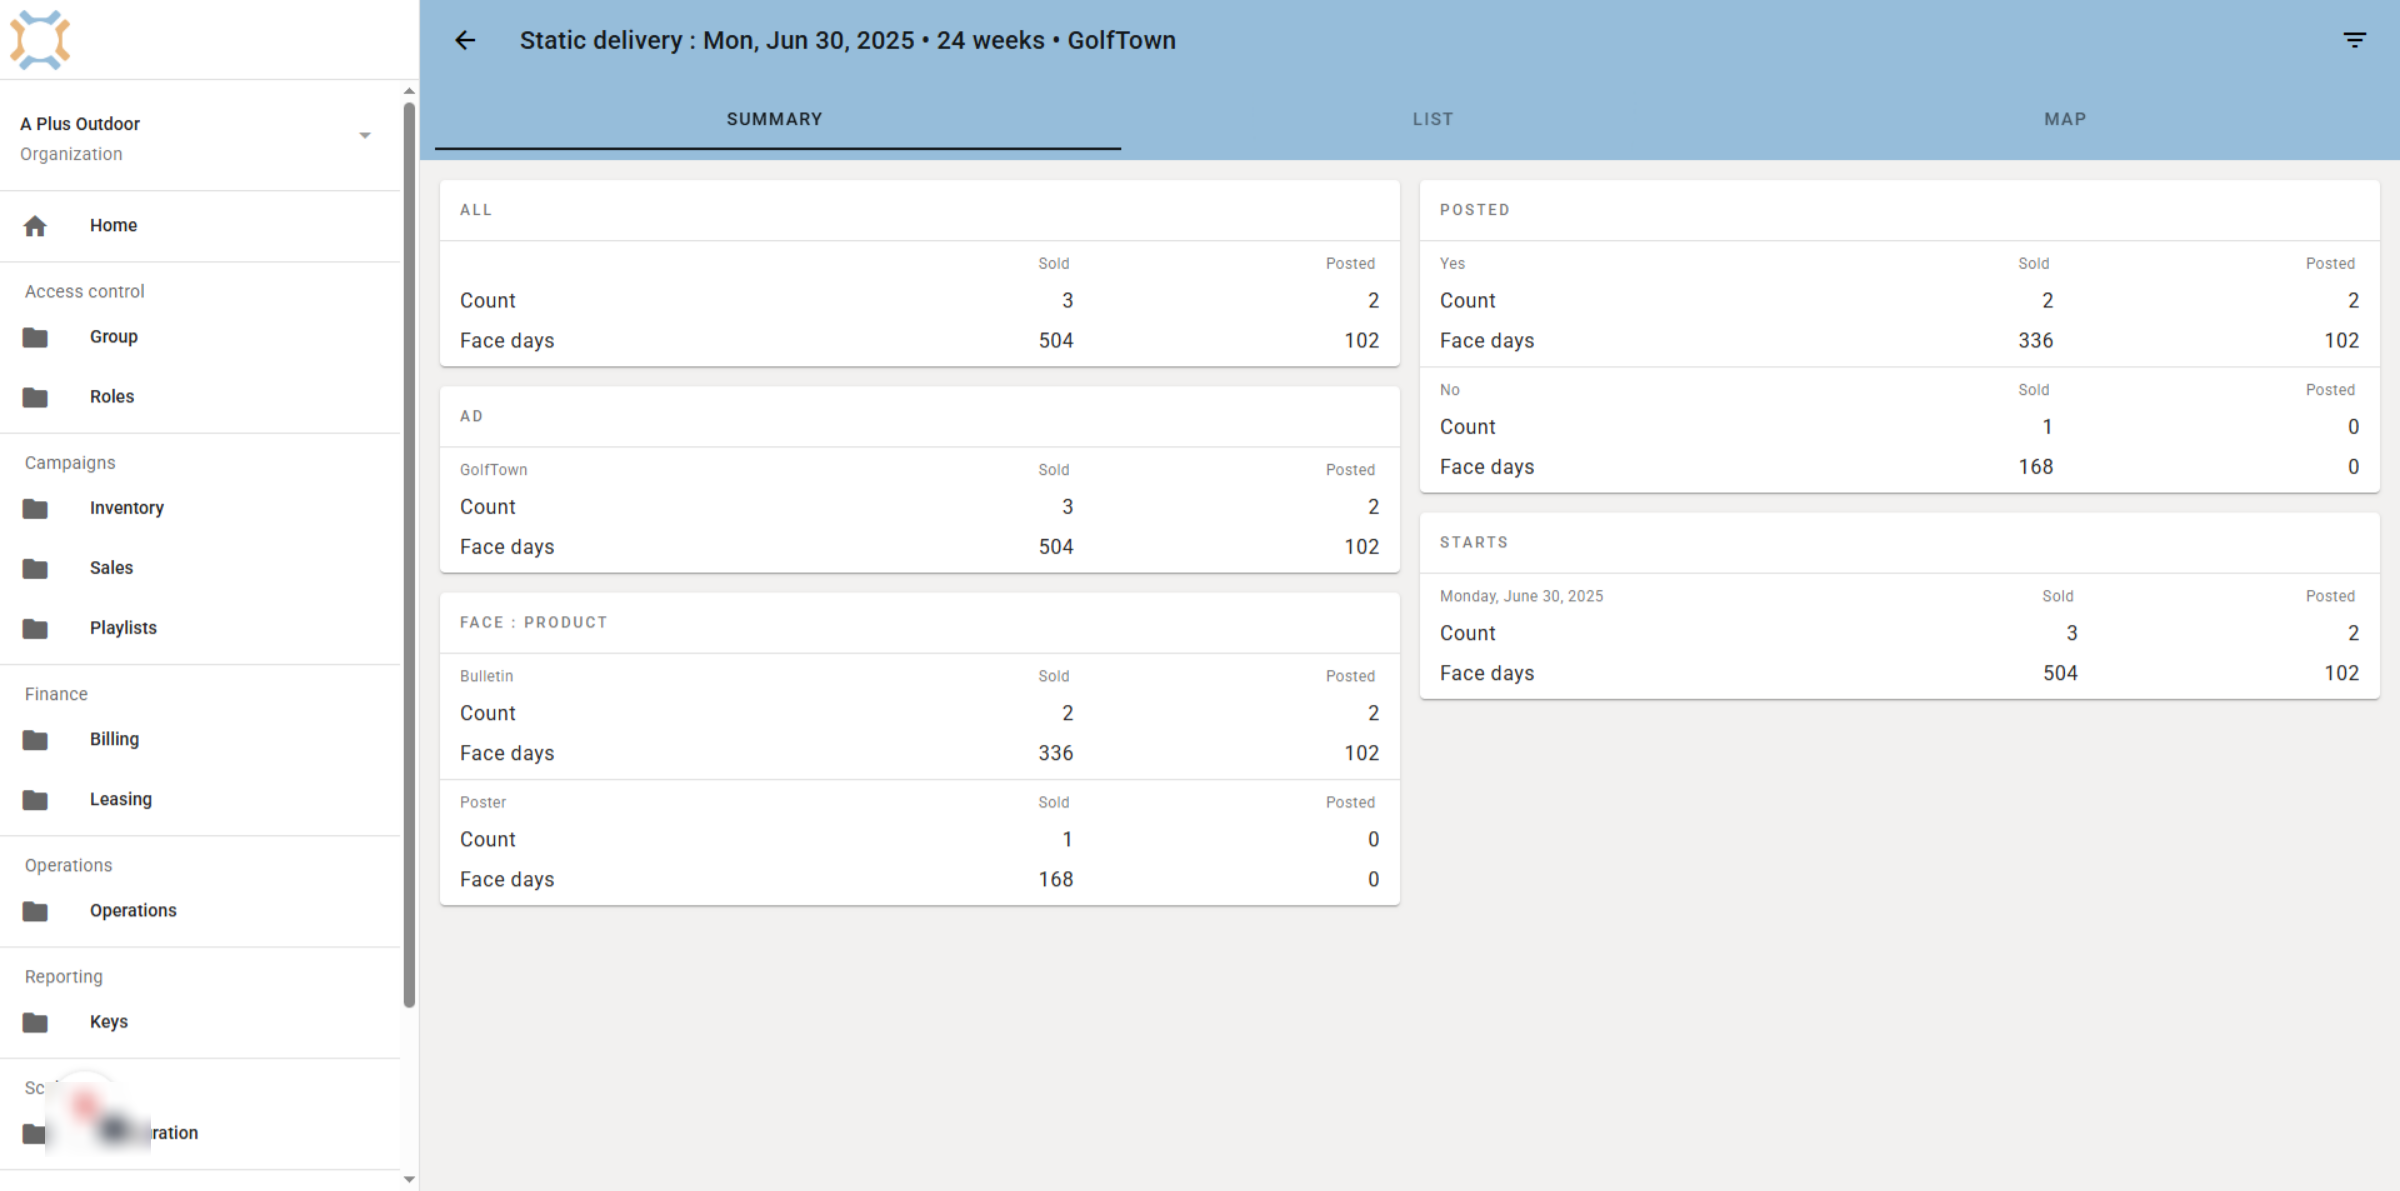
6. Detailed breakdown
A detailed breakdown of the number of items sold compared to actually posted are displayed by various metrics.
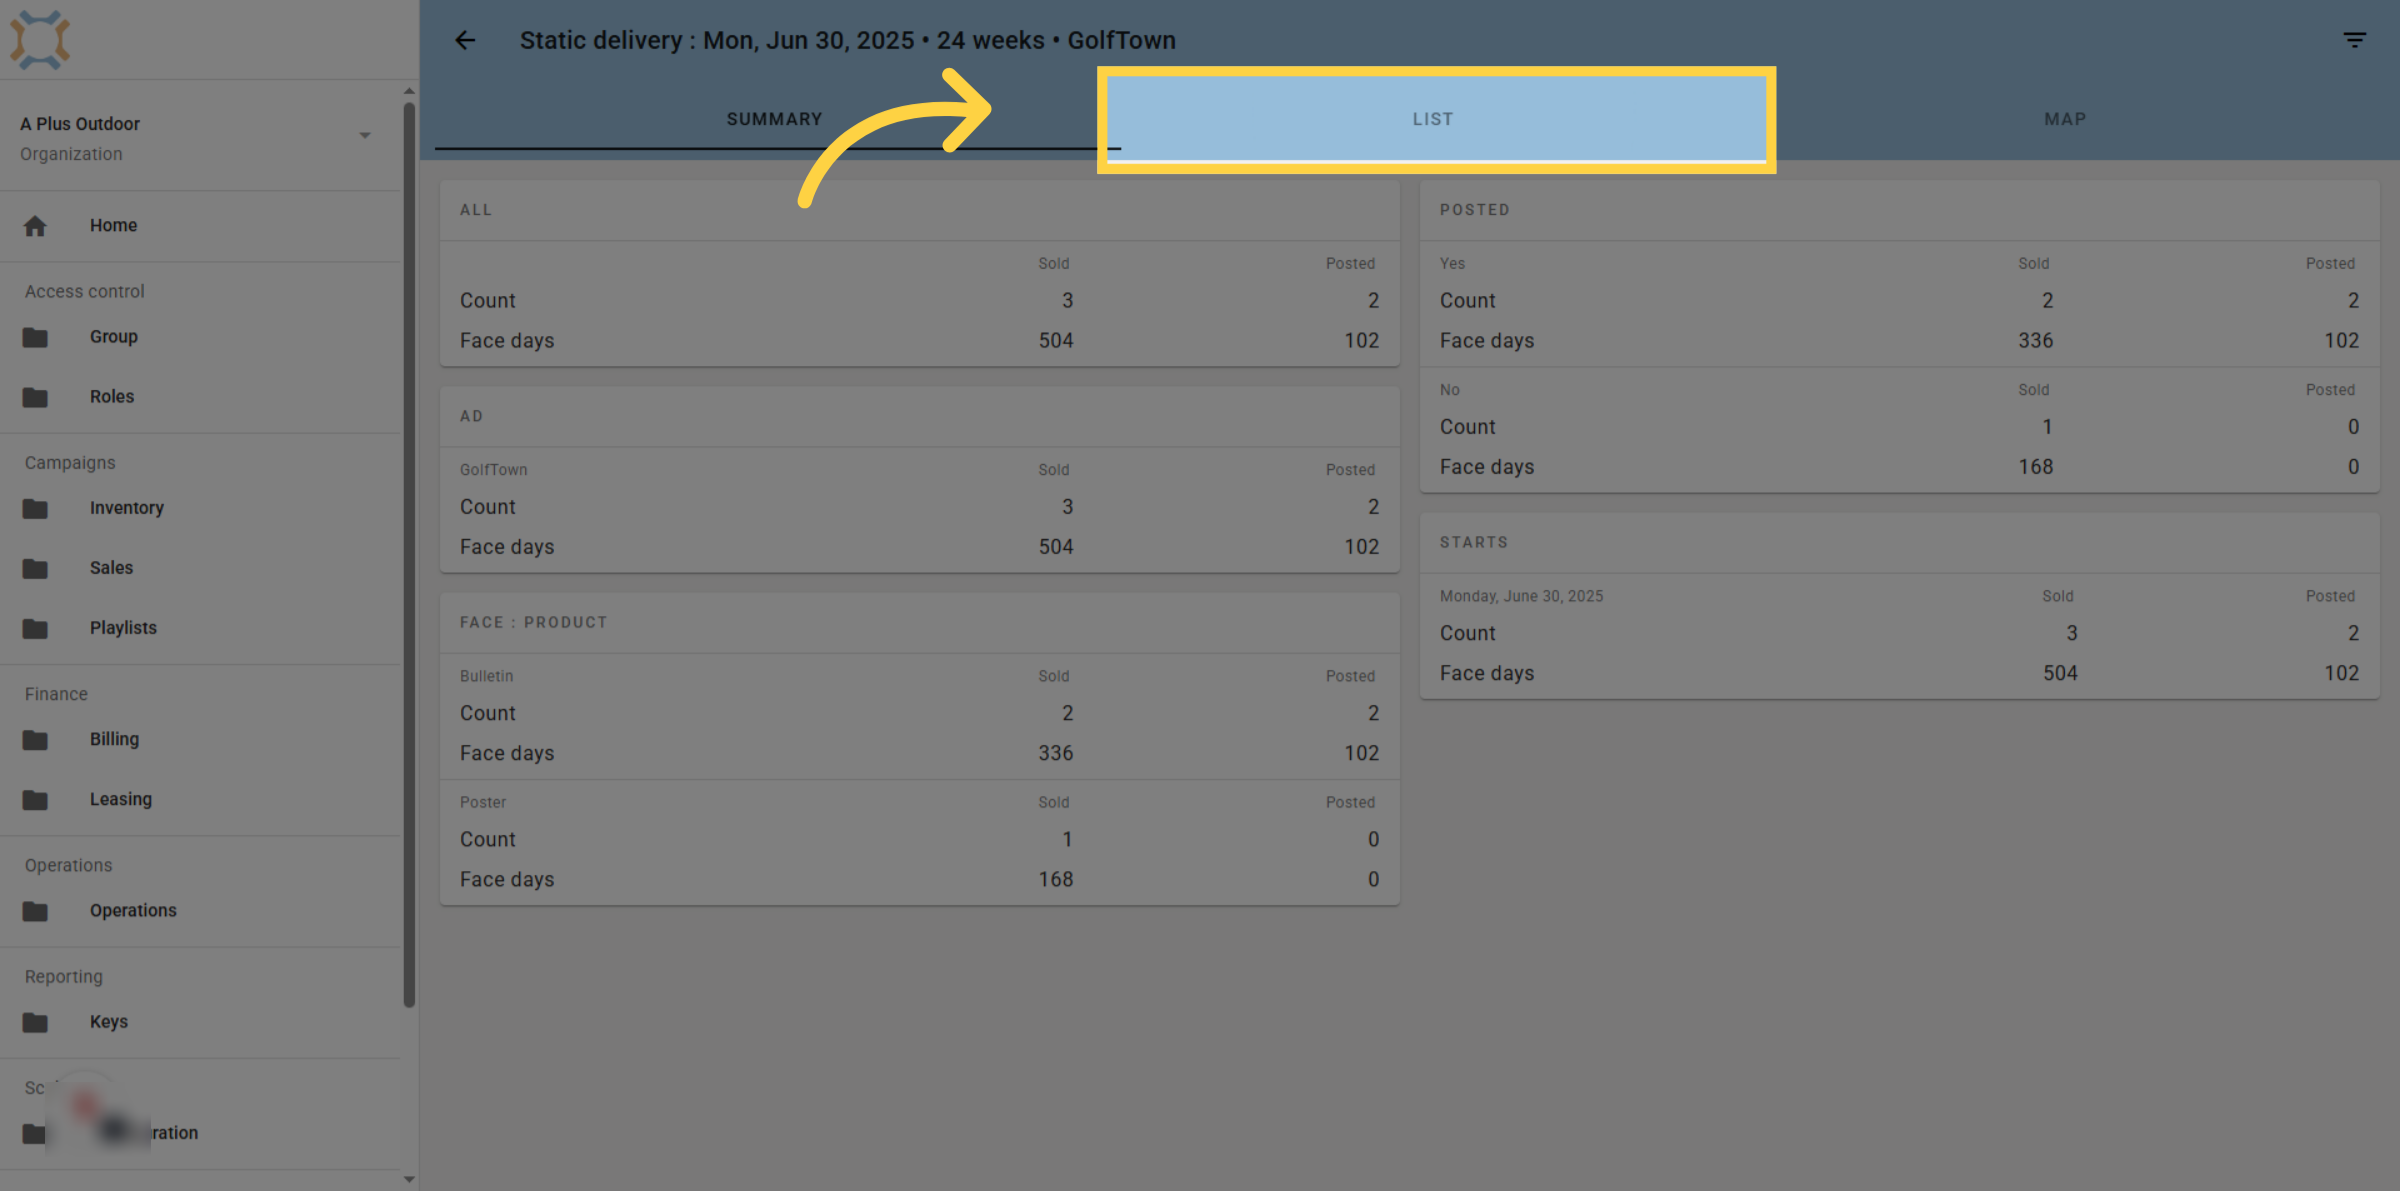
7. View list of bookings
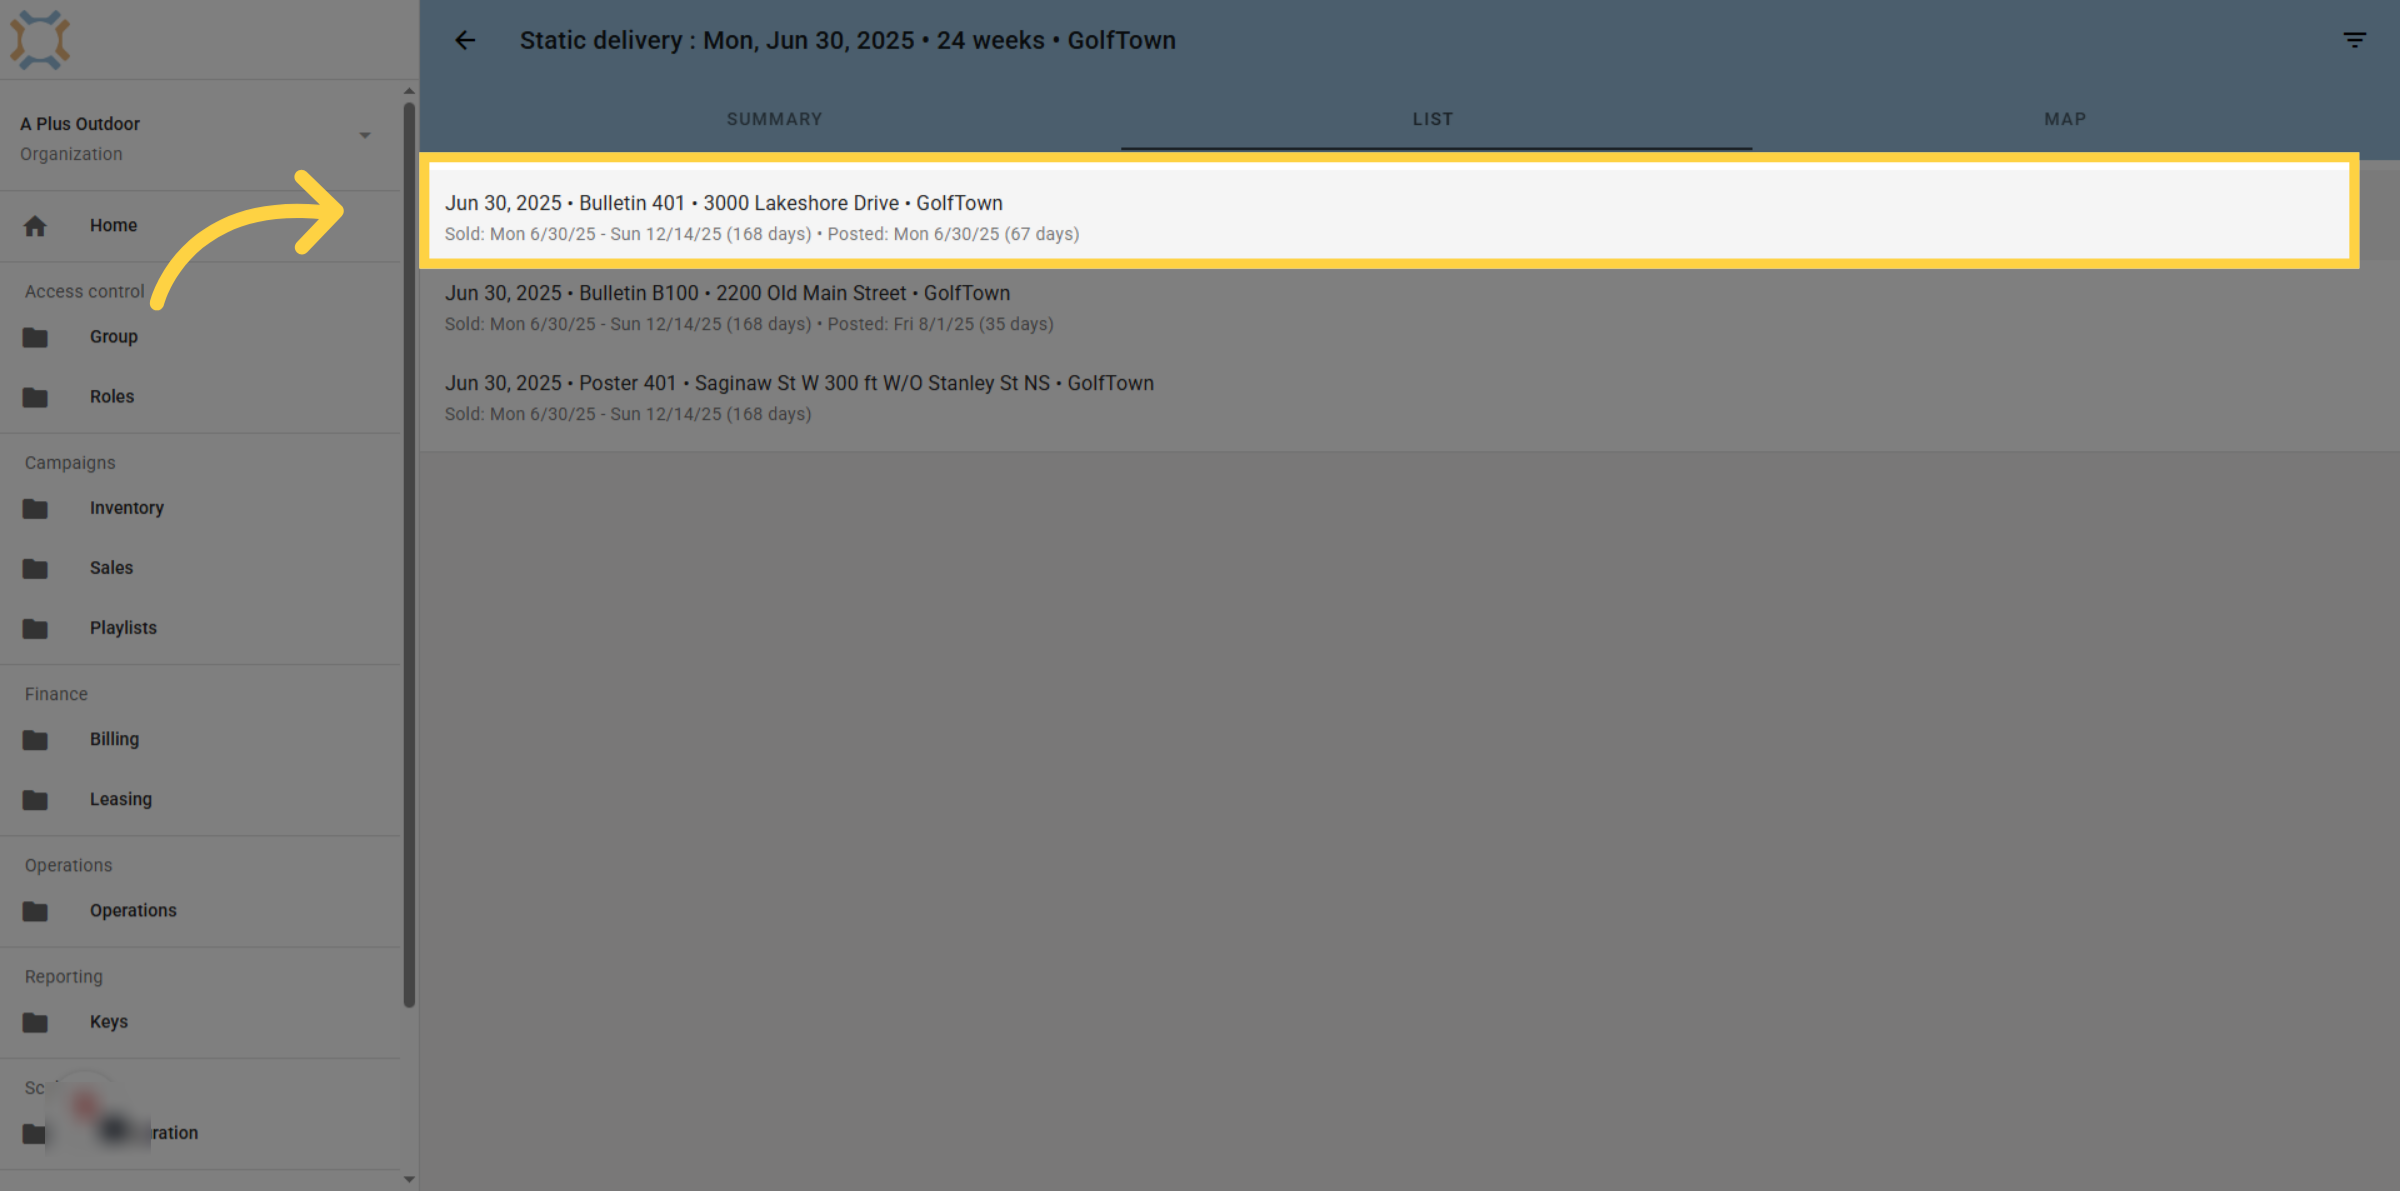
If you wish to see a list of all bookings on the campaign can be viewed by clicking the List tab
8. Select location for more details
Each location is listed with its posted and covered dates. If you wish to see more information about a specific booking, click on the location.
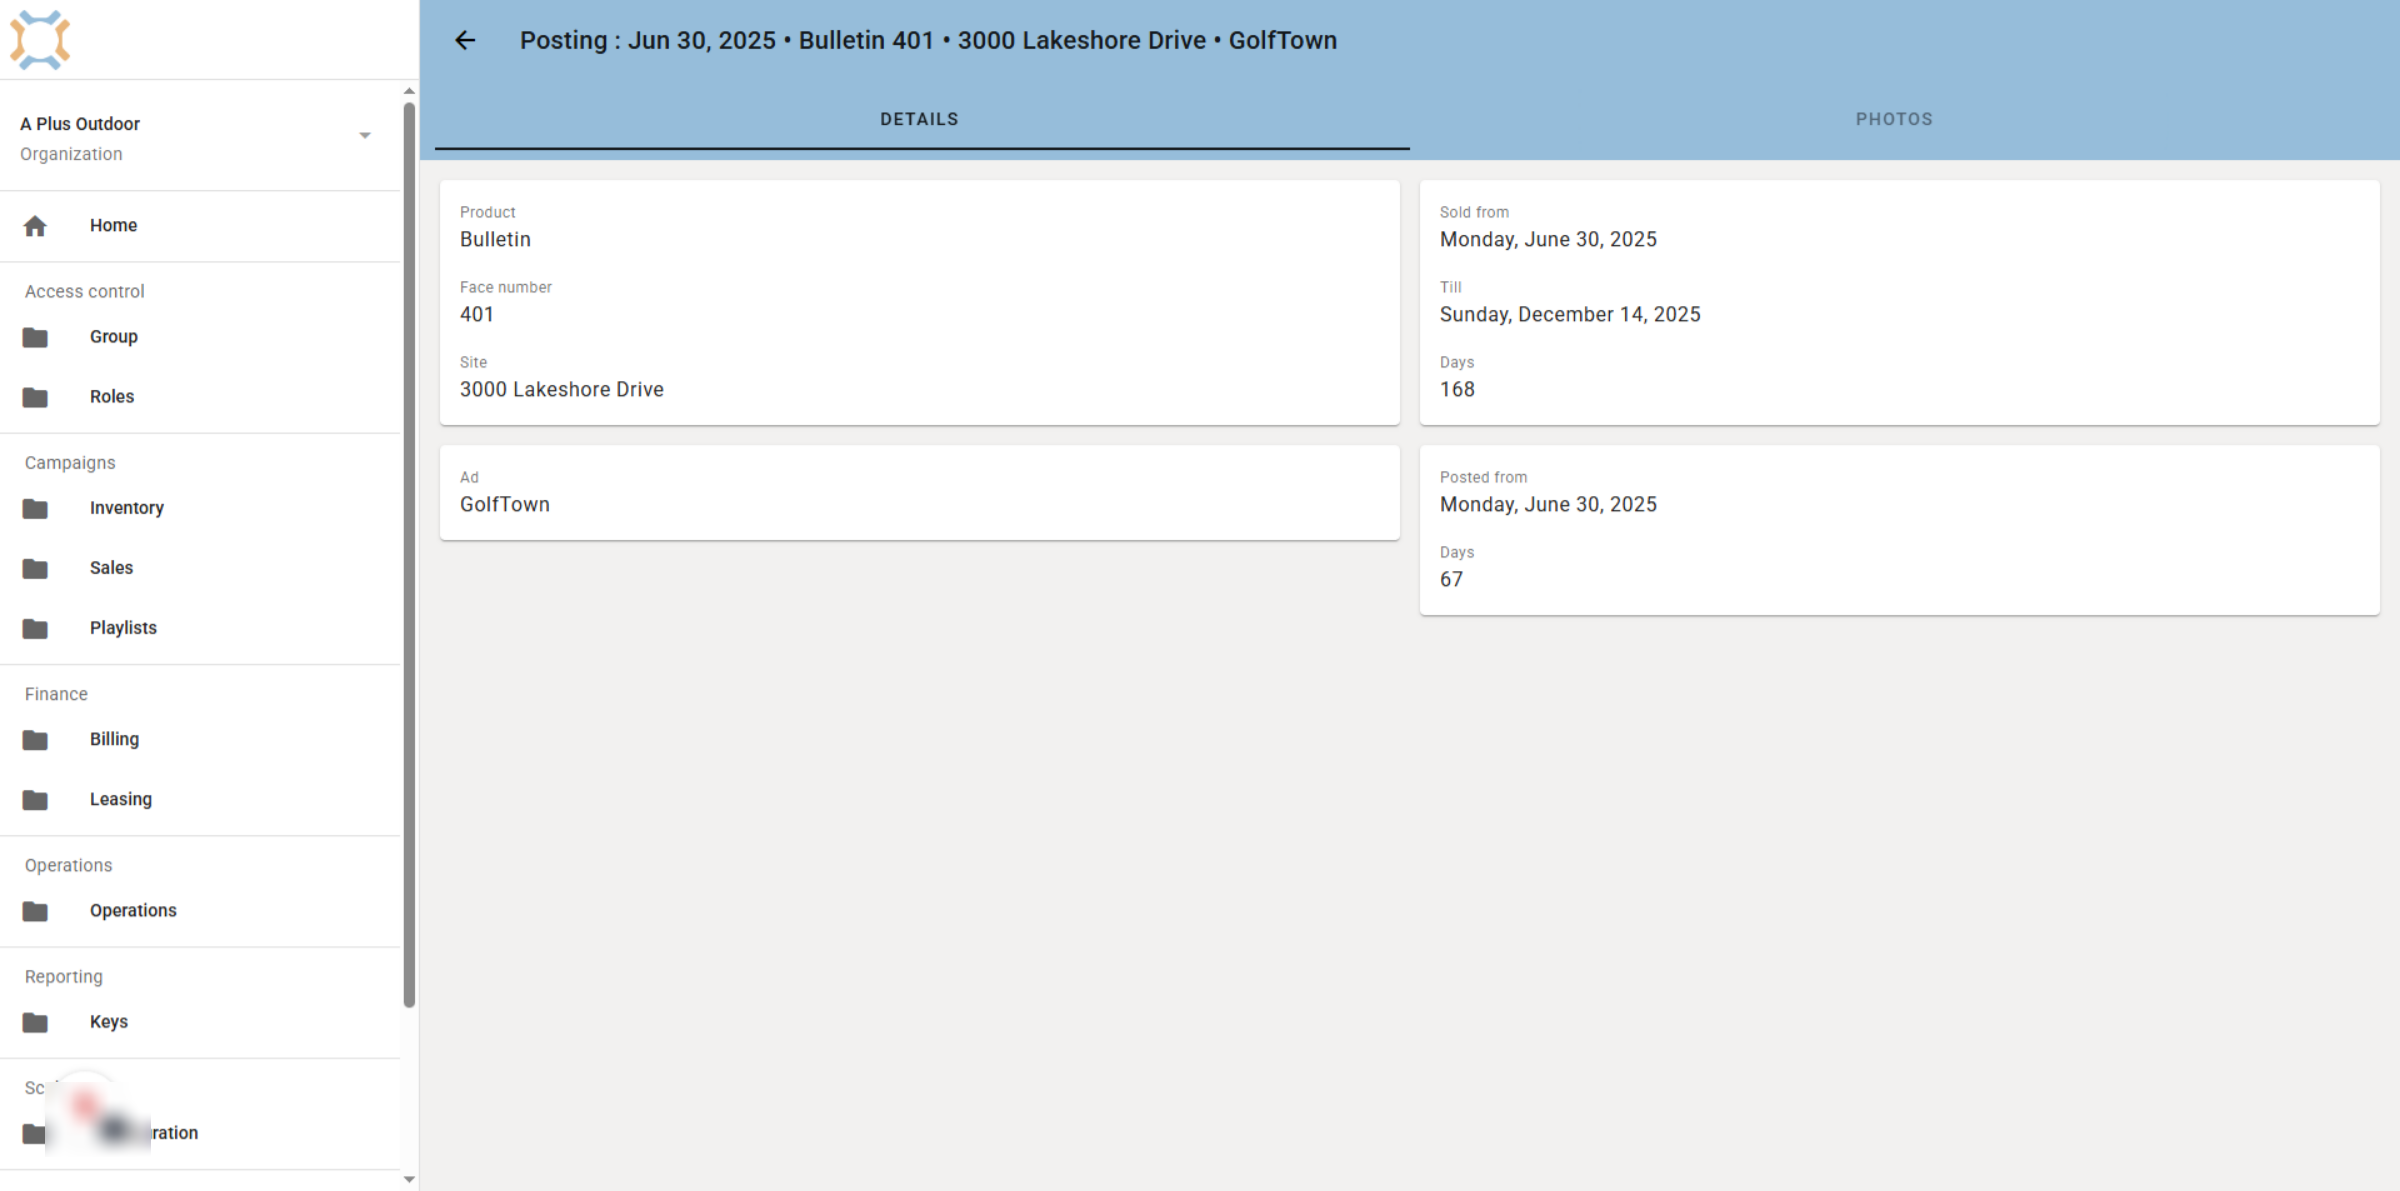
9. Booking detail
Looking at the booking detail, you can see more information about the posting.
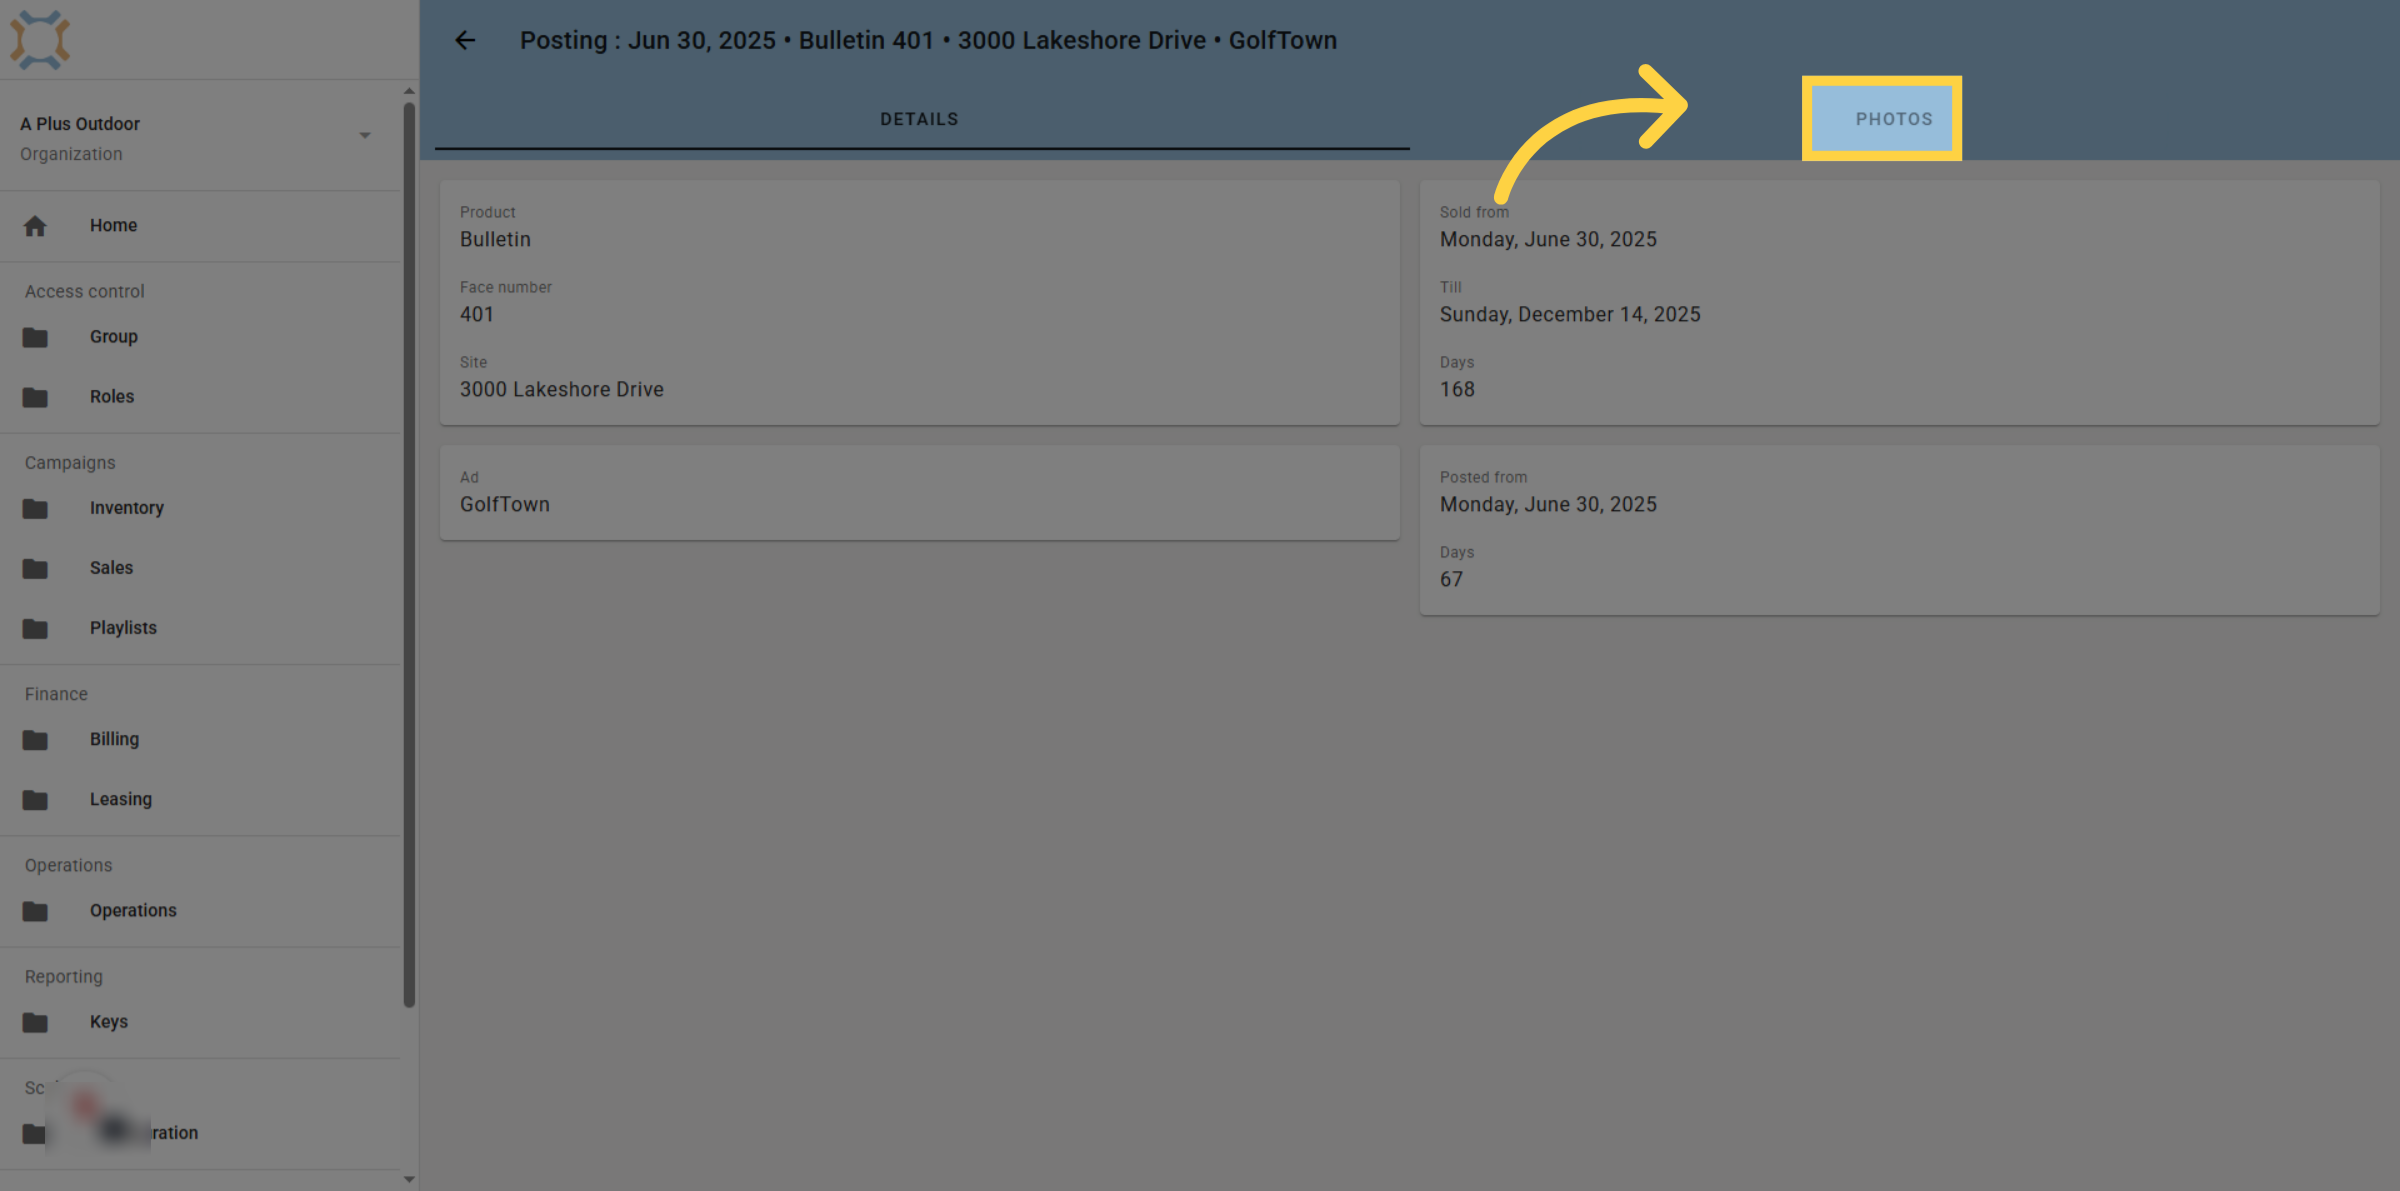
10. Click "photos"
If you wish to see the completion photos, click on the photos tab
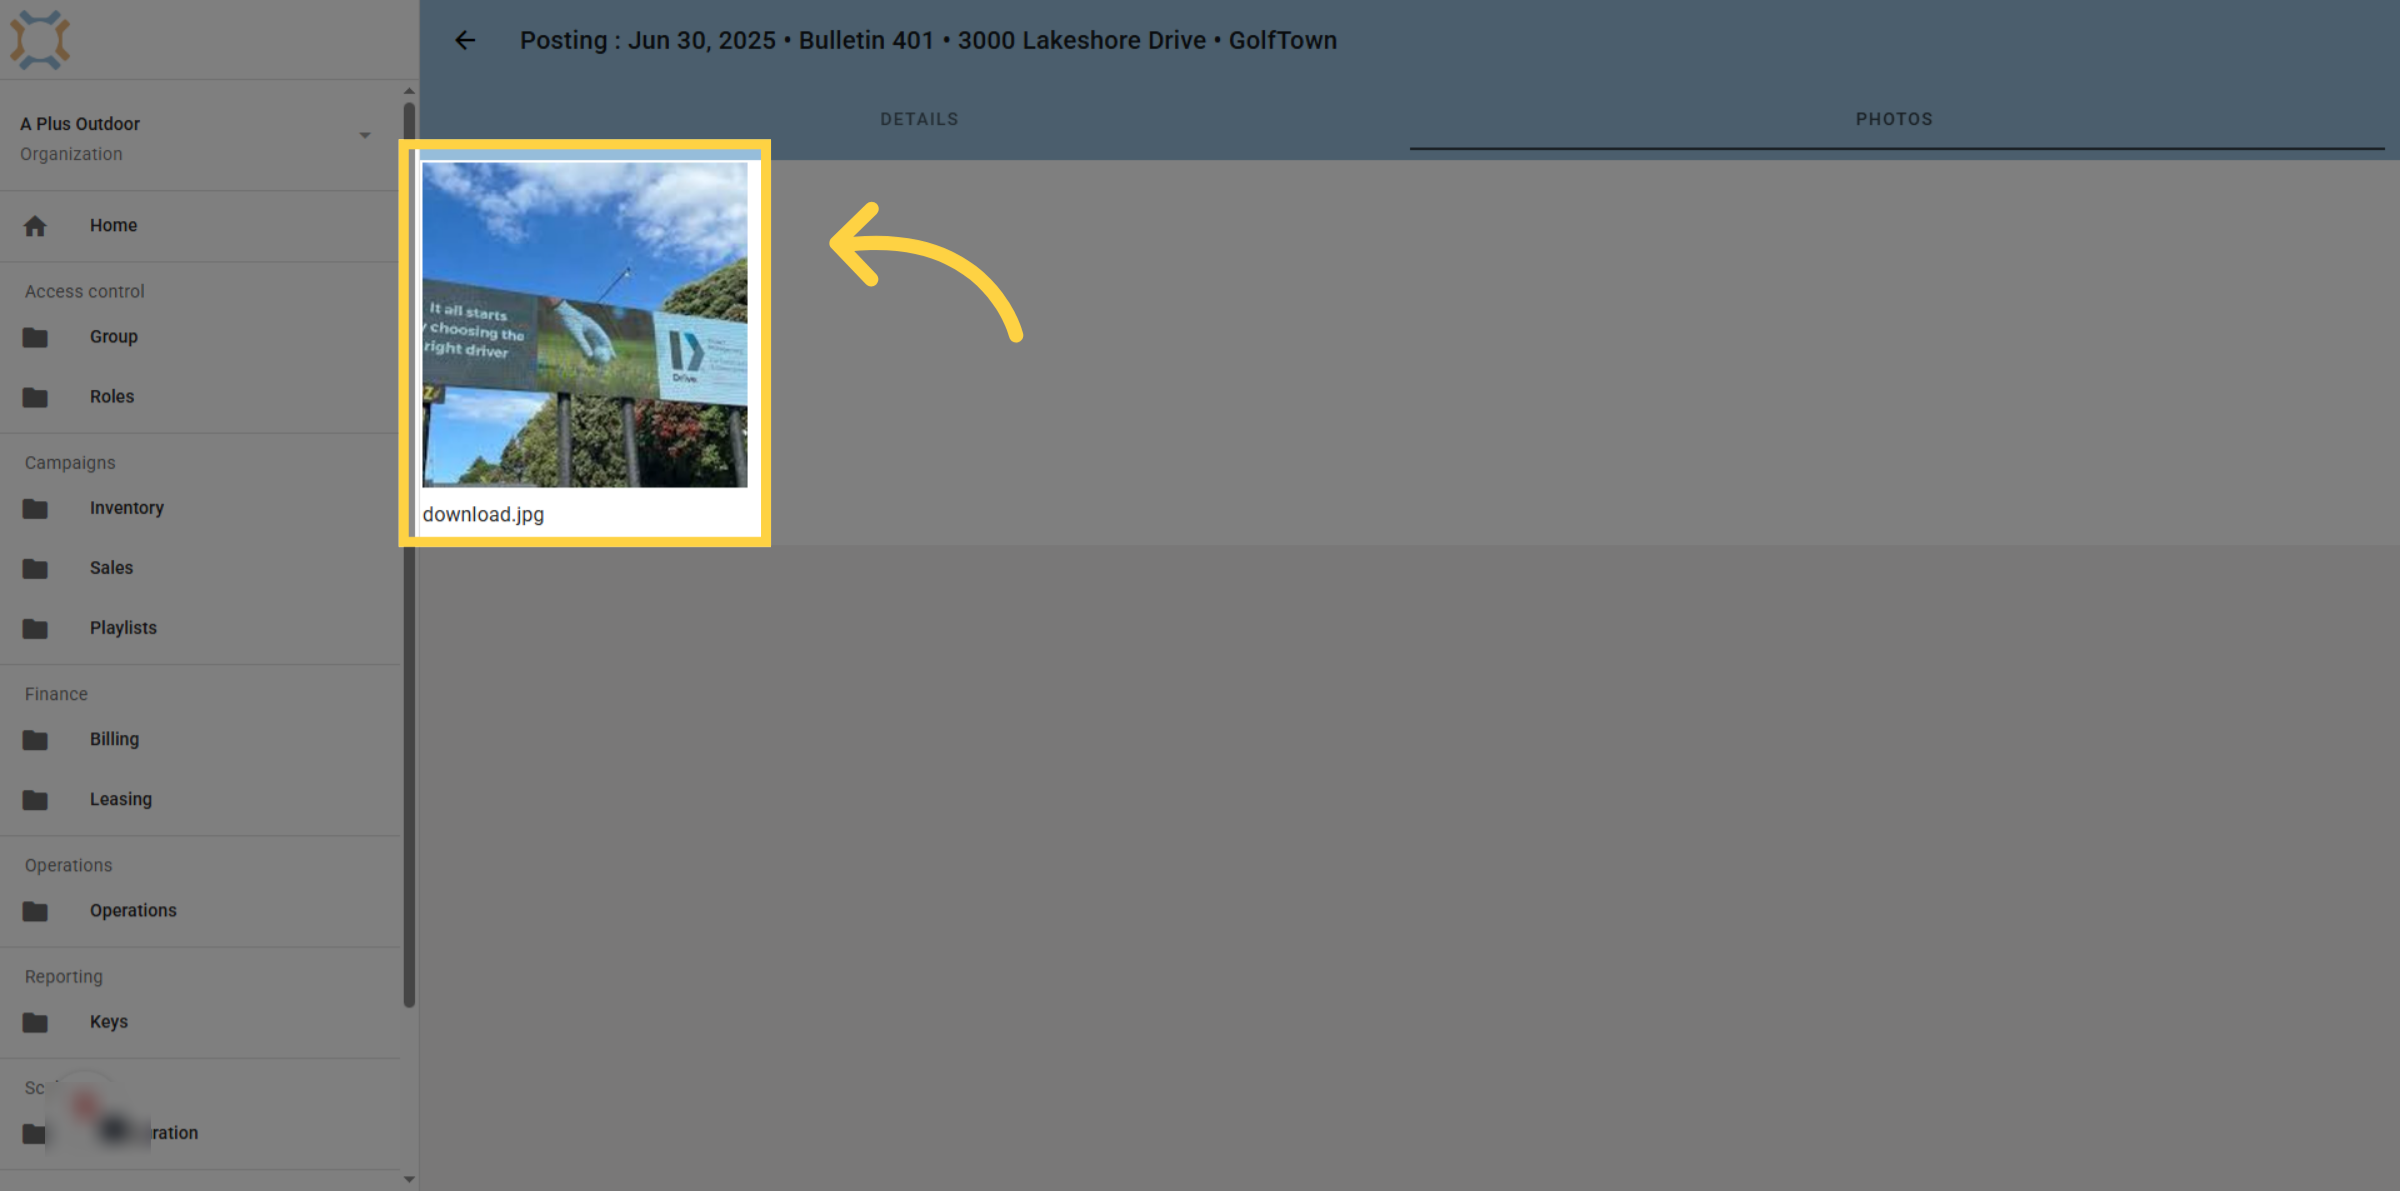
11. View photo
Any photos associated with the completion of the installation are displayed. To see a larger version of the image, click on the thumbnail
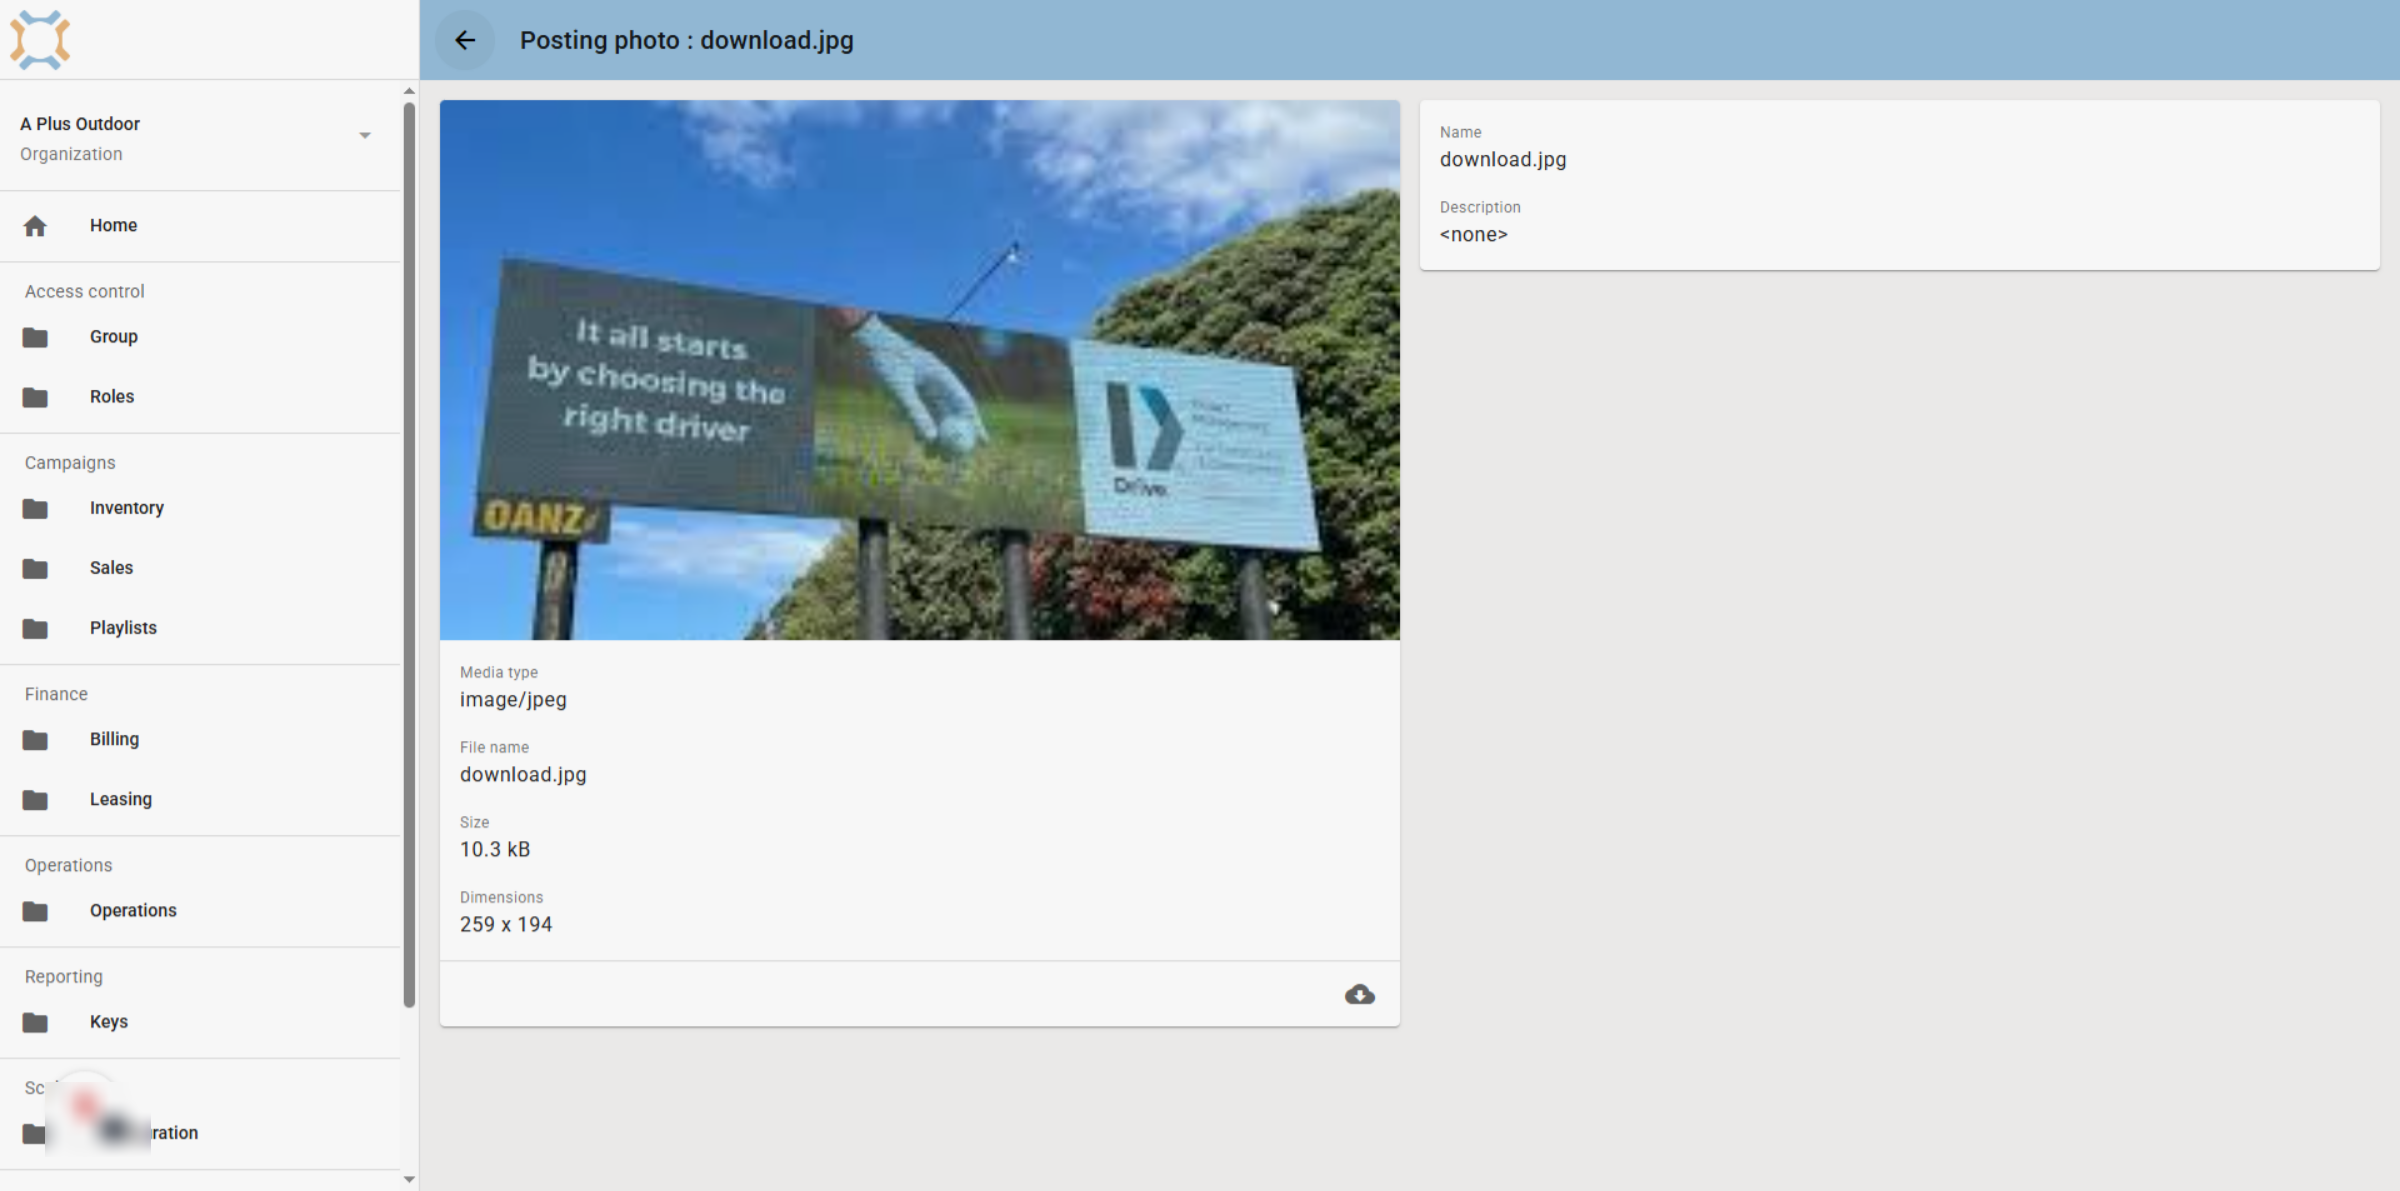
12. View photo detail
A larger version of the photo is shown, along with details of the image. You can download the image or click on it again to see the full screen version of the image.
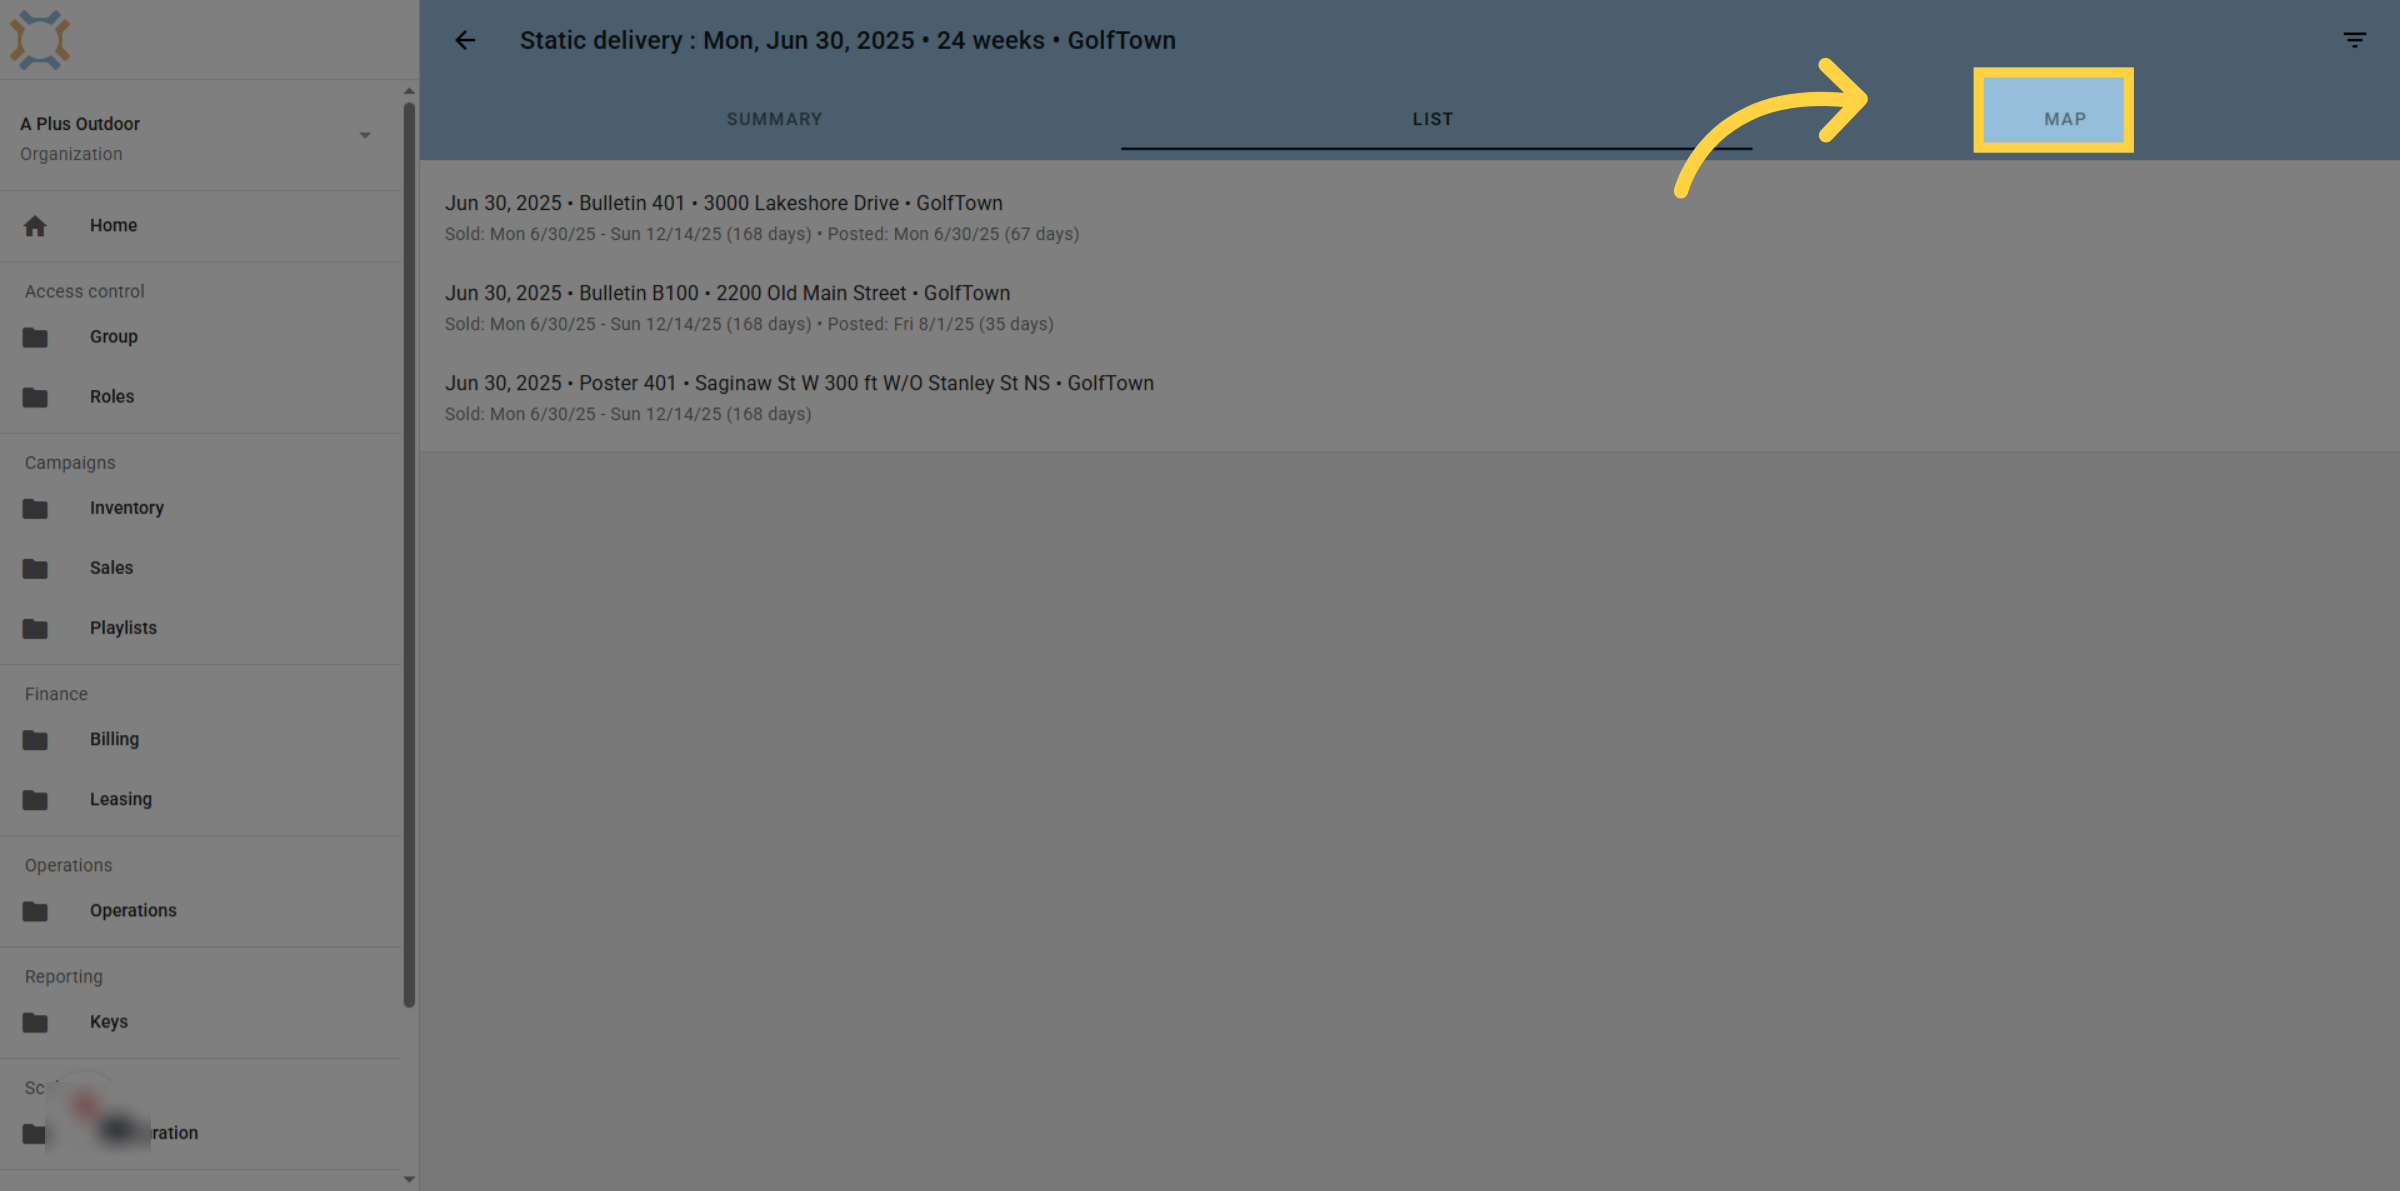
13. Click here
If you wish to see a map view of the campaign, click on map
14.
With the map, you will be able to see posted locations in green.
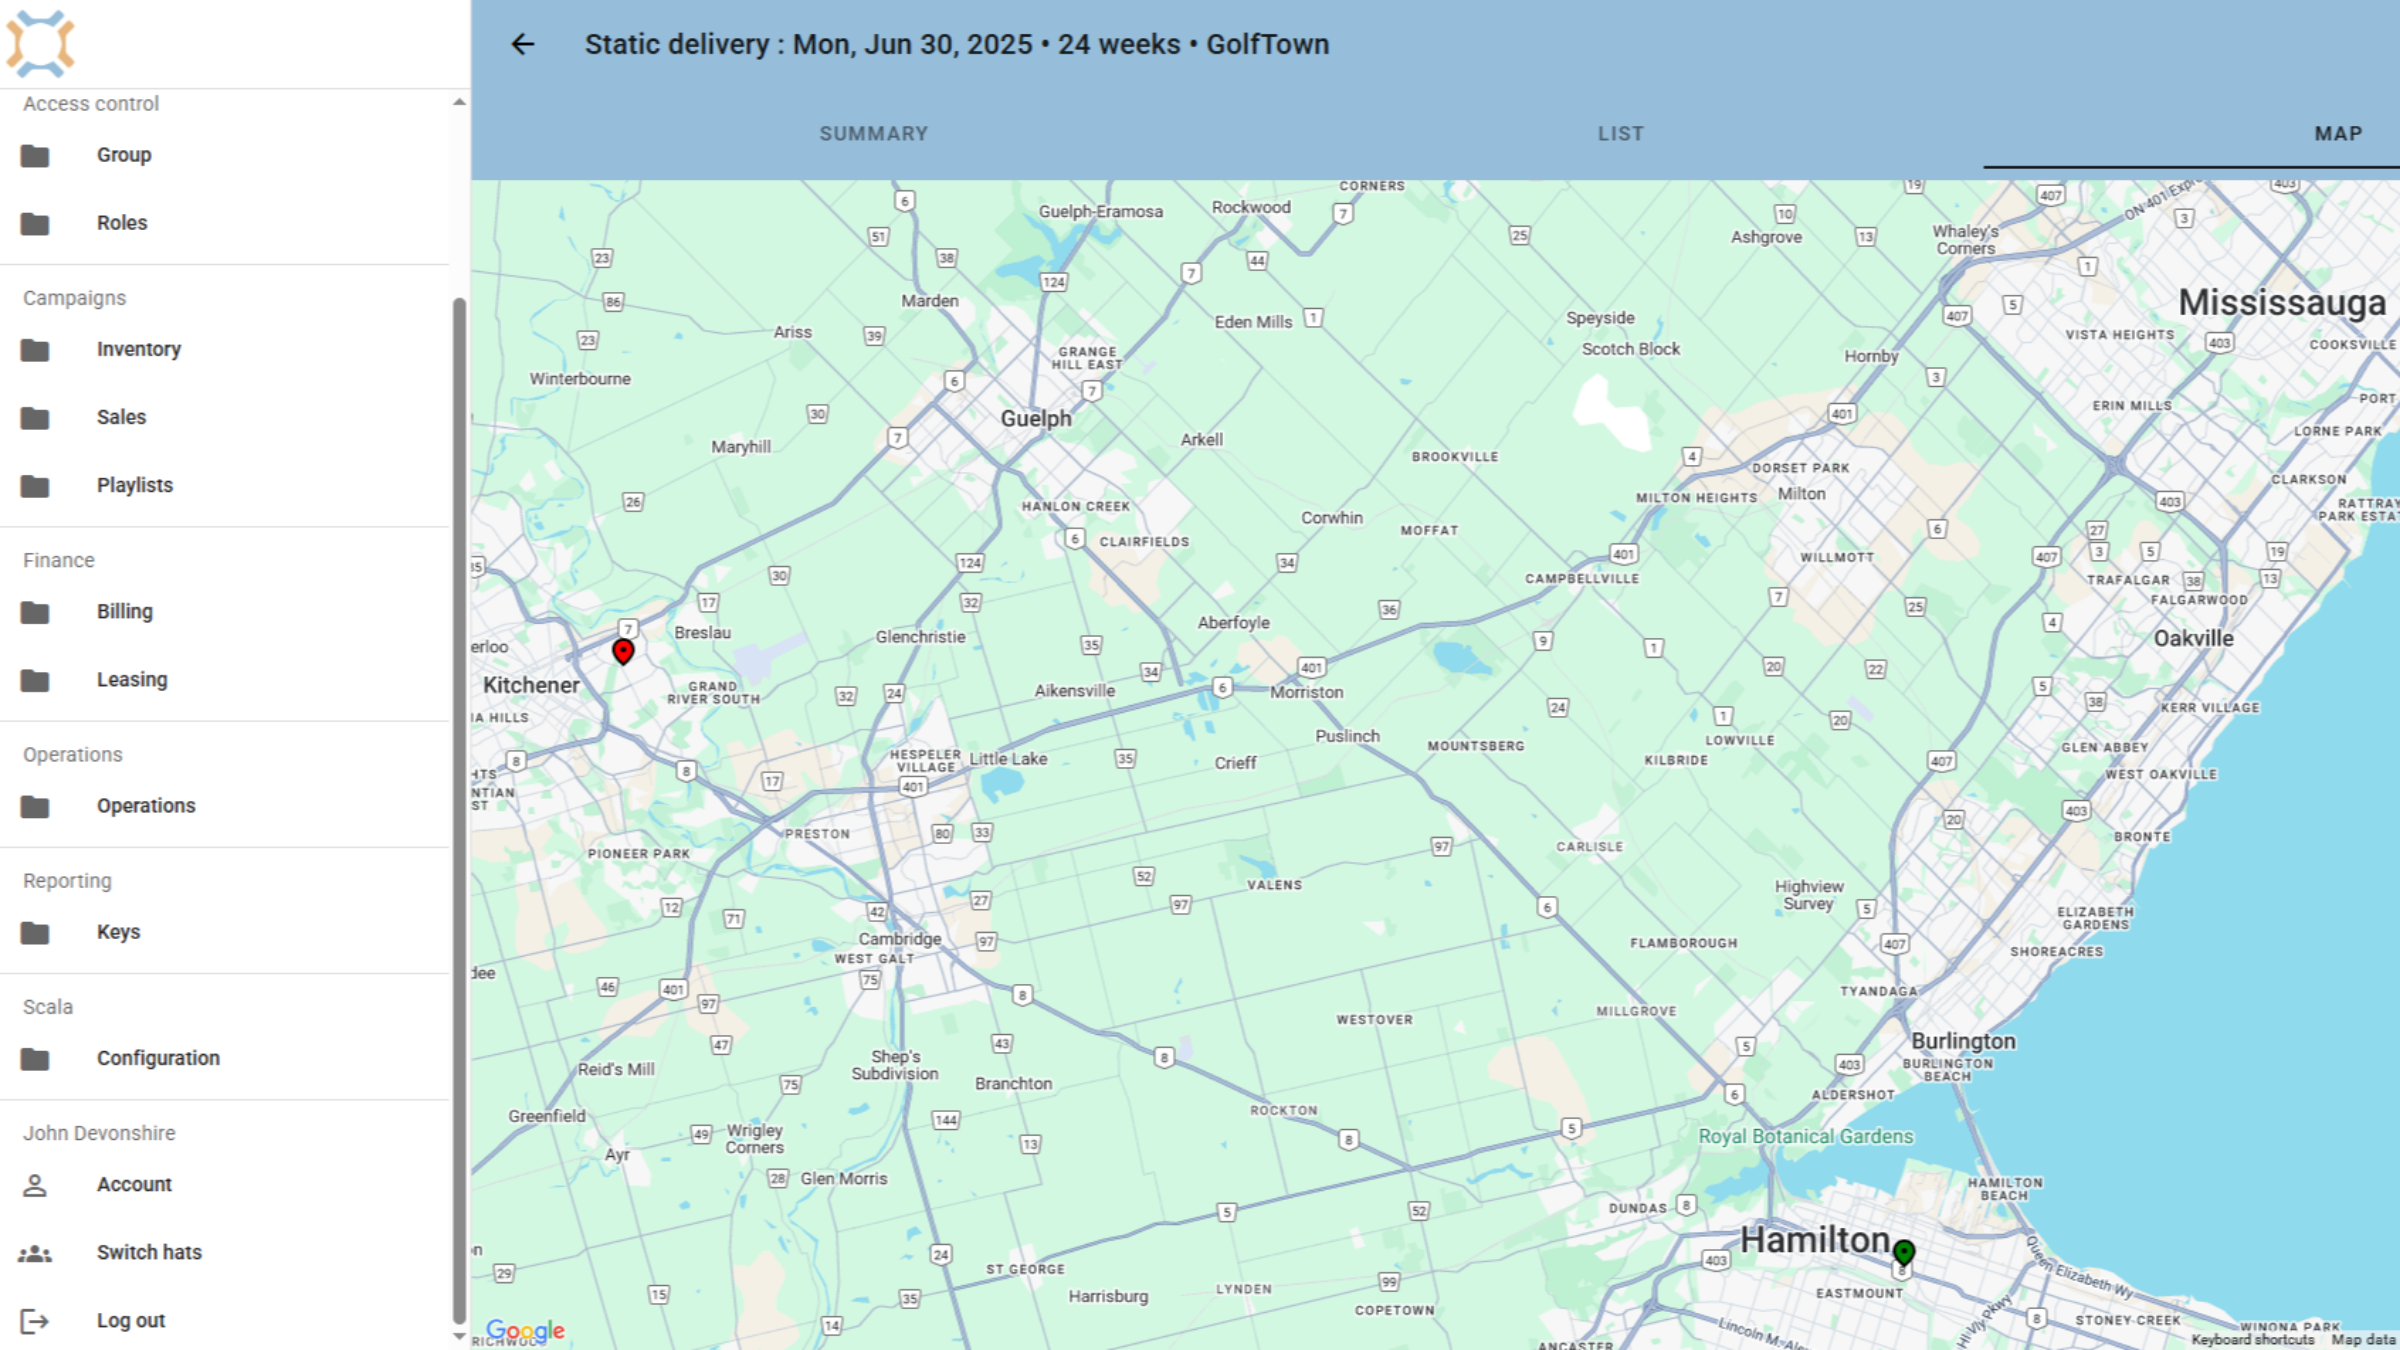
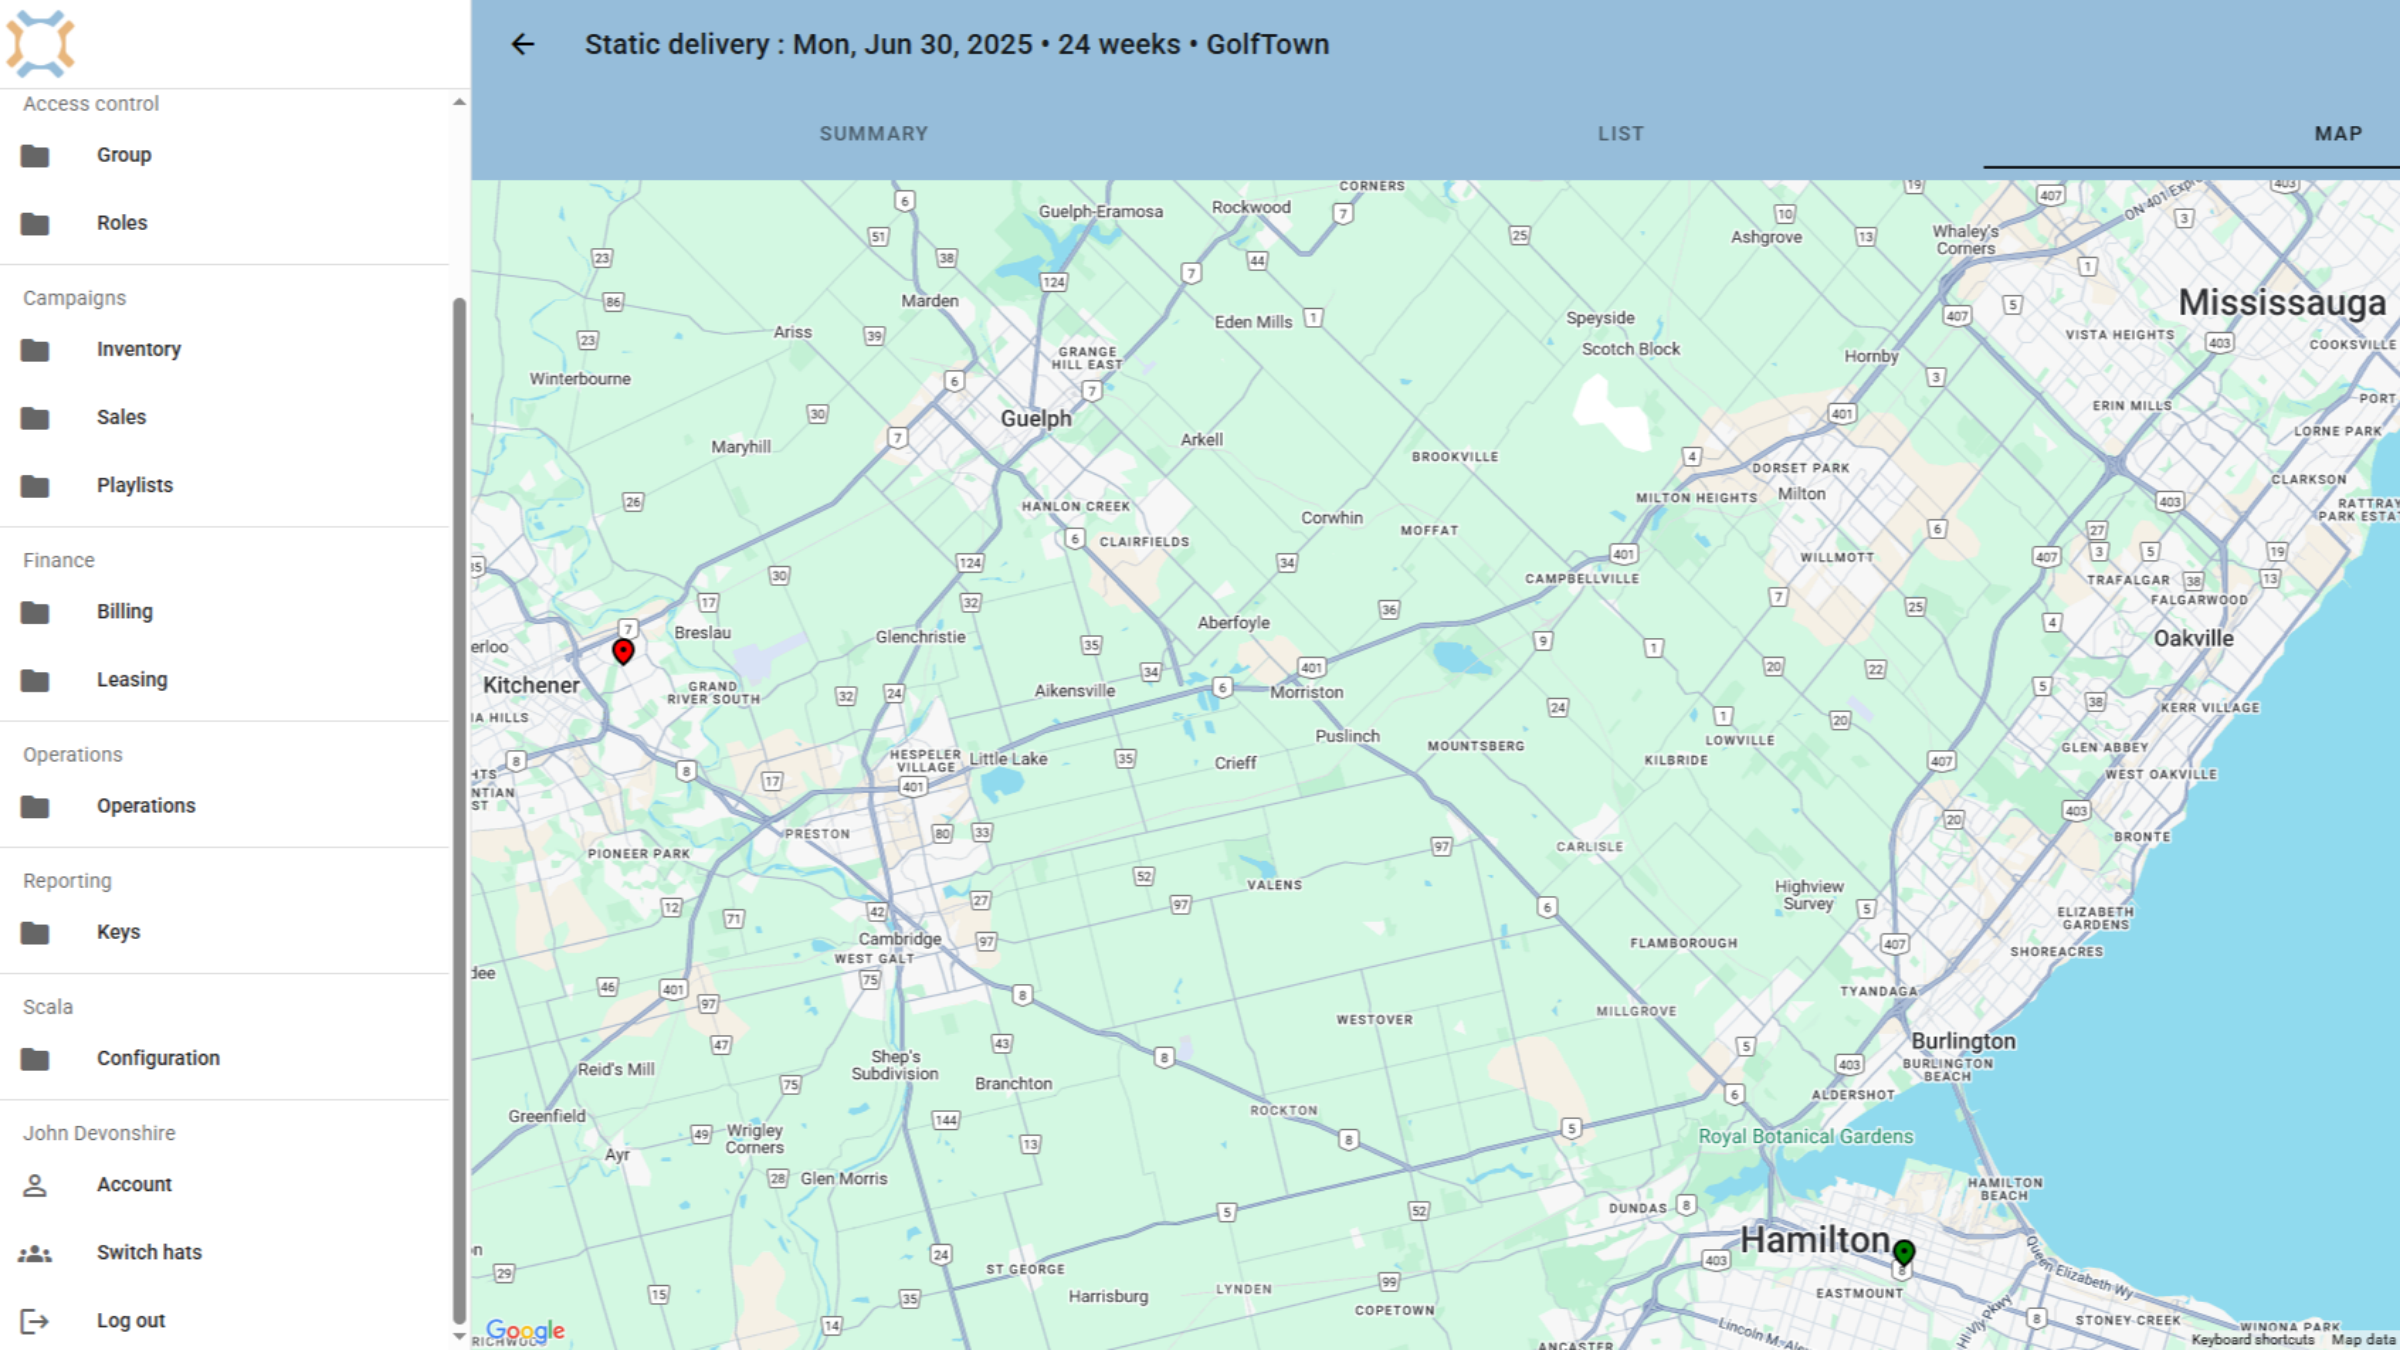
15.
and you will be able to see unposted locations in red.
If you have any additional questions, please contact Dot2Dot for assistance.
Comments
0 comments
Please sign in to leave a comment.