
1. Introduction
Ad Manager Connect allows you to create warehouses to track where designs are stored. Go to the Operations item on the main menu
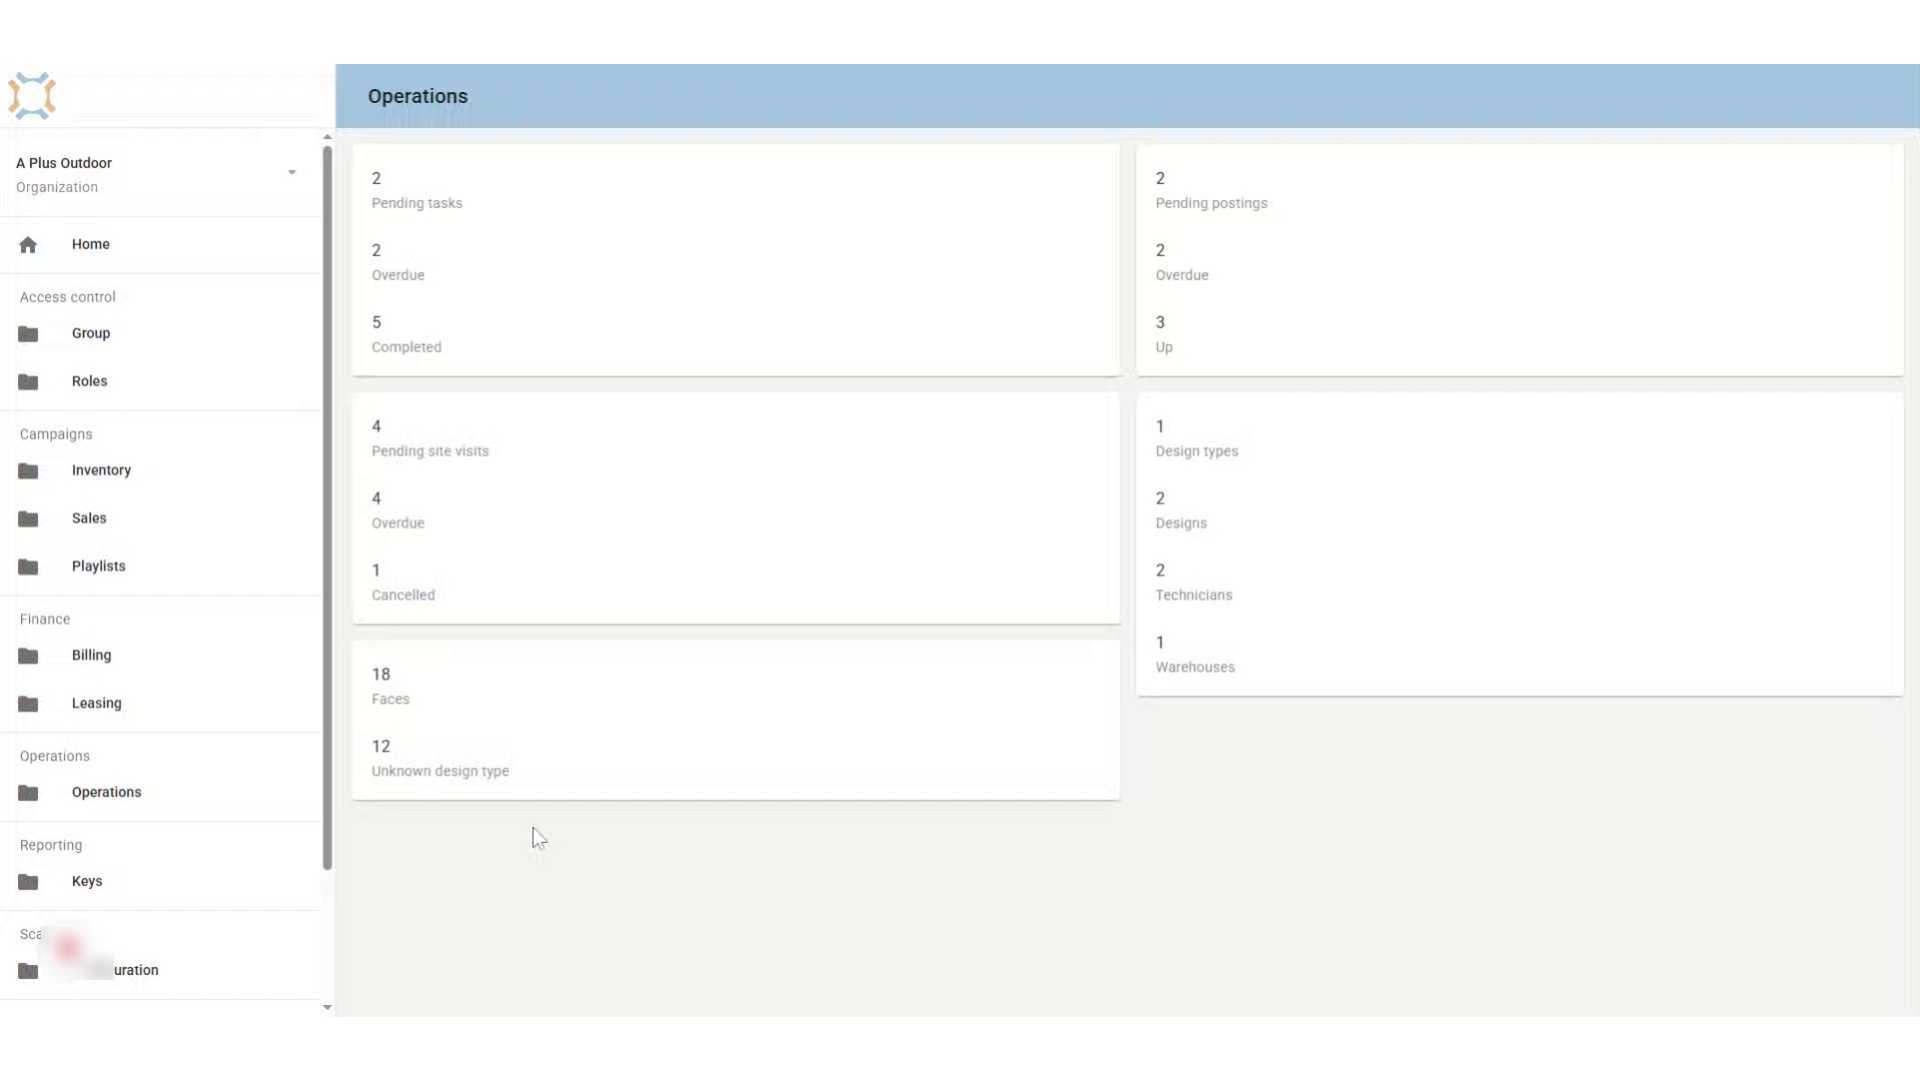
2. Click "Warehouses"
Click on Warehouses to view existing warehouses or to add a new one.
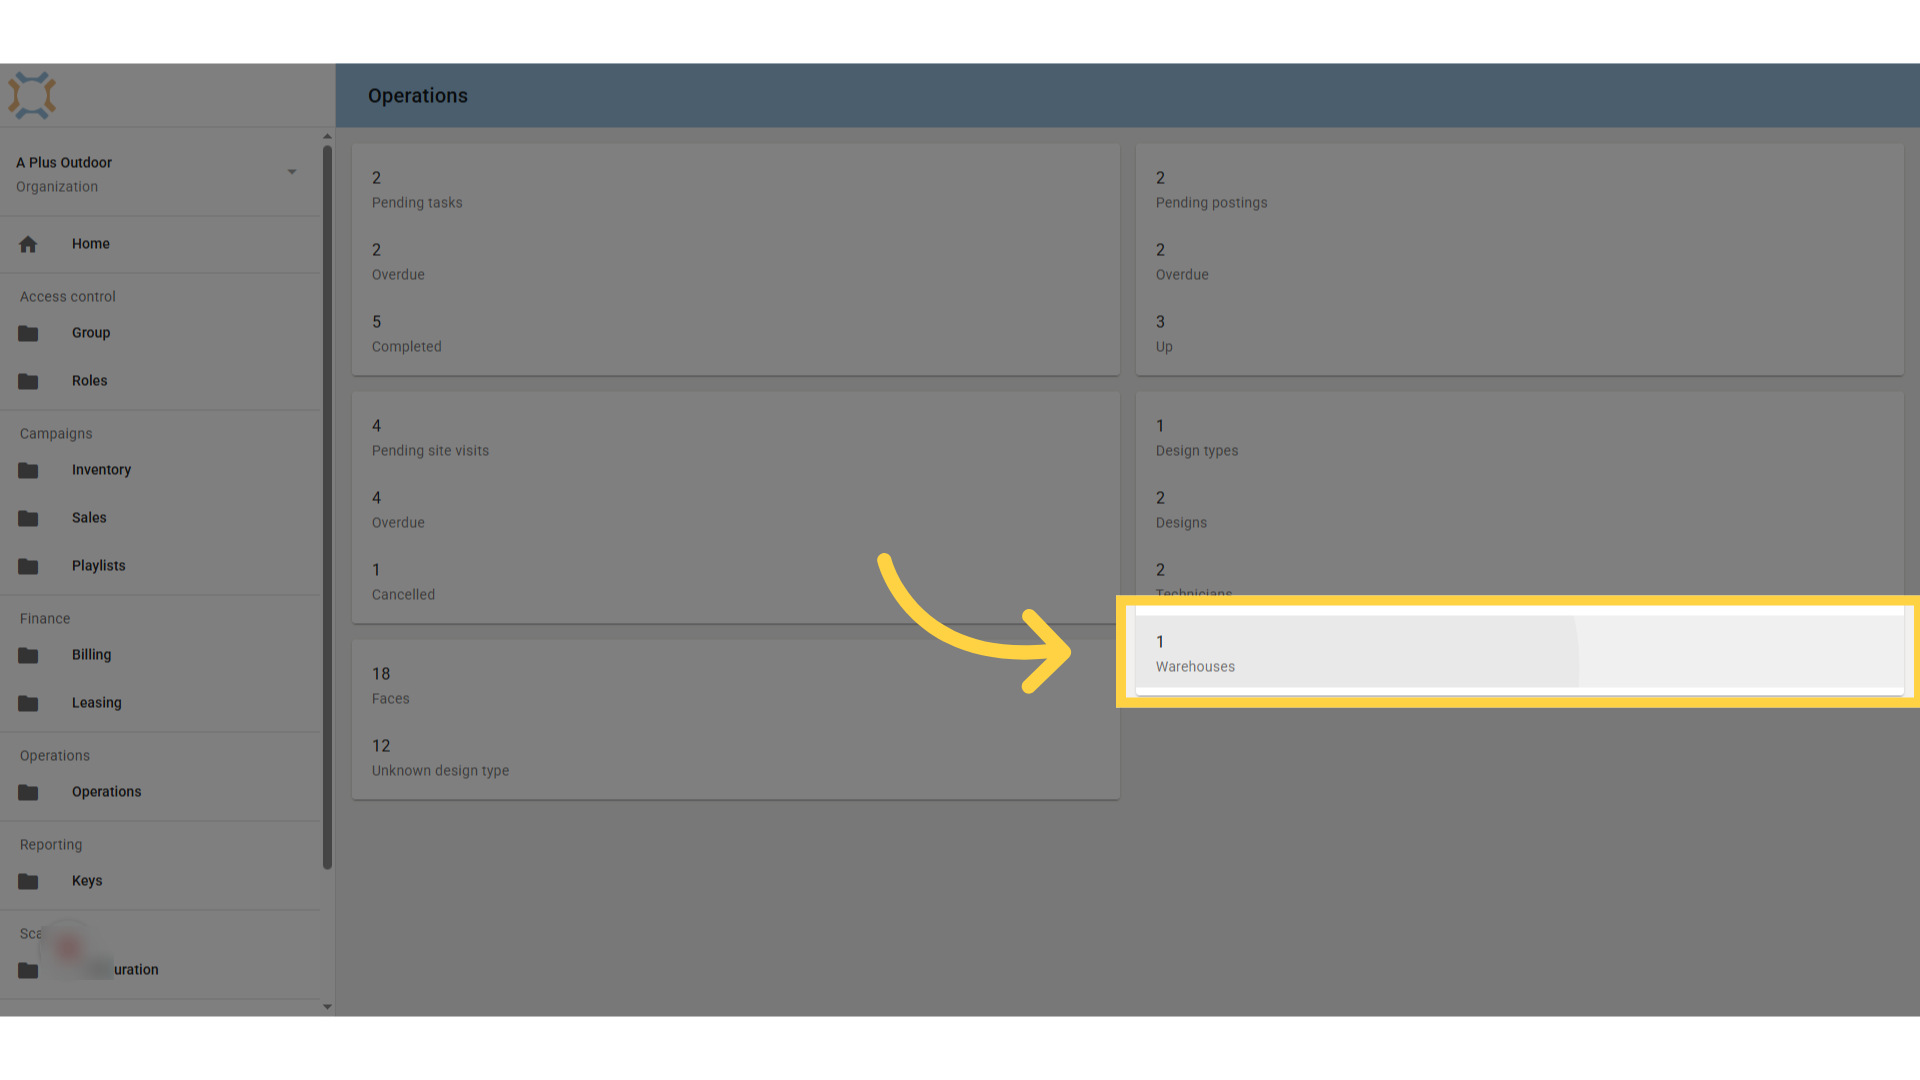
3. Click "add"
Click "add" to add a new warehouse
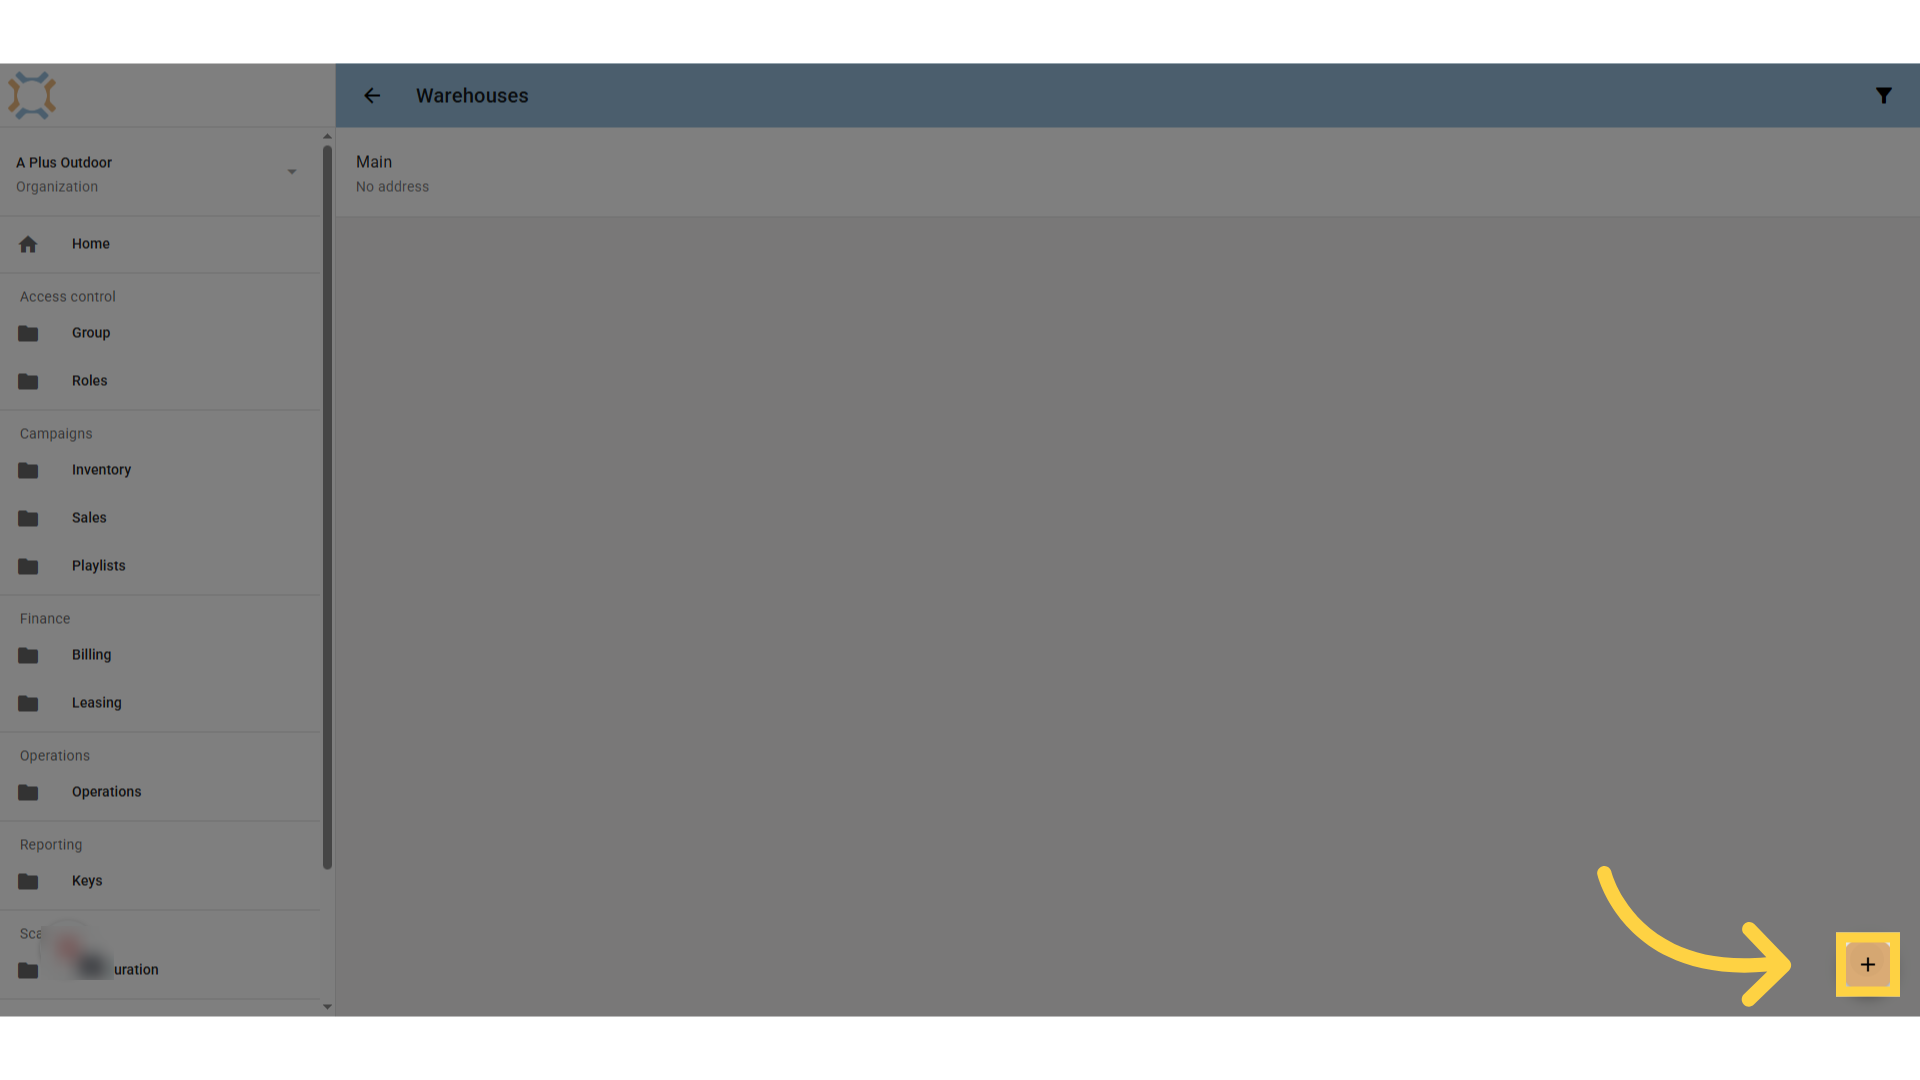
4. Enter Name for Warehouse
Enter a name for the Warehouse.
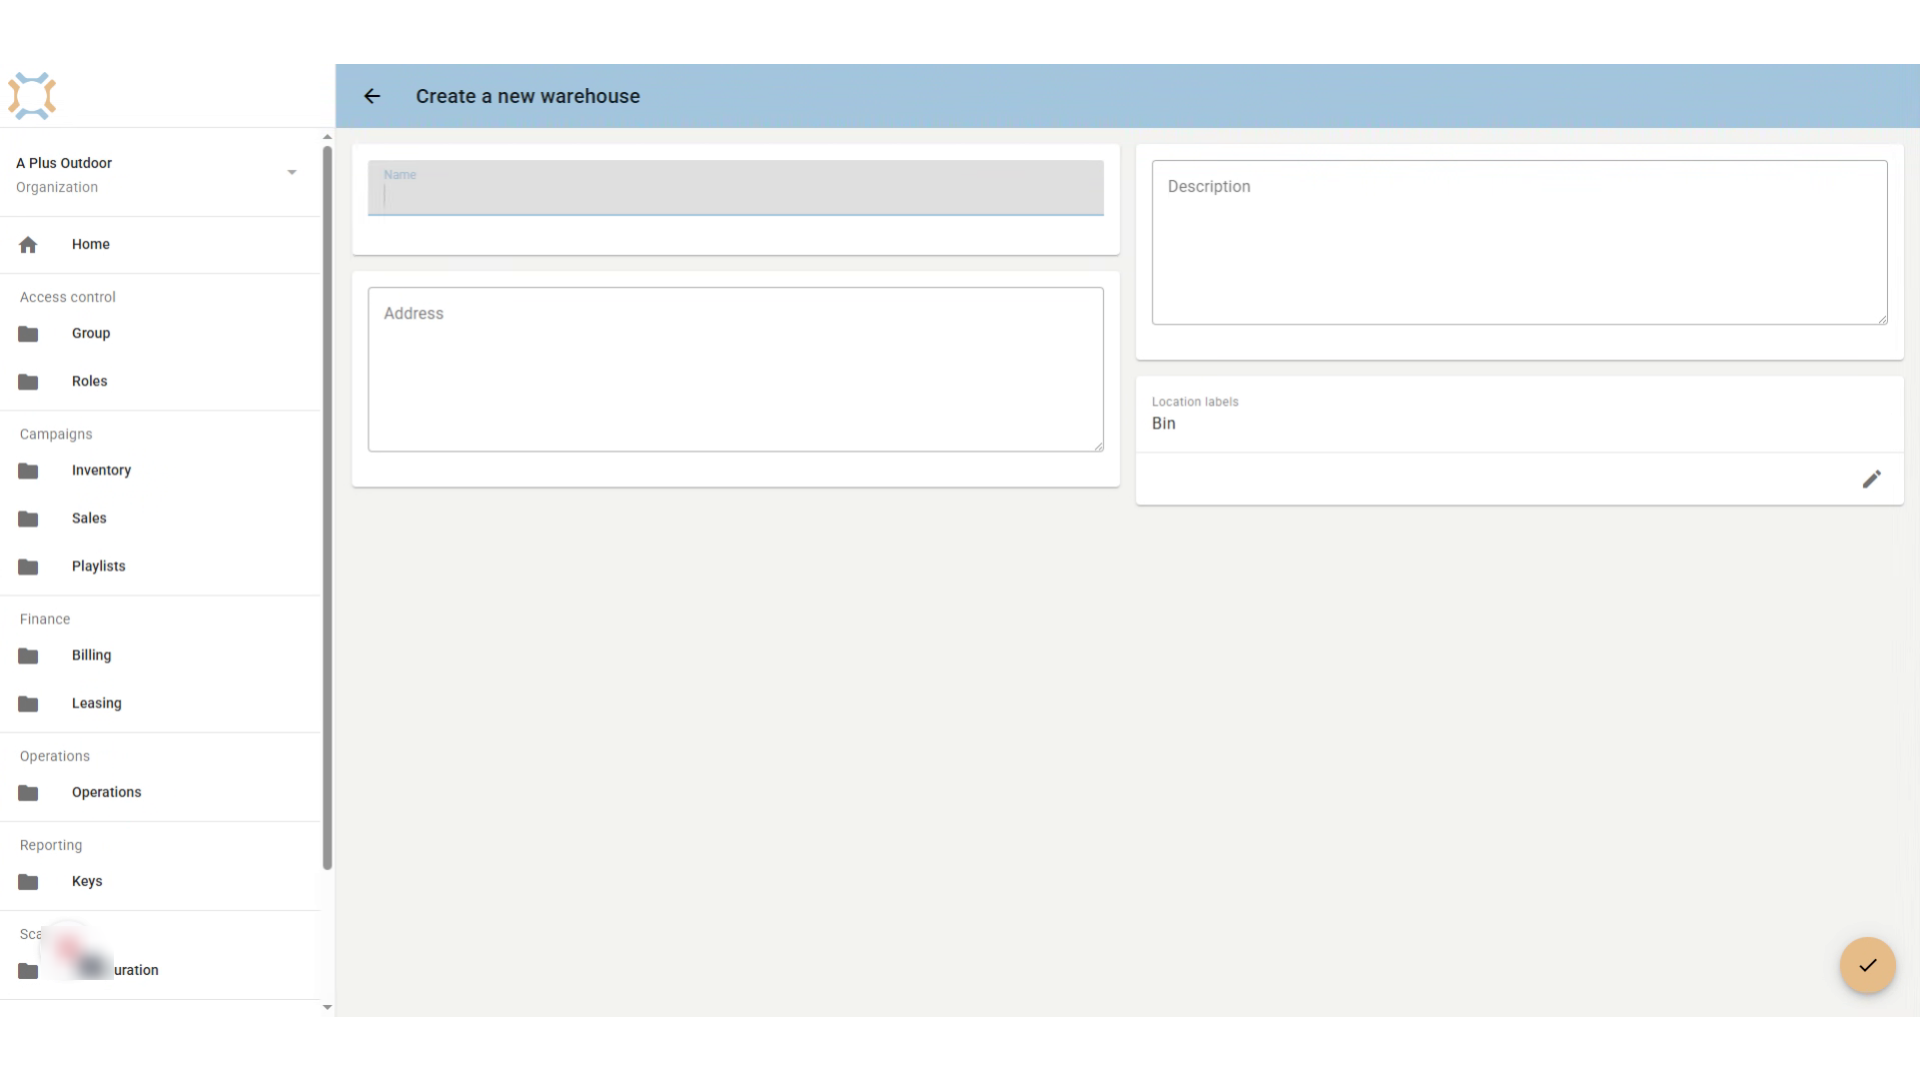
5. Enter additional information
Enter the address and a description of the warehouse if you wish to record this information.
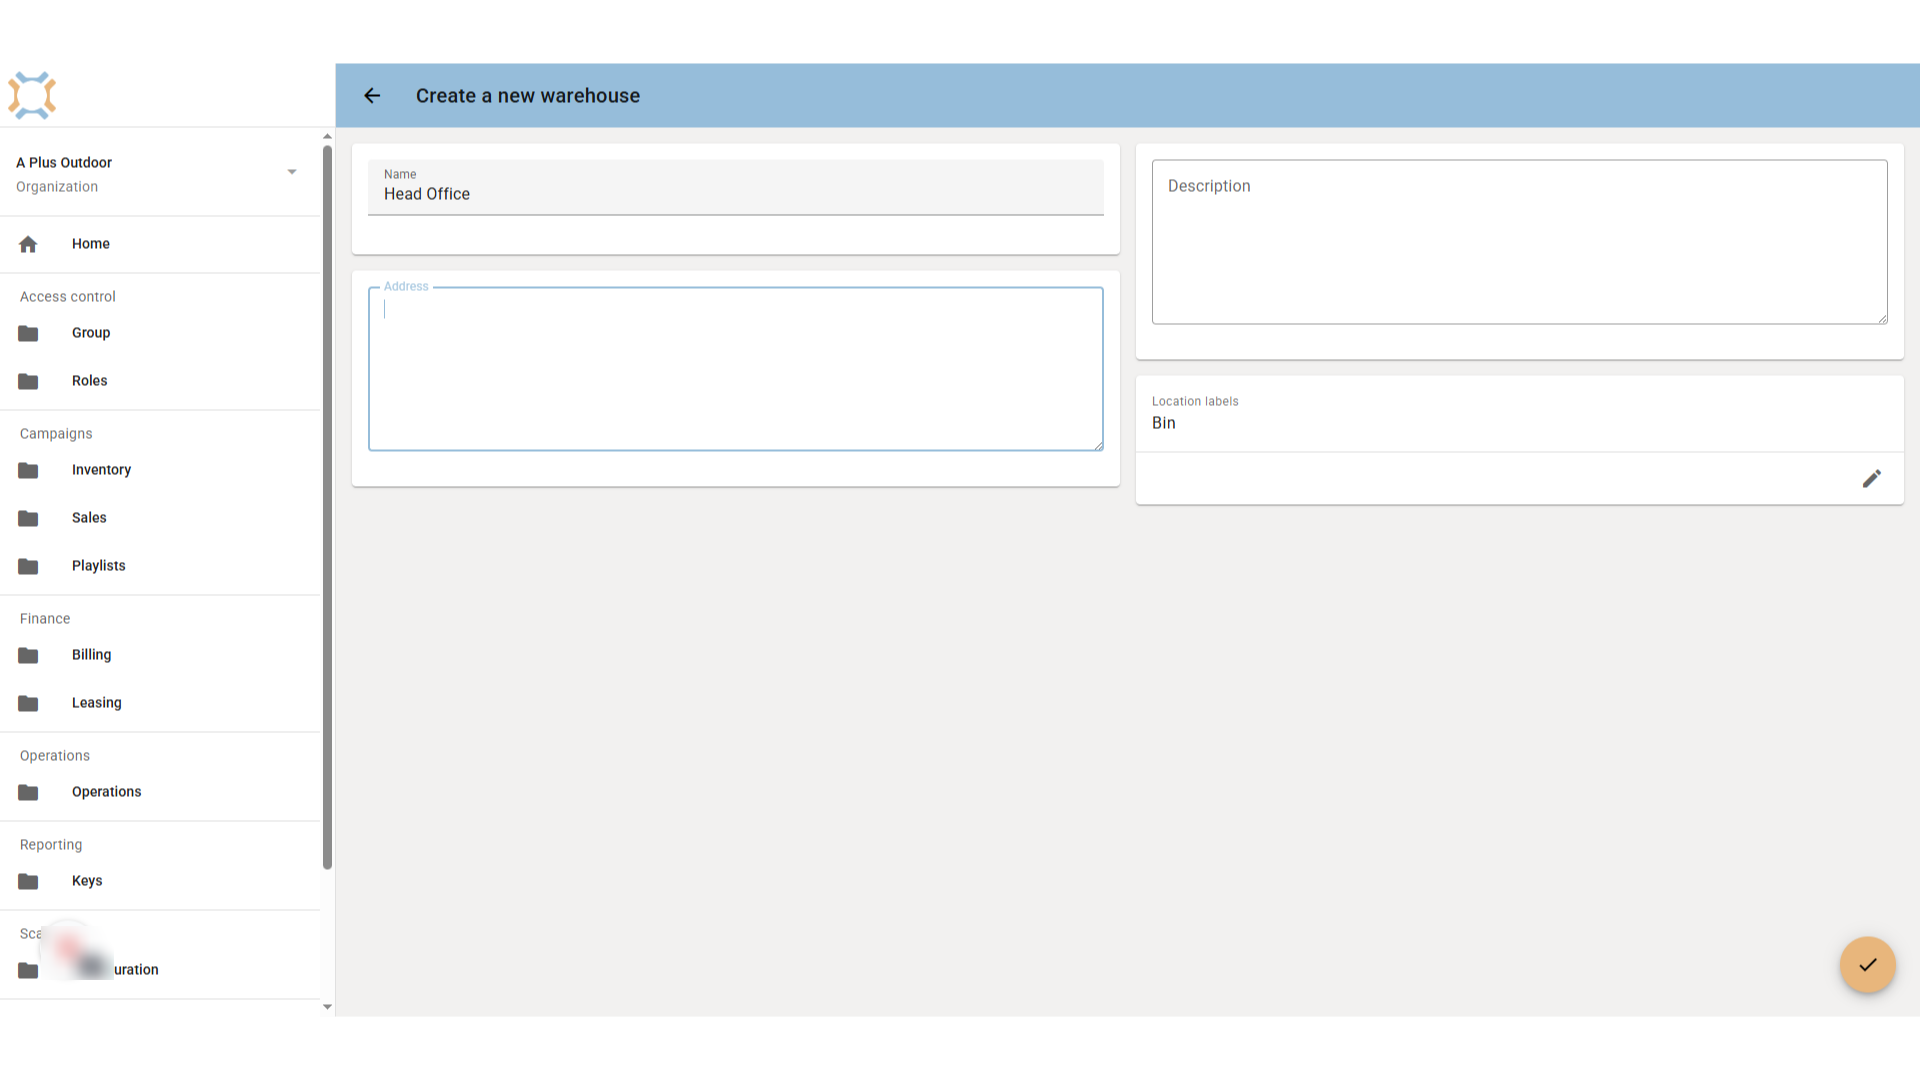
6. Click "edit" to enter Location Labels
Click the "edit" button to create the location labels for this warehouse. These labels allow you to specify how you want to track the placement of designs in the warehouse
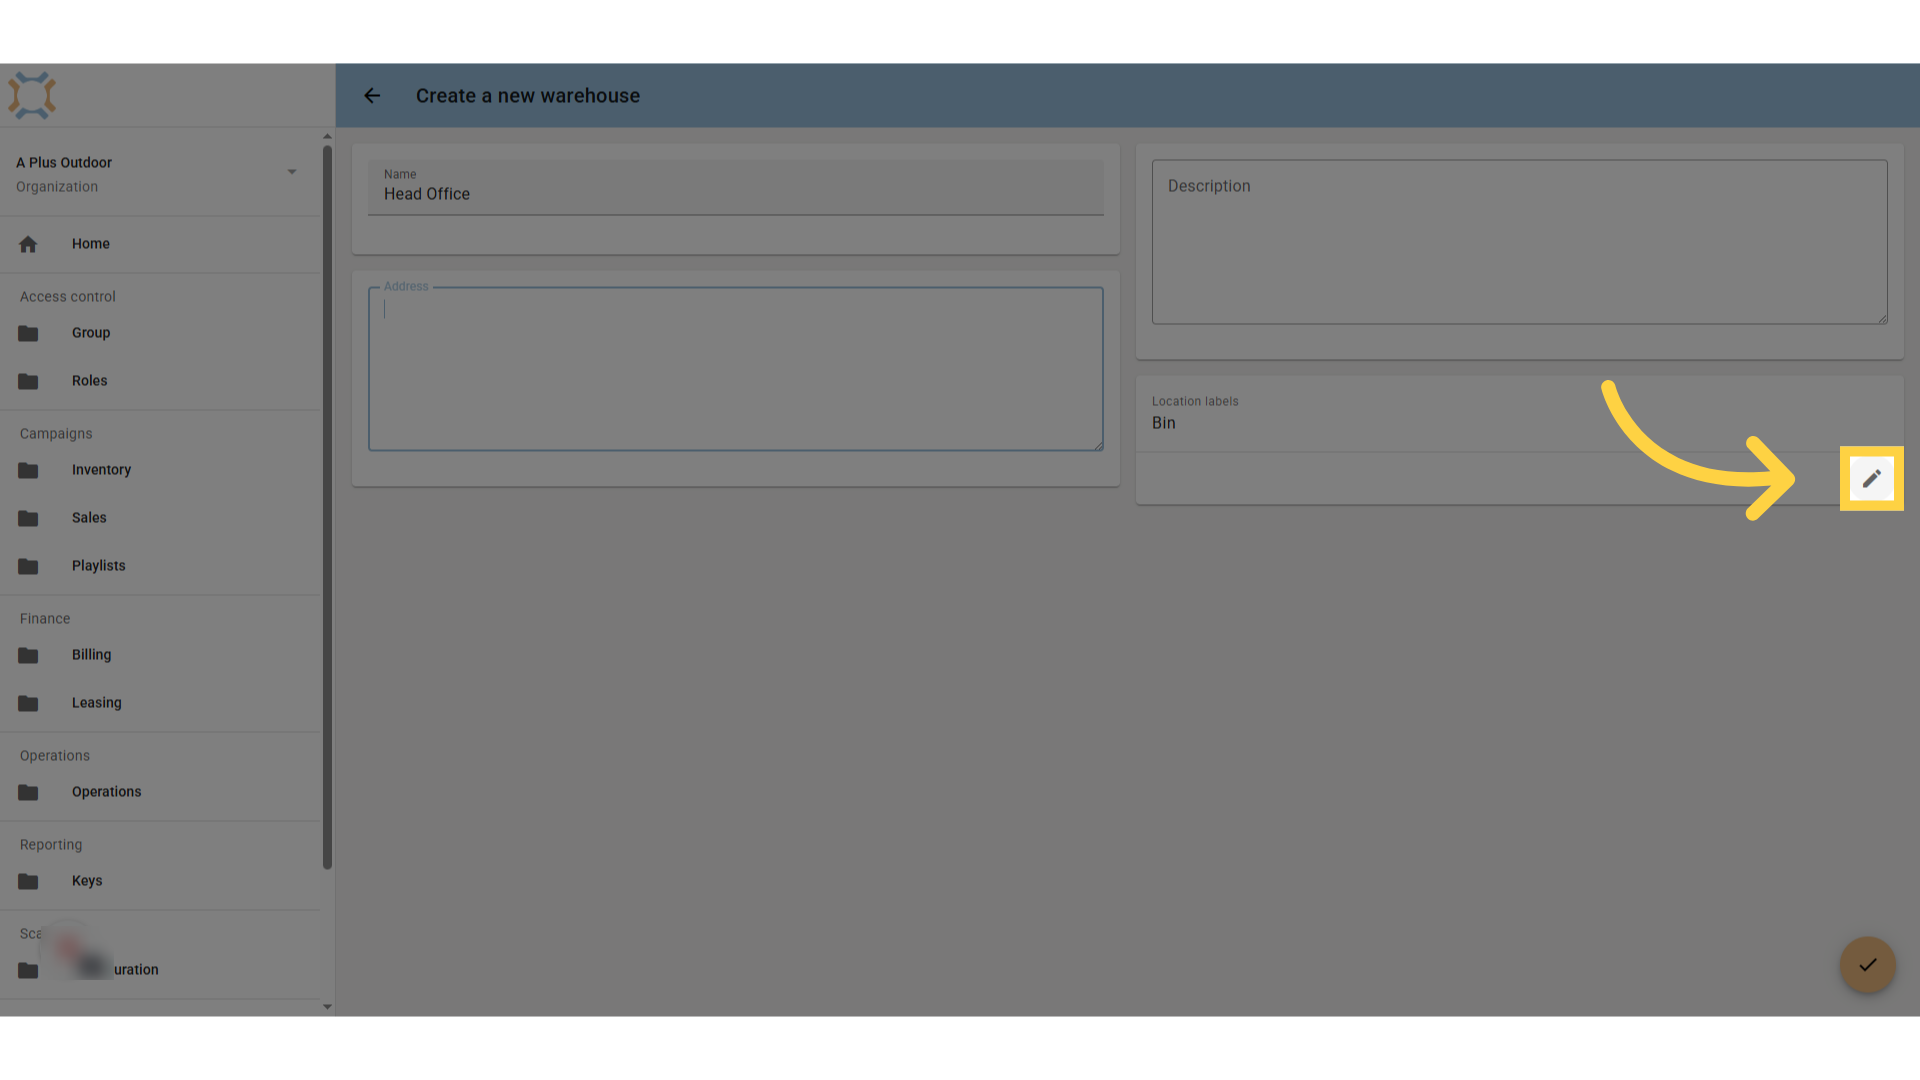
7. Enter the top level location
Enter the top level location information if you wish to track multiple levels. If you only want to track 1 level, for example, bin, then enter the location label here.
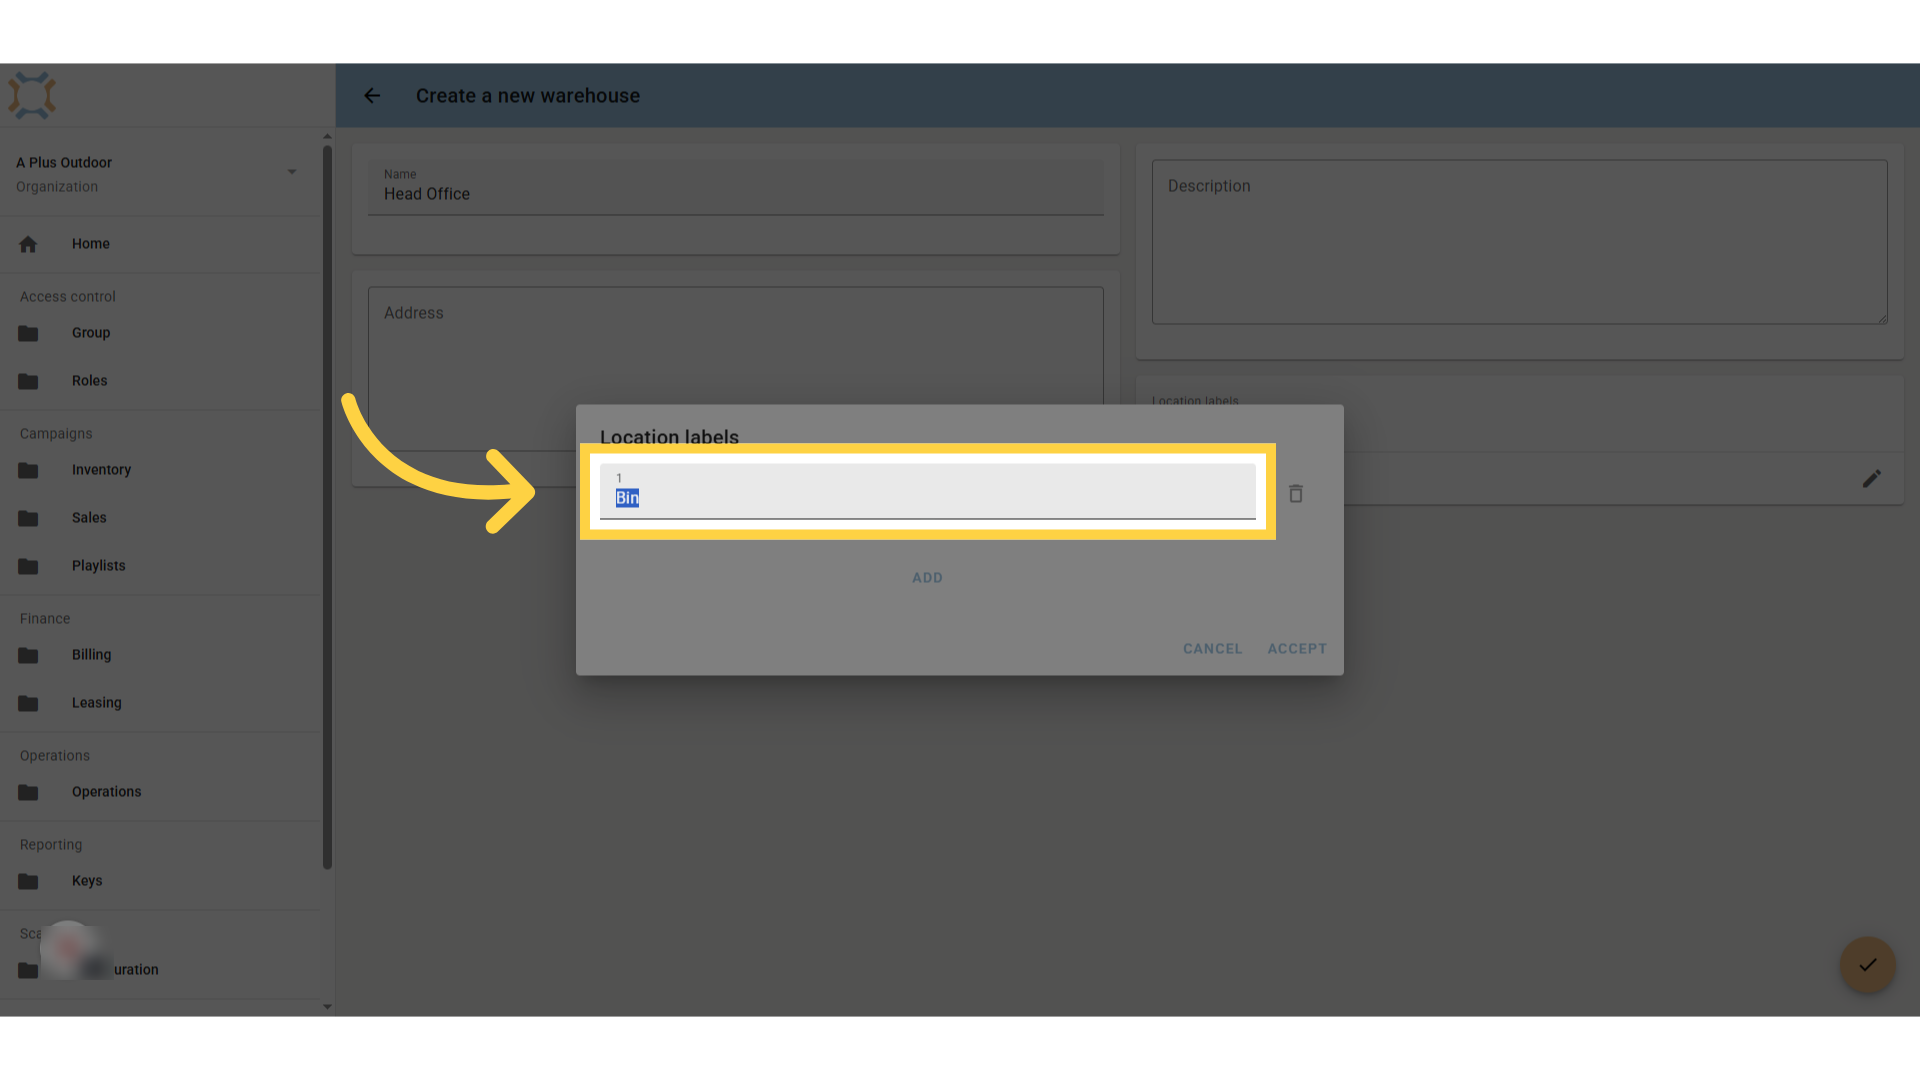
8. Click add or accept
If you wish to add another level of location labels, click add. If you are finished with one level, just click Accept.
9. Enter next level location
Enter the next level location label.
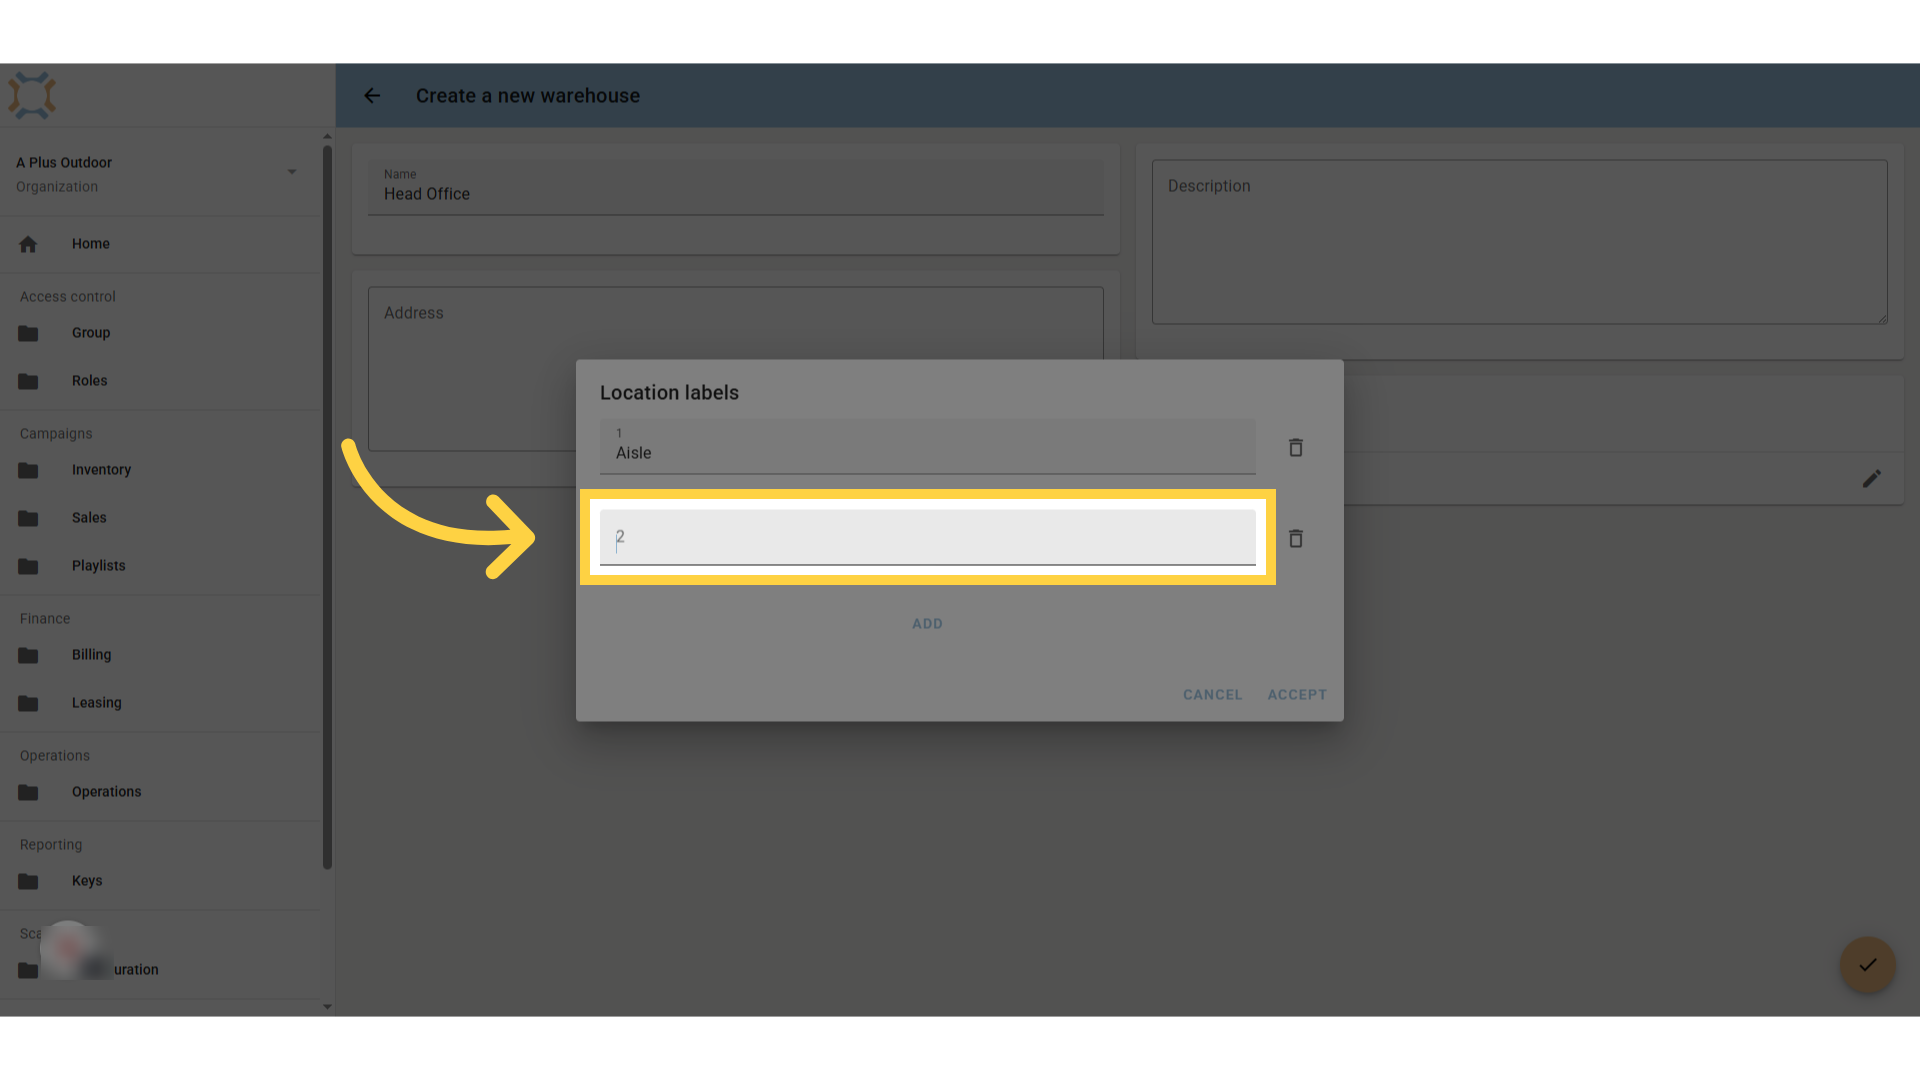
10. Click add or accept
Click add to continue adding location labels, or click accept if done.
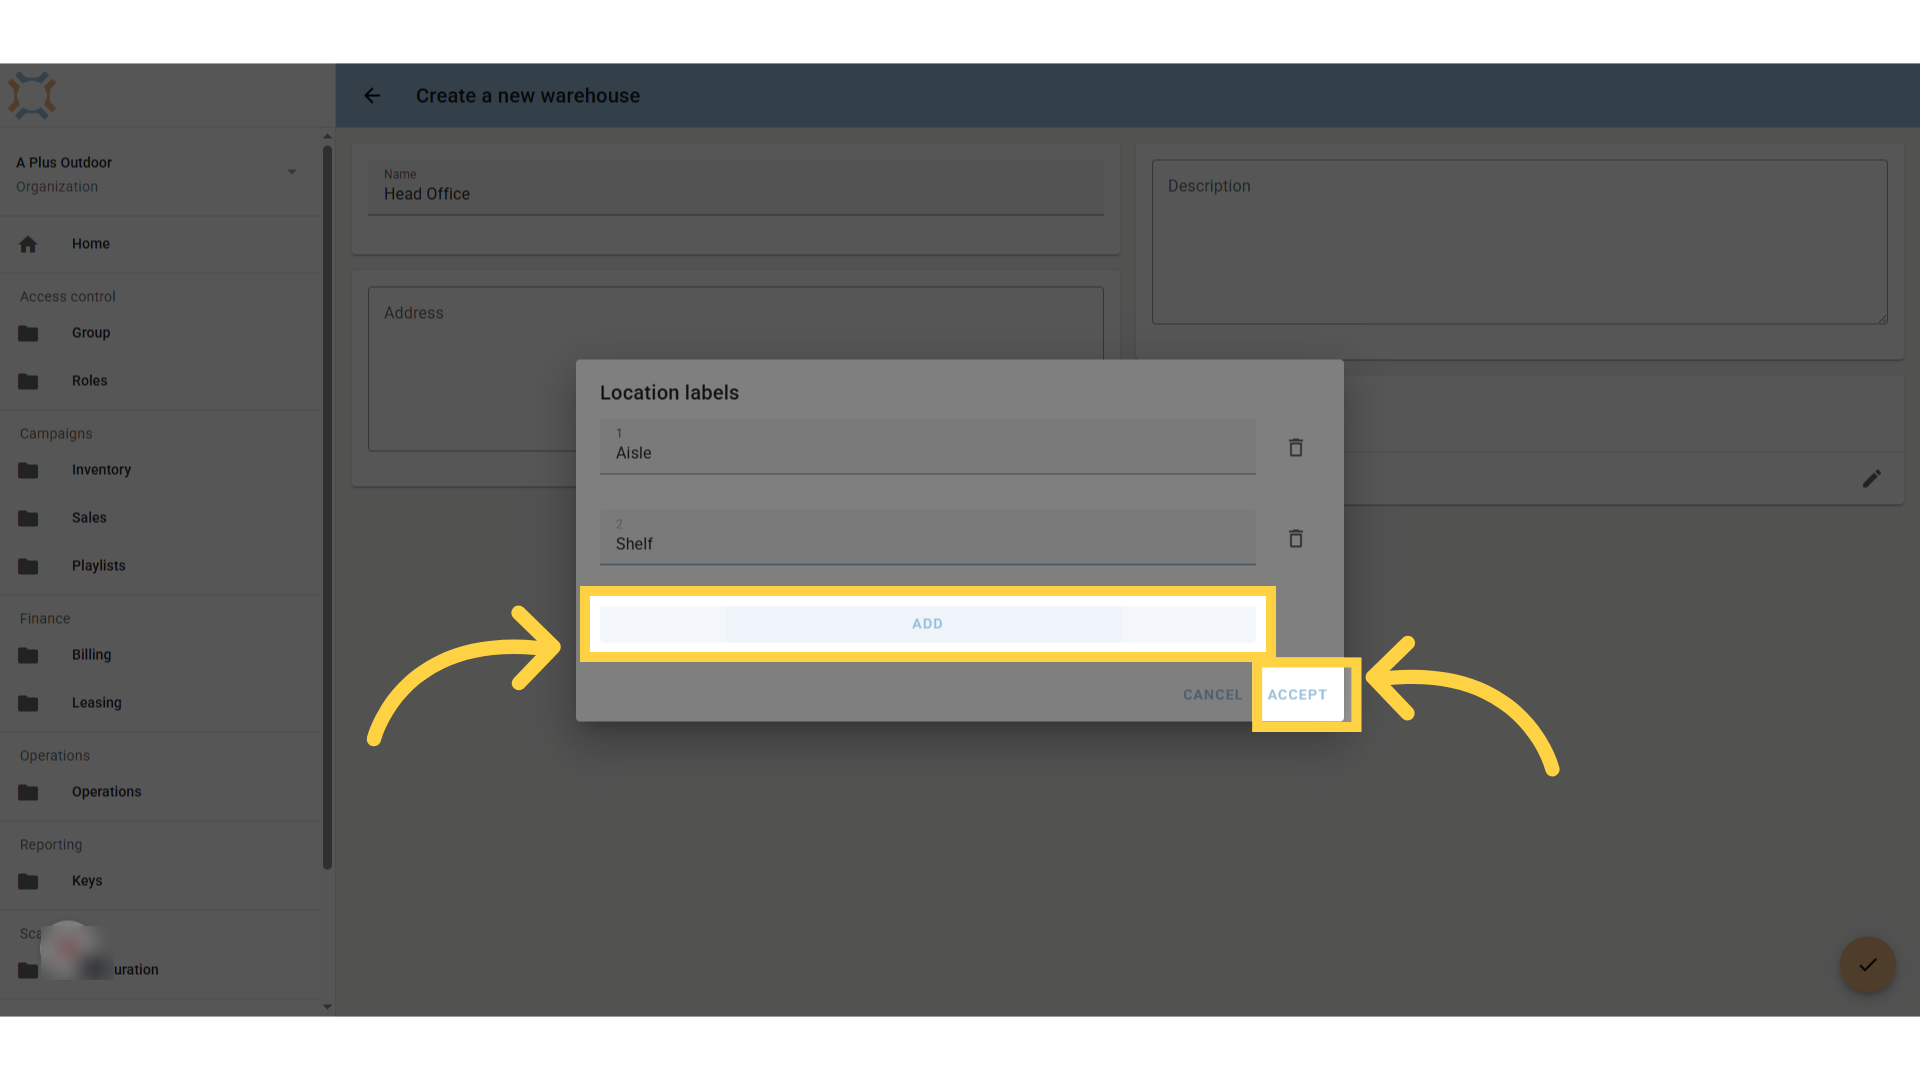
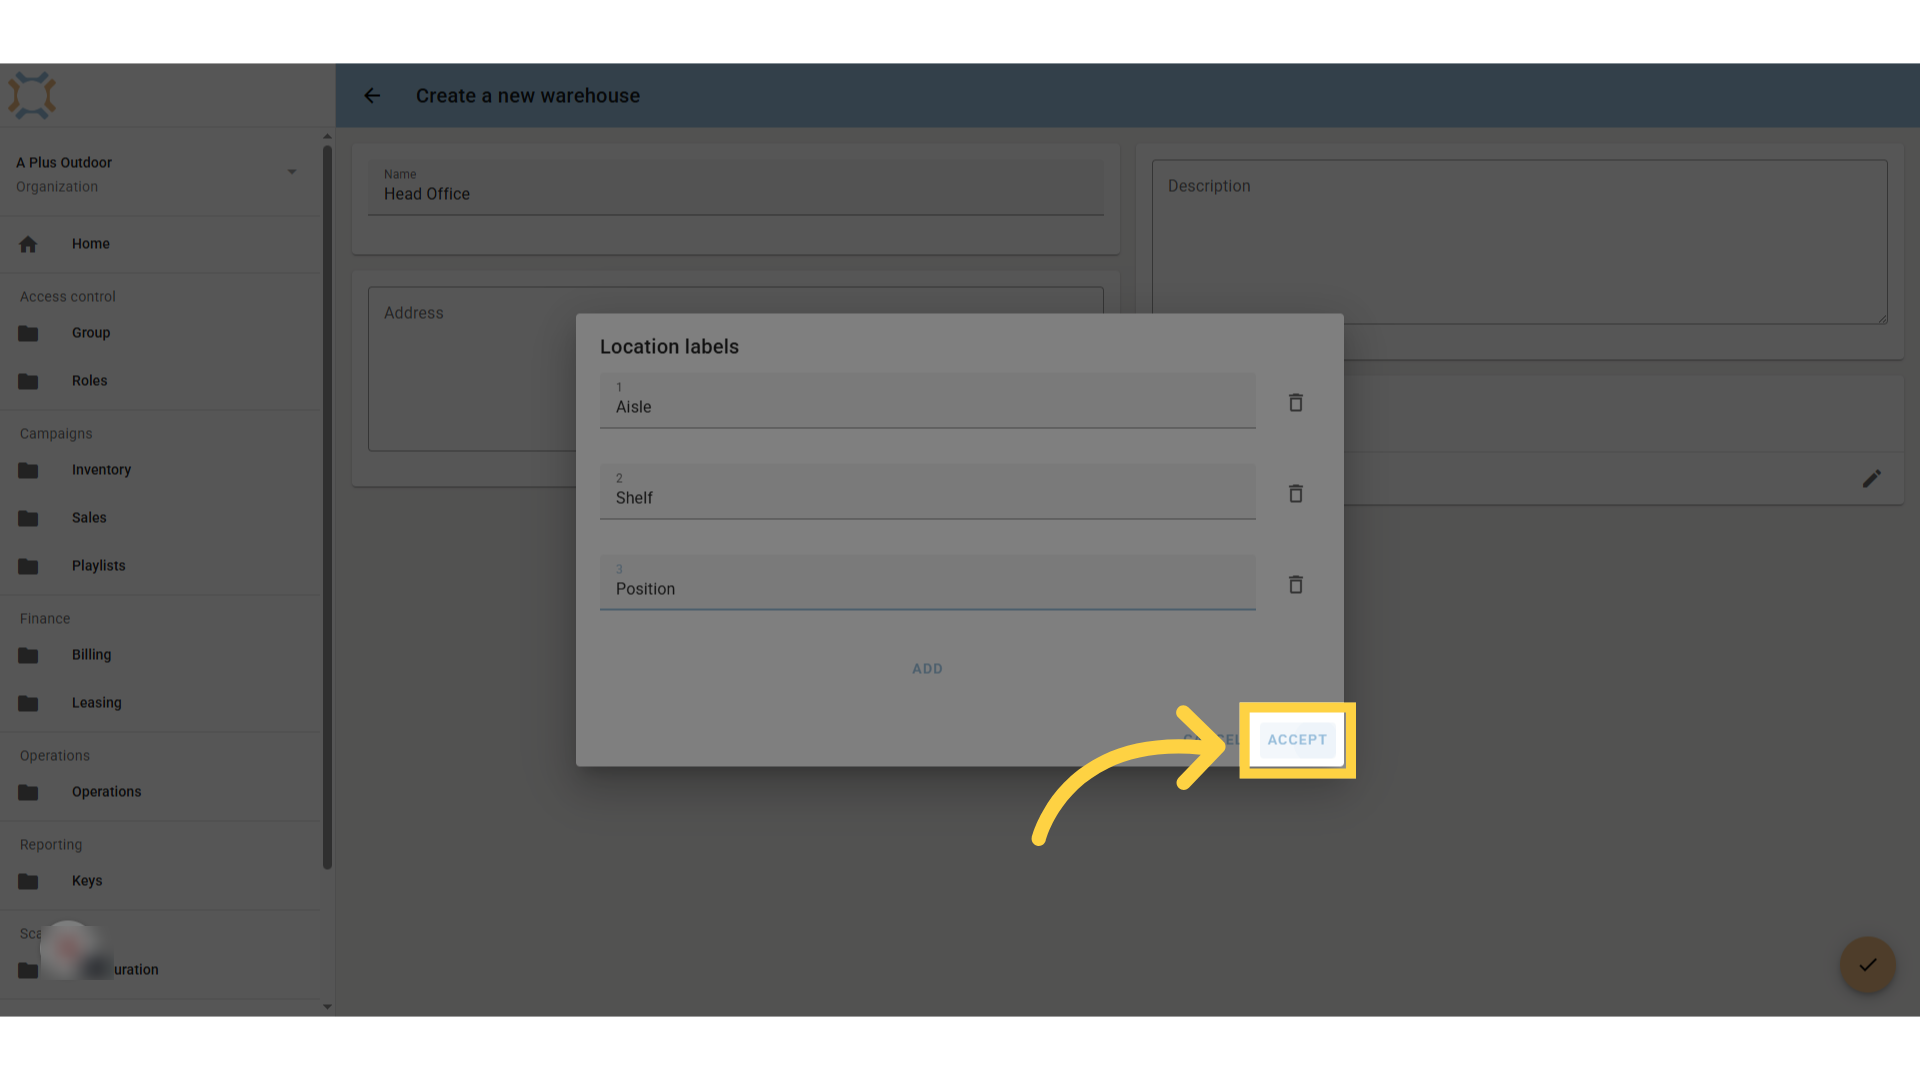
11. Click accept
After you have finished adding all your location labels, click accept.
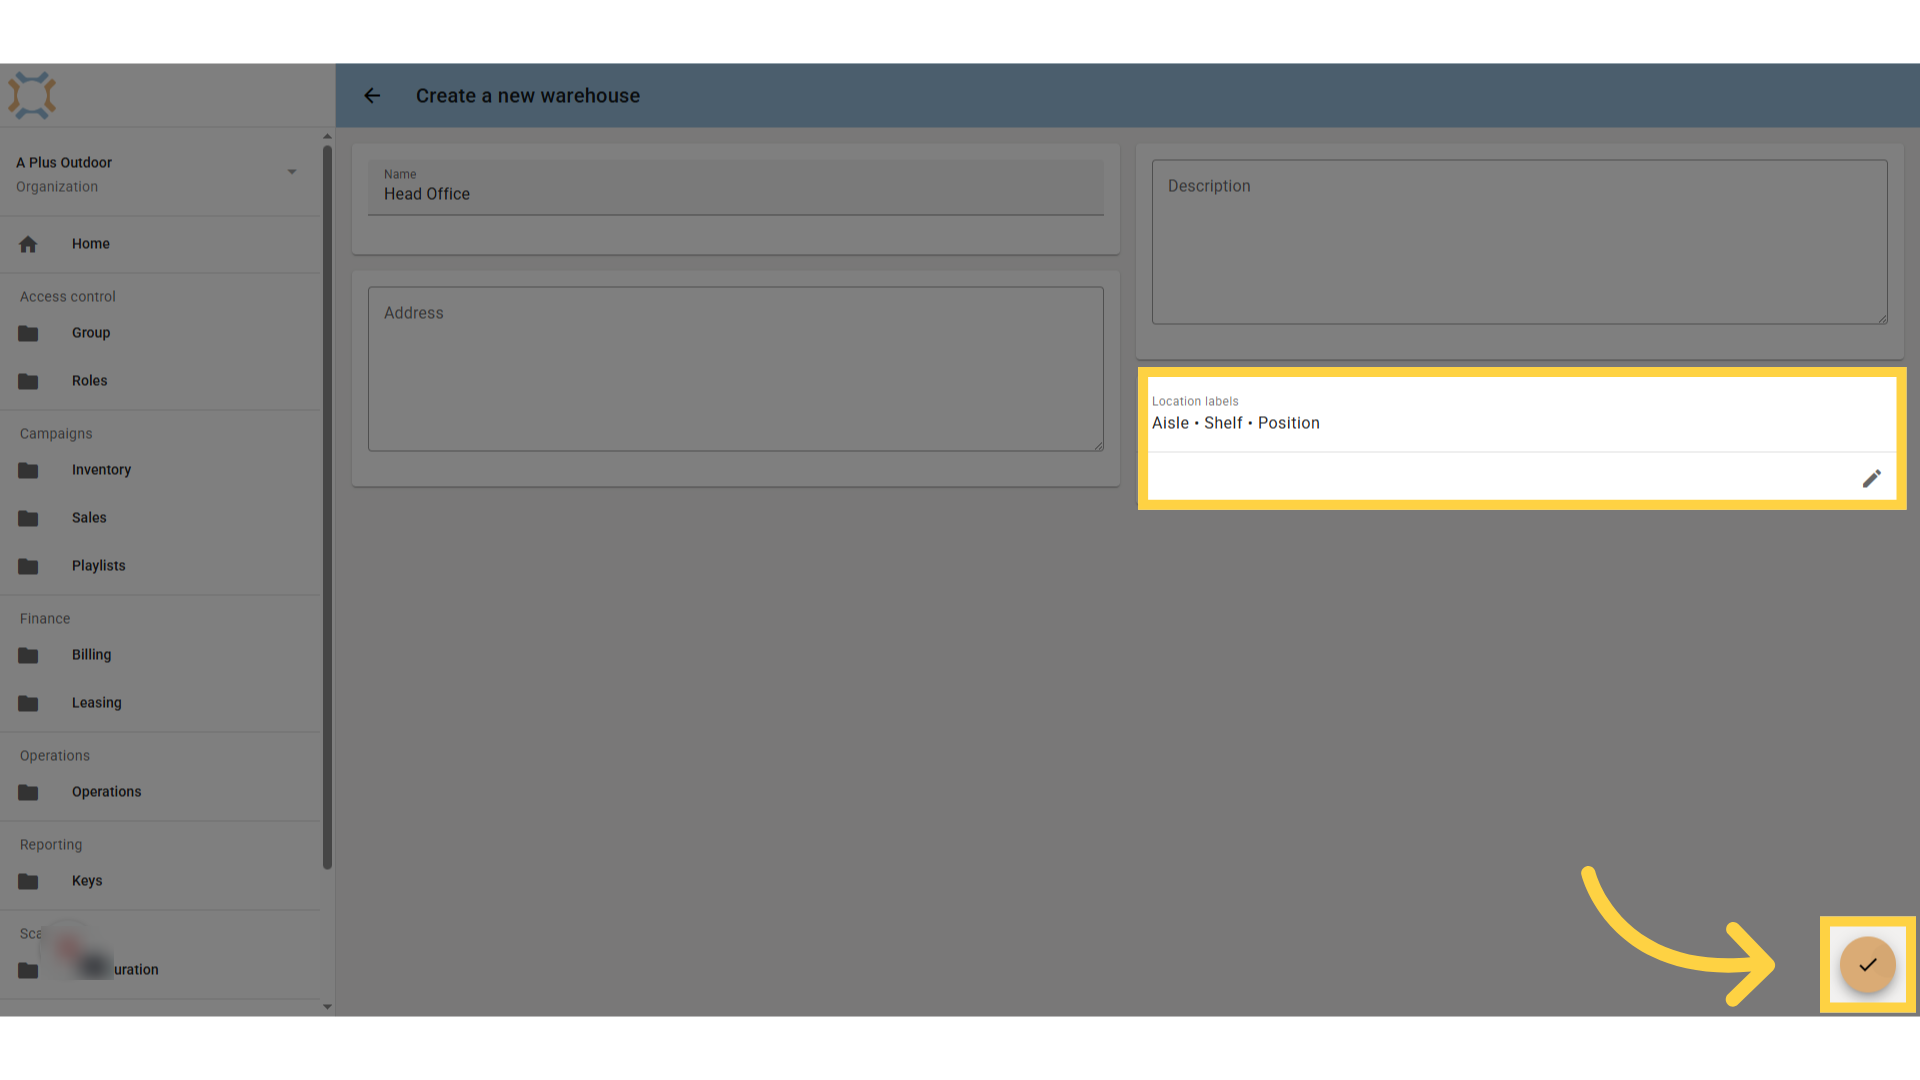
12. Click "done"
After clicking accept, the location labels will appear for the warehouse. You can edit these at any time. When you are finished updating your warehouse details, click "done".
If you have any additional questions, please contact Dot2Dot for assistance.
Comments
0 comments
Please sign in to leave a comment.