
Click here for Video of How to Add a Site
Click here for Video of How to Add a Face
Click here for Video of How to Add Other Face related properties
Introduction
Ad Manager Connect allows you to add both static and digital inventory in a single location.
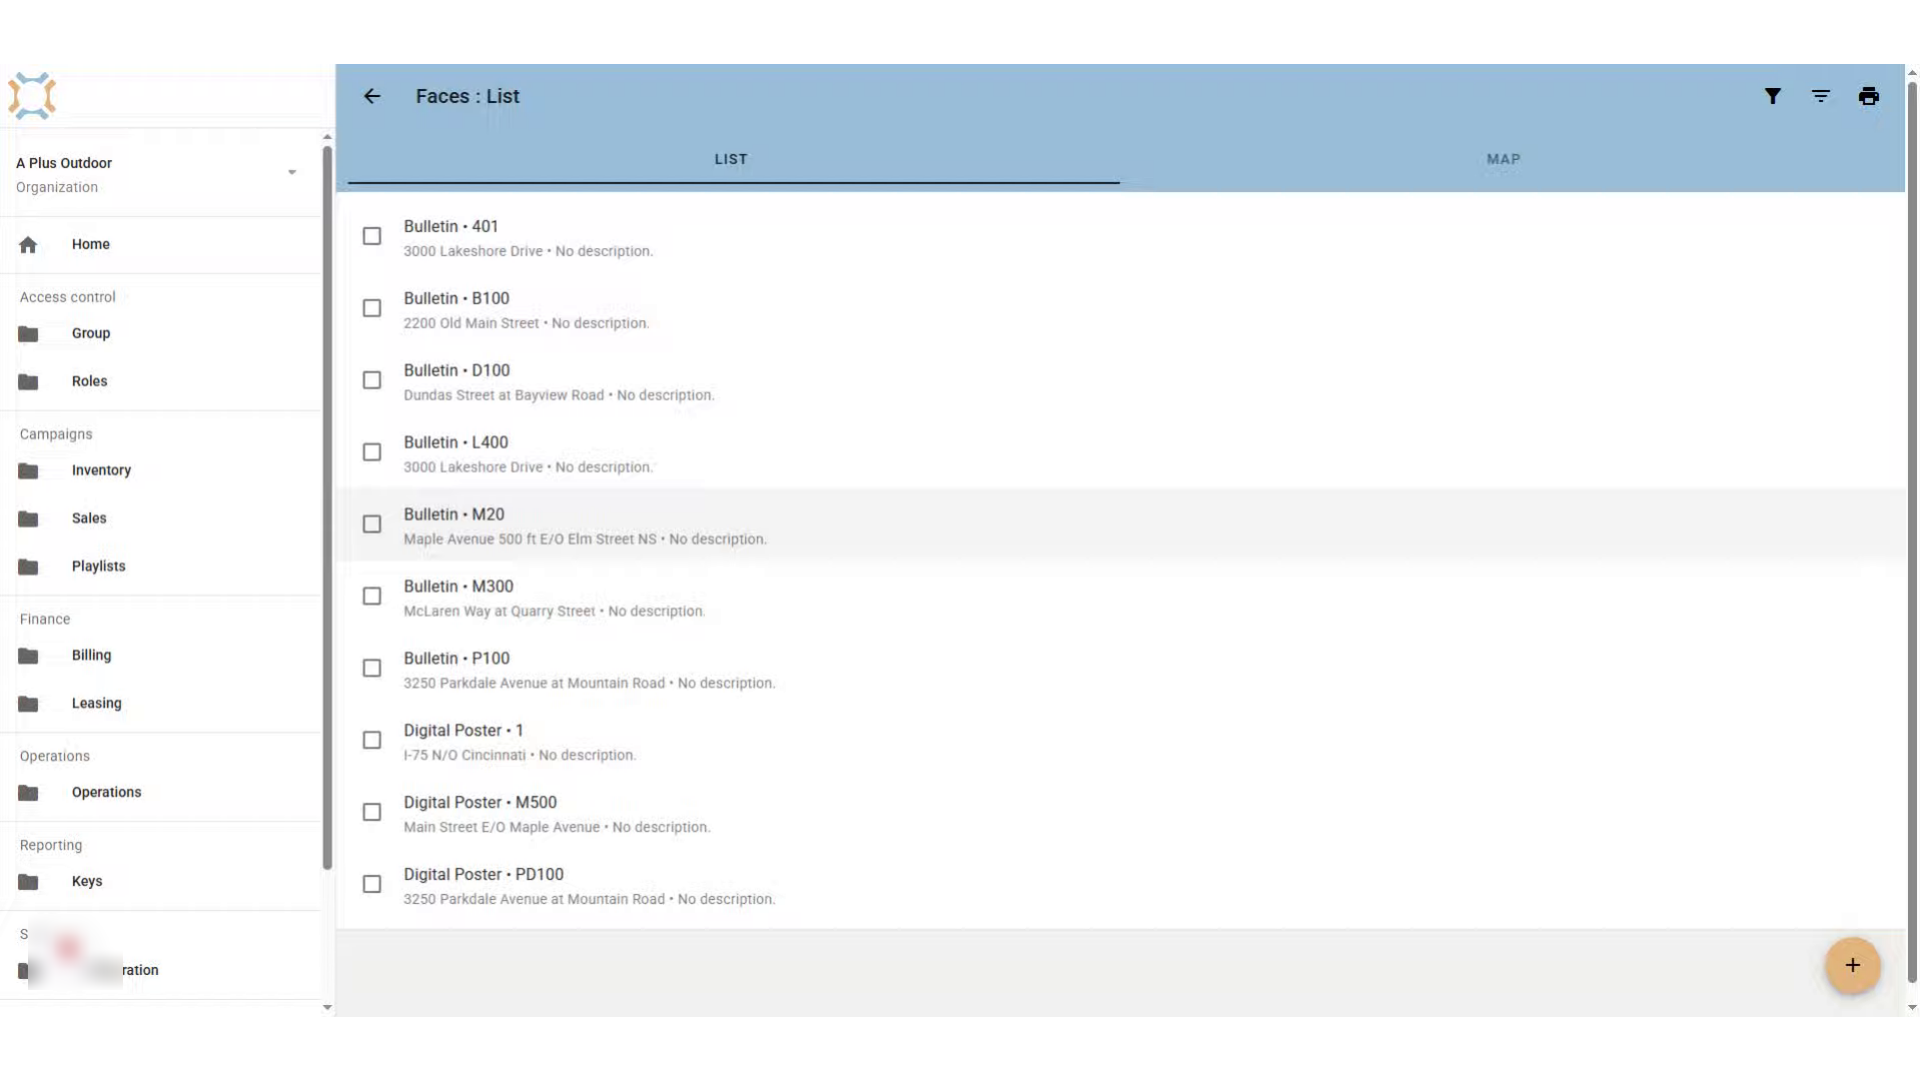
Click "add"
To add a face, click on the Add button
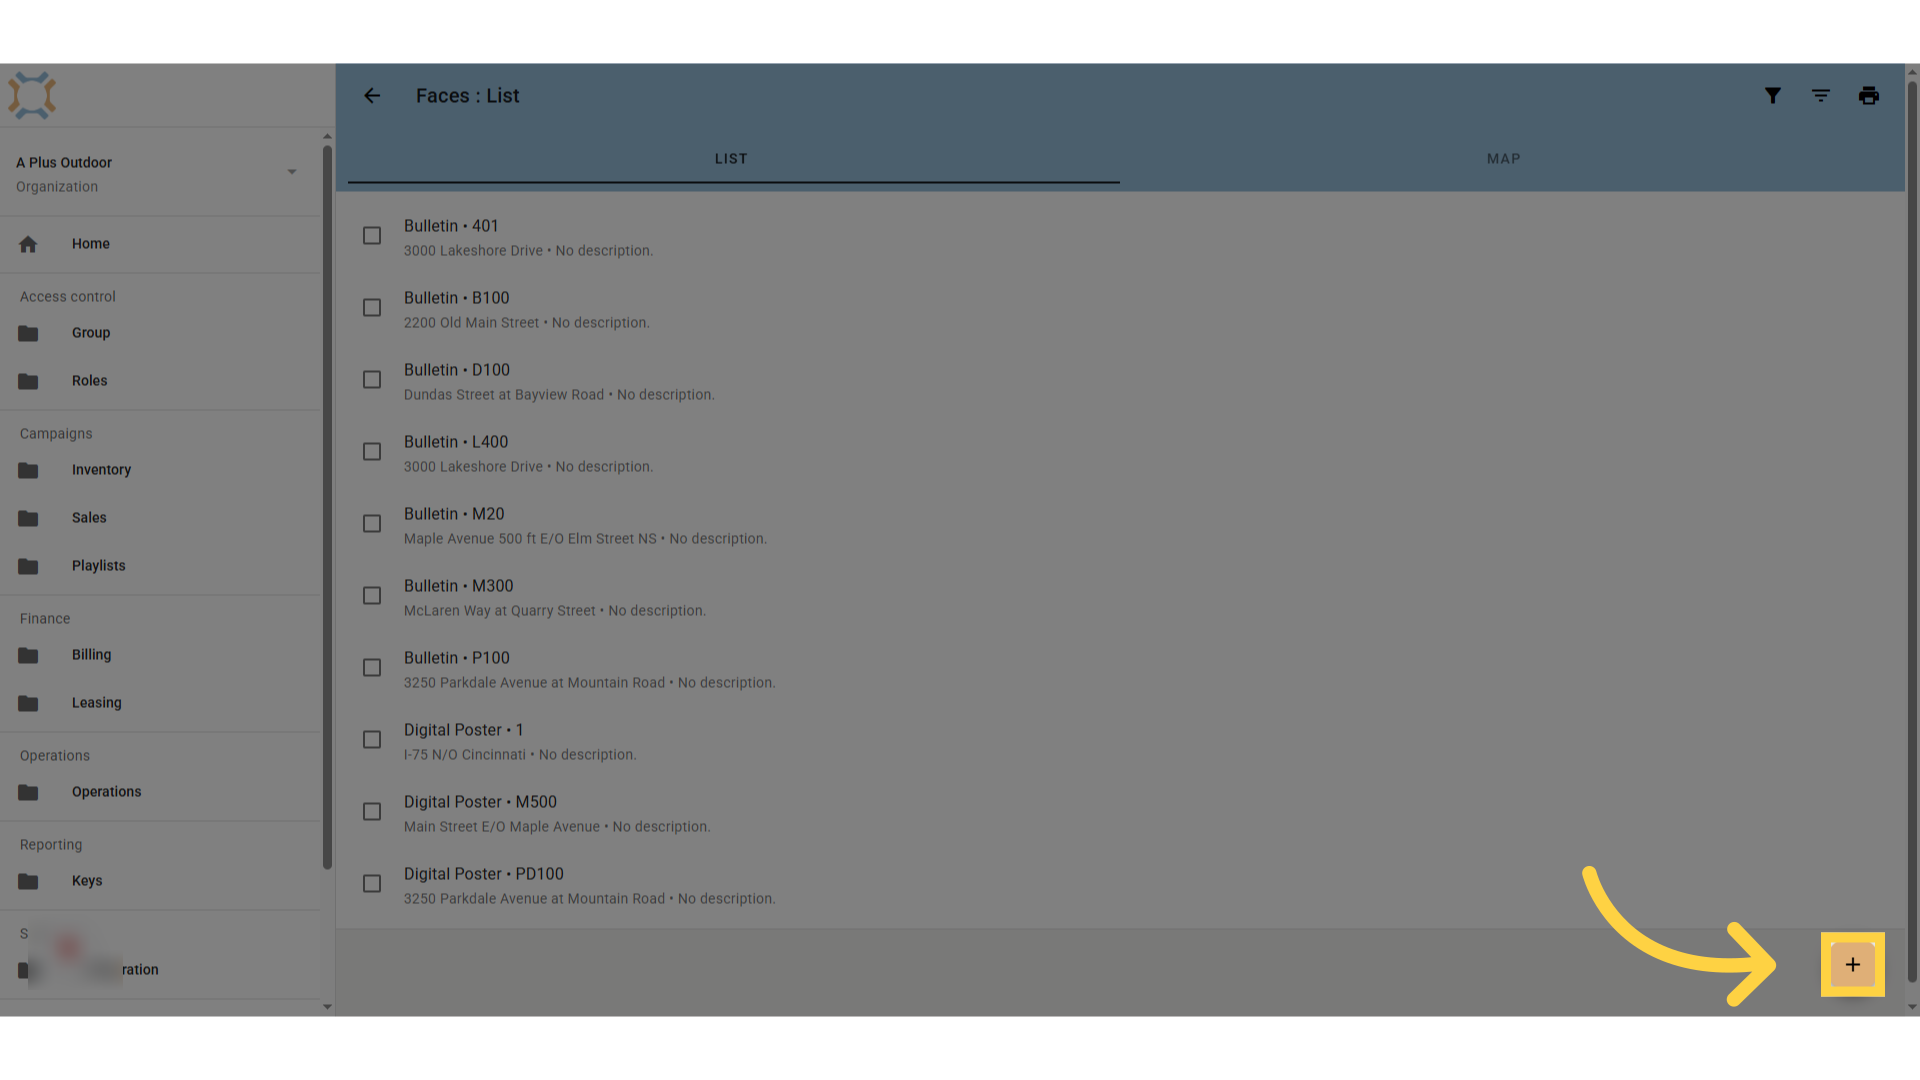
Select Site
You can select the Site to add the Face to, or create a New Site after clicking on the field.
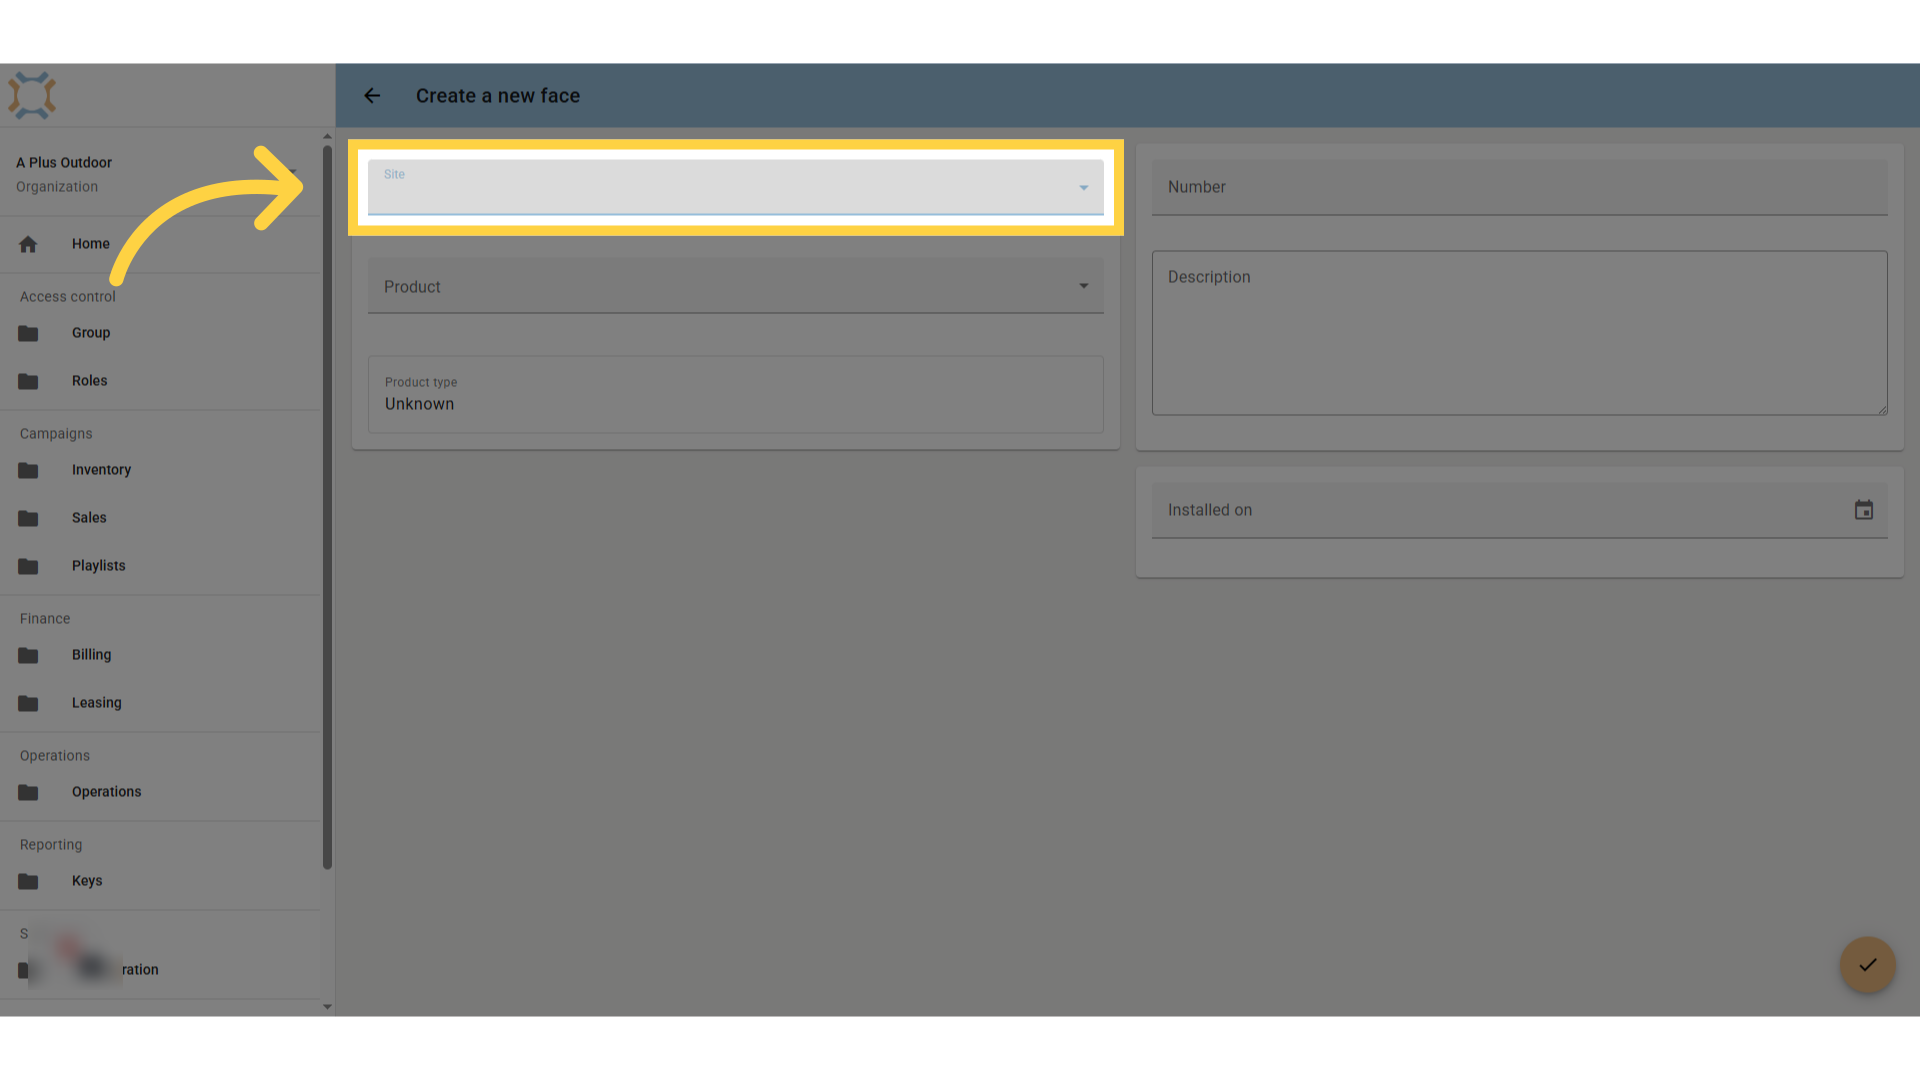
Select Product Type
You can select the Product Type to associate with the Face, or create a new Product Type after clicking on the field. When you select a Product Type, Ad Manager Connect will identify whether it is a static or digital face that is being added.
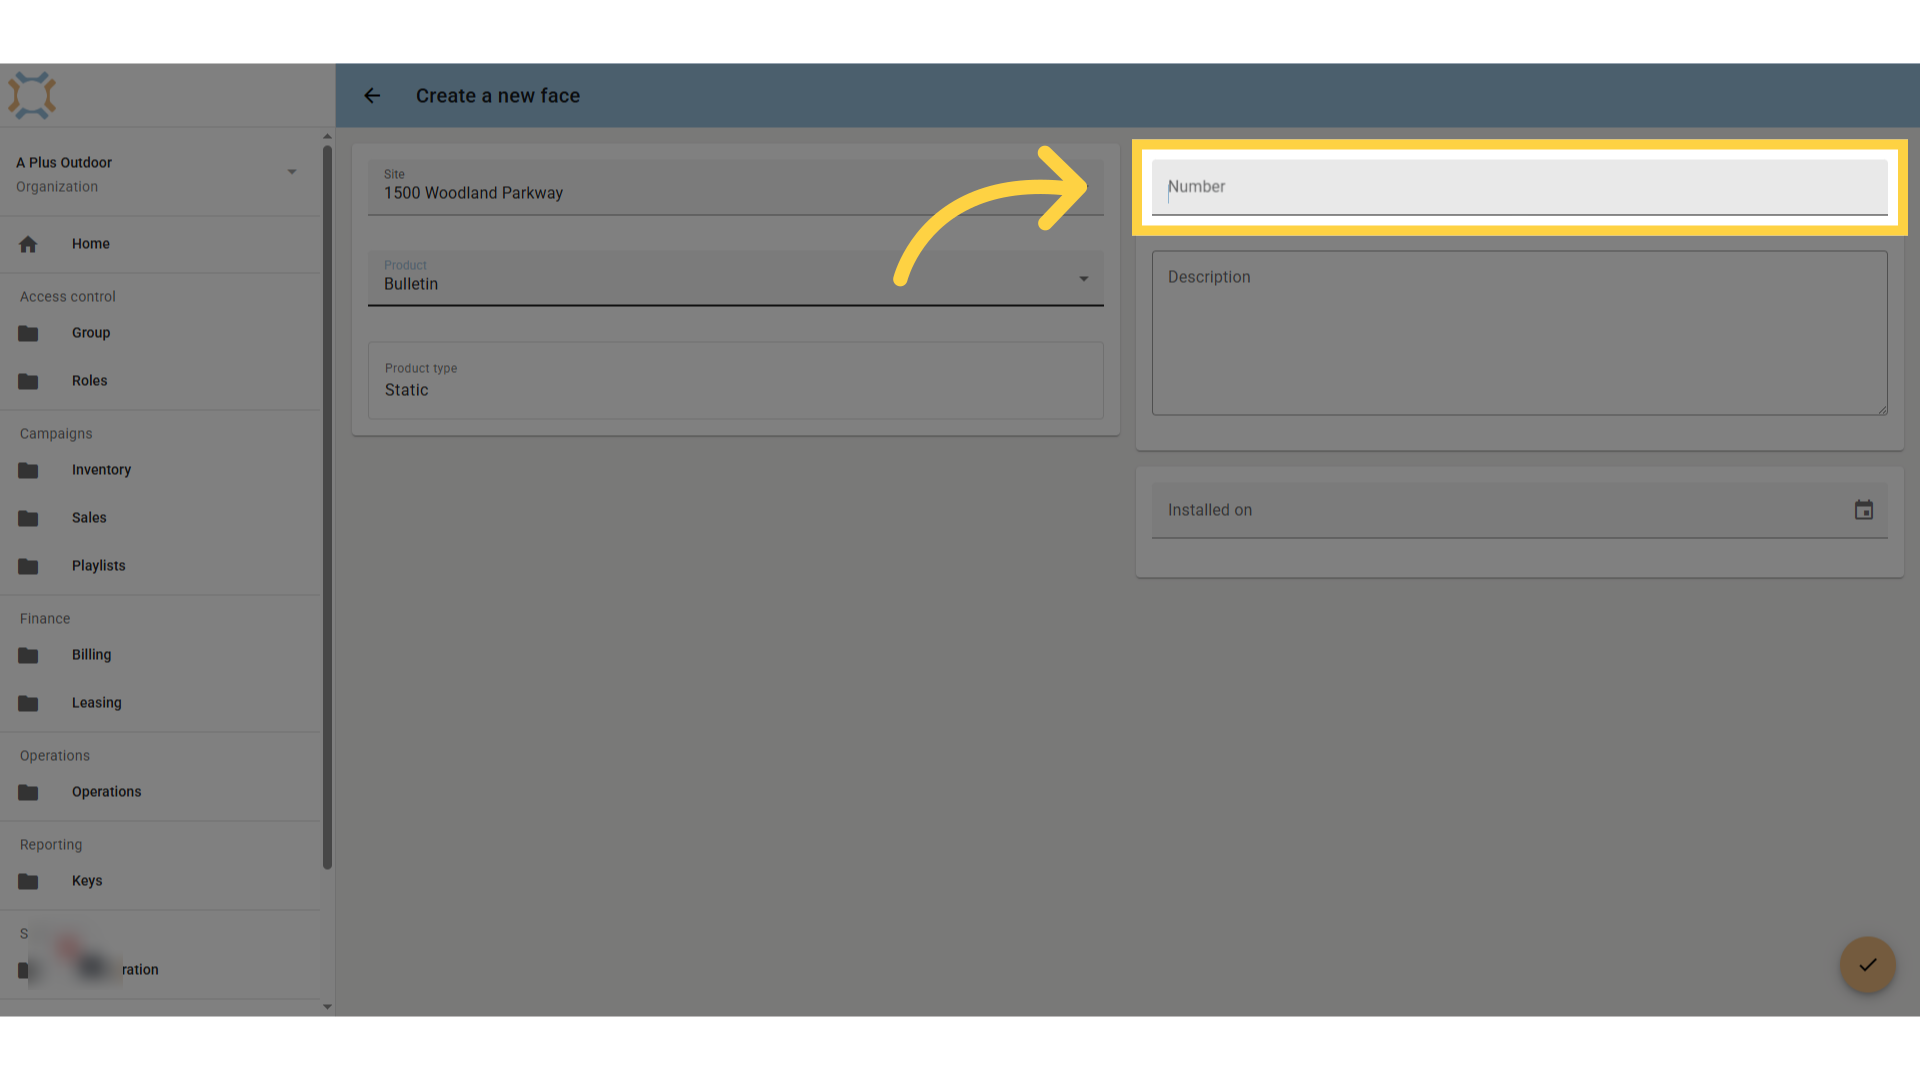
Click "Number"
Enter an alpha-numeric identifier that is unique to this product type.
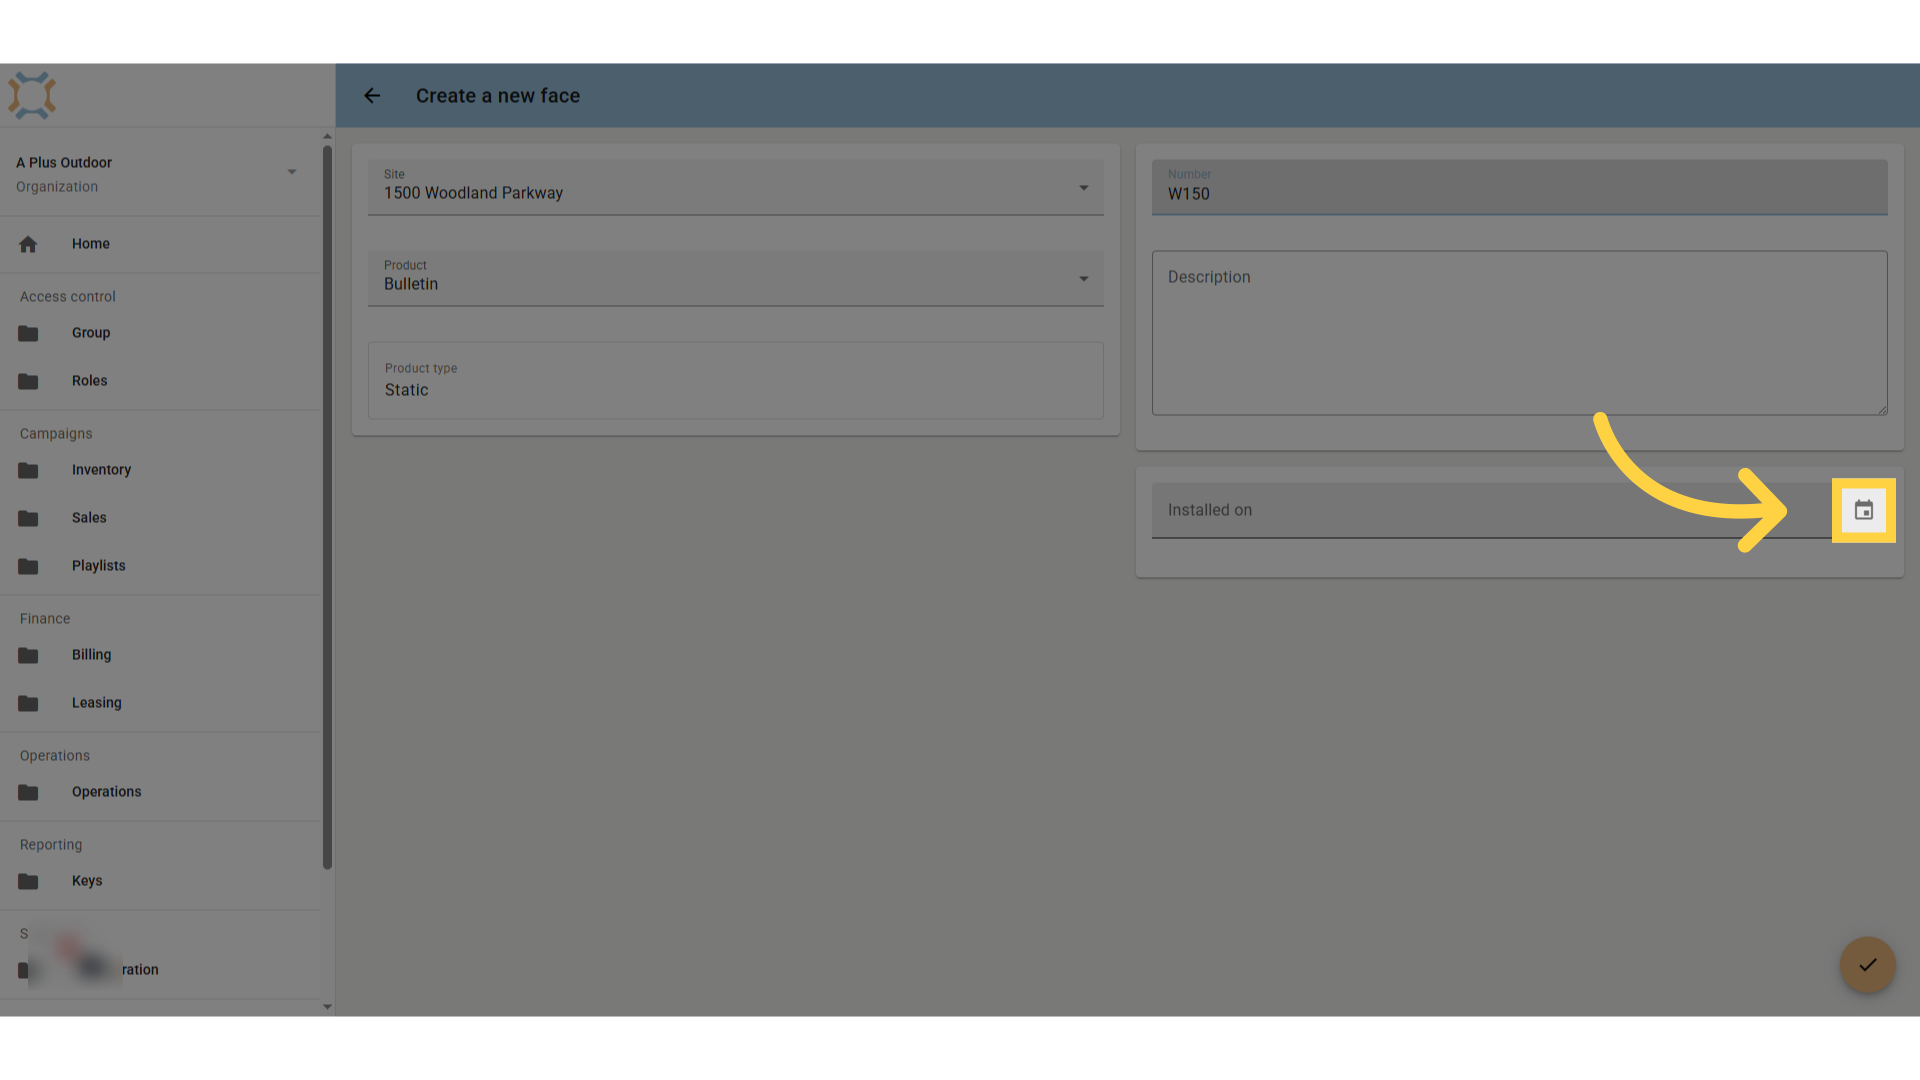
Click "date"
If you wish to track the date the face is installed and available for sale, click the date button to select the date, or enter it manually.
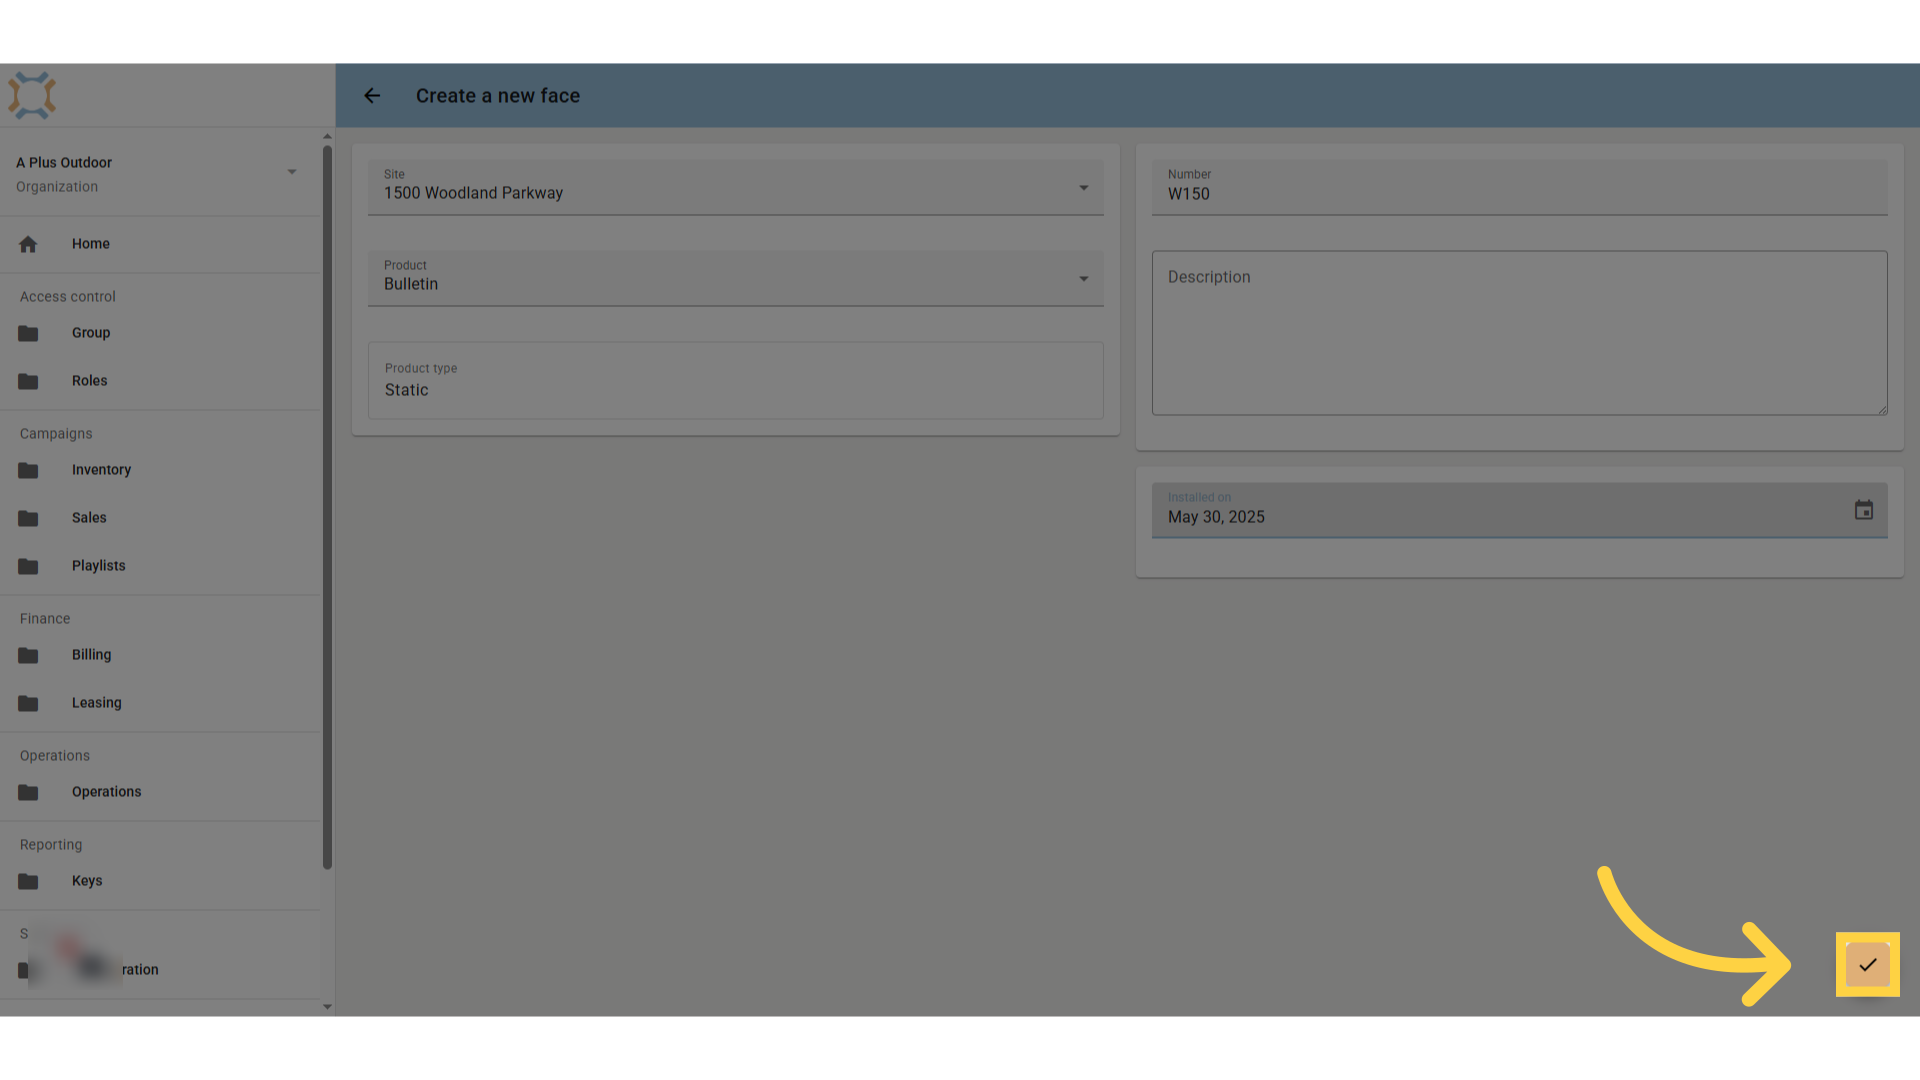
Click "done"
Click Done to finish entering the Face.
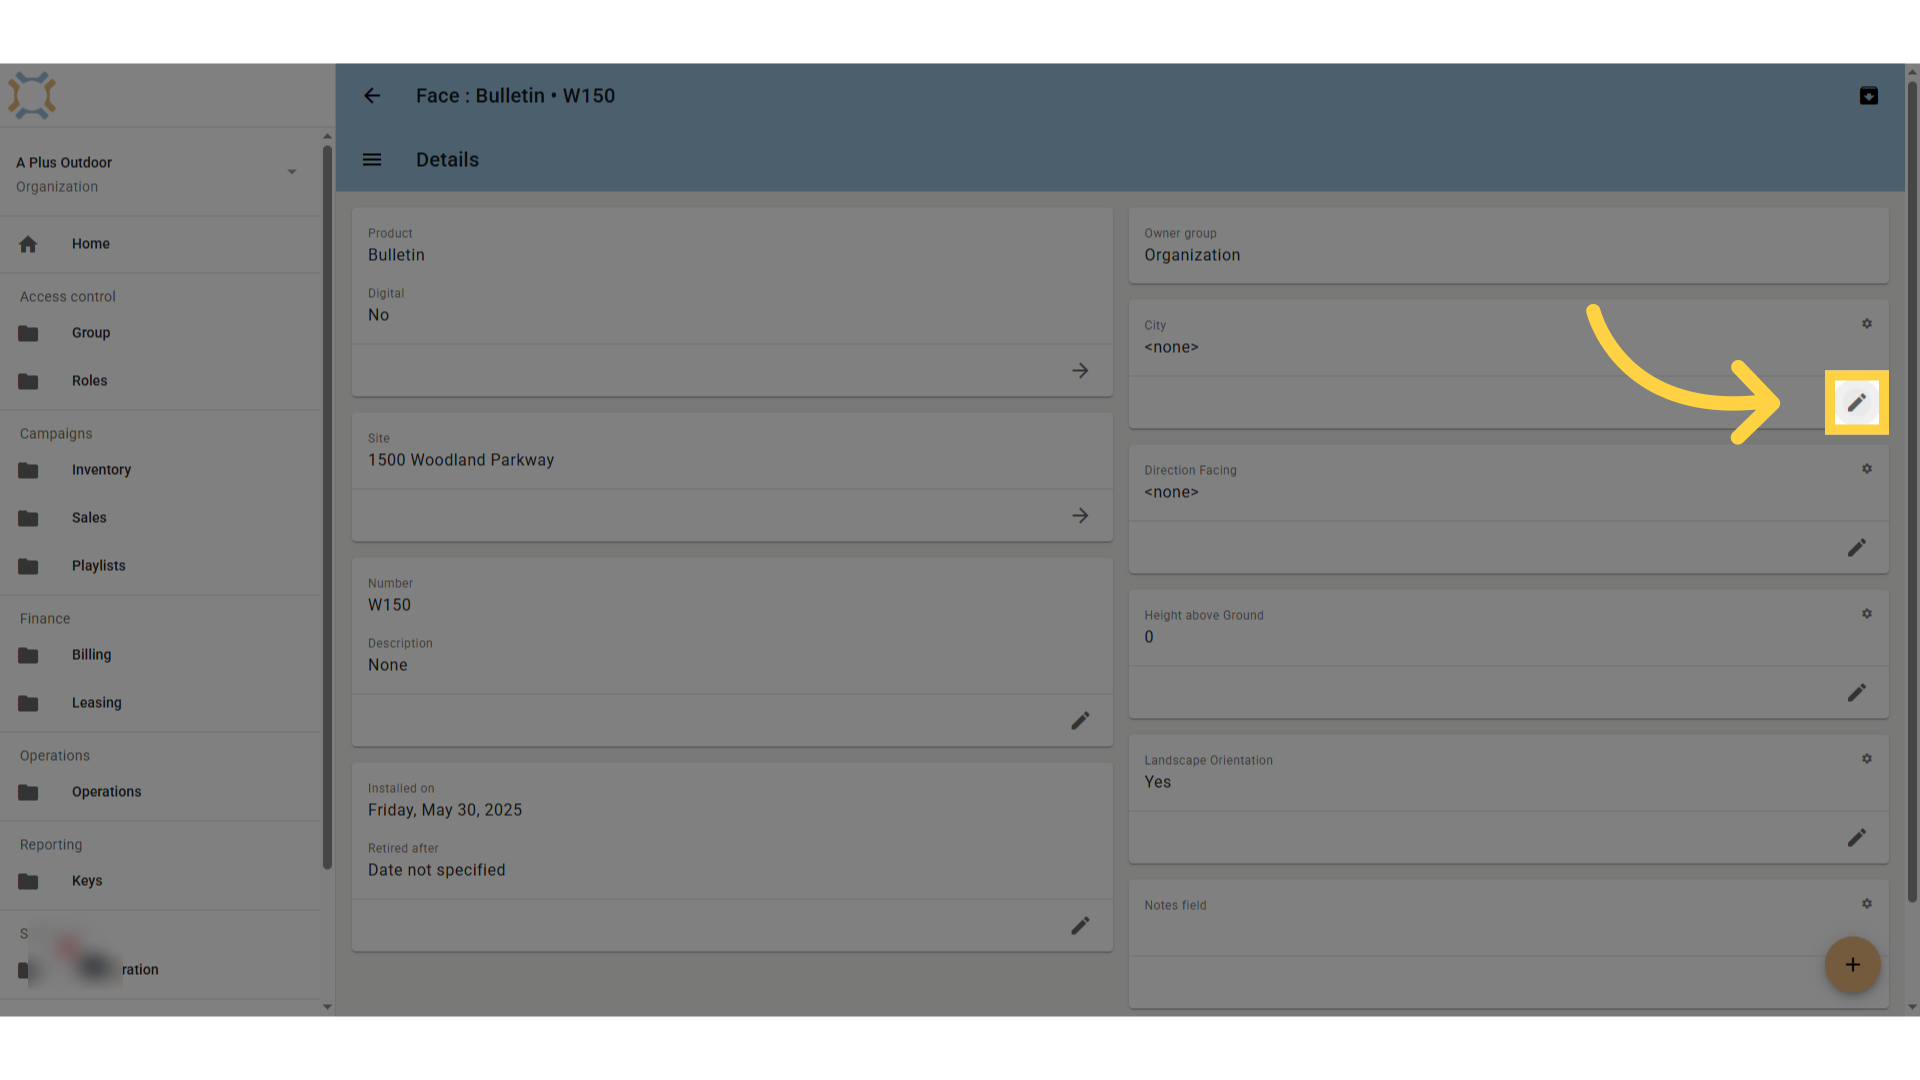
Click "edit"
Once you have finished entering a Face, you can now update any additional information you want to track. You can click the Edit button for the appropriate card.
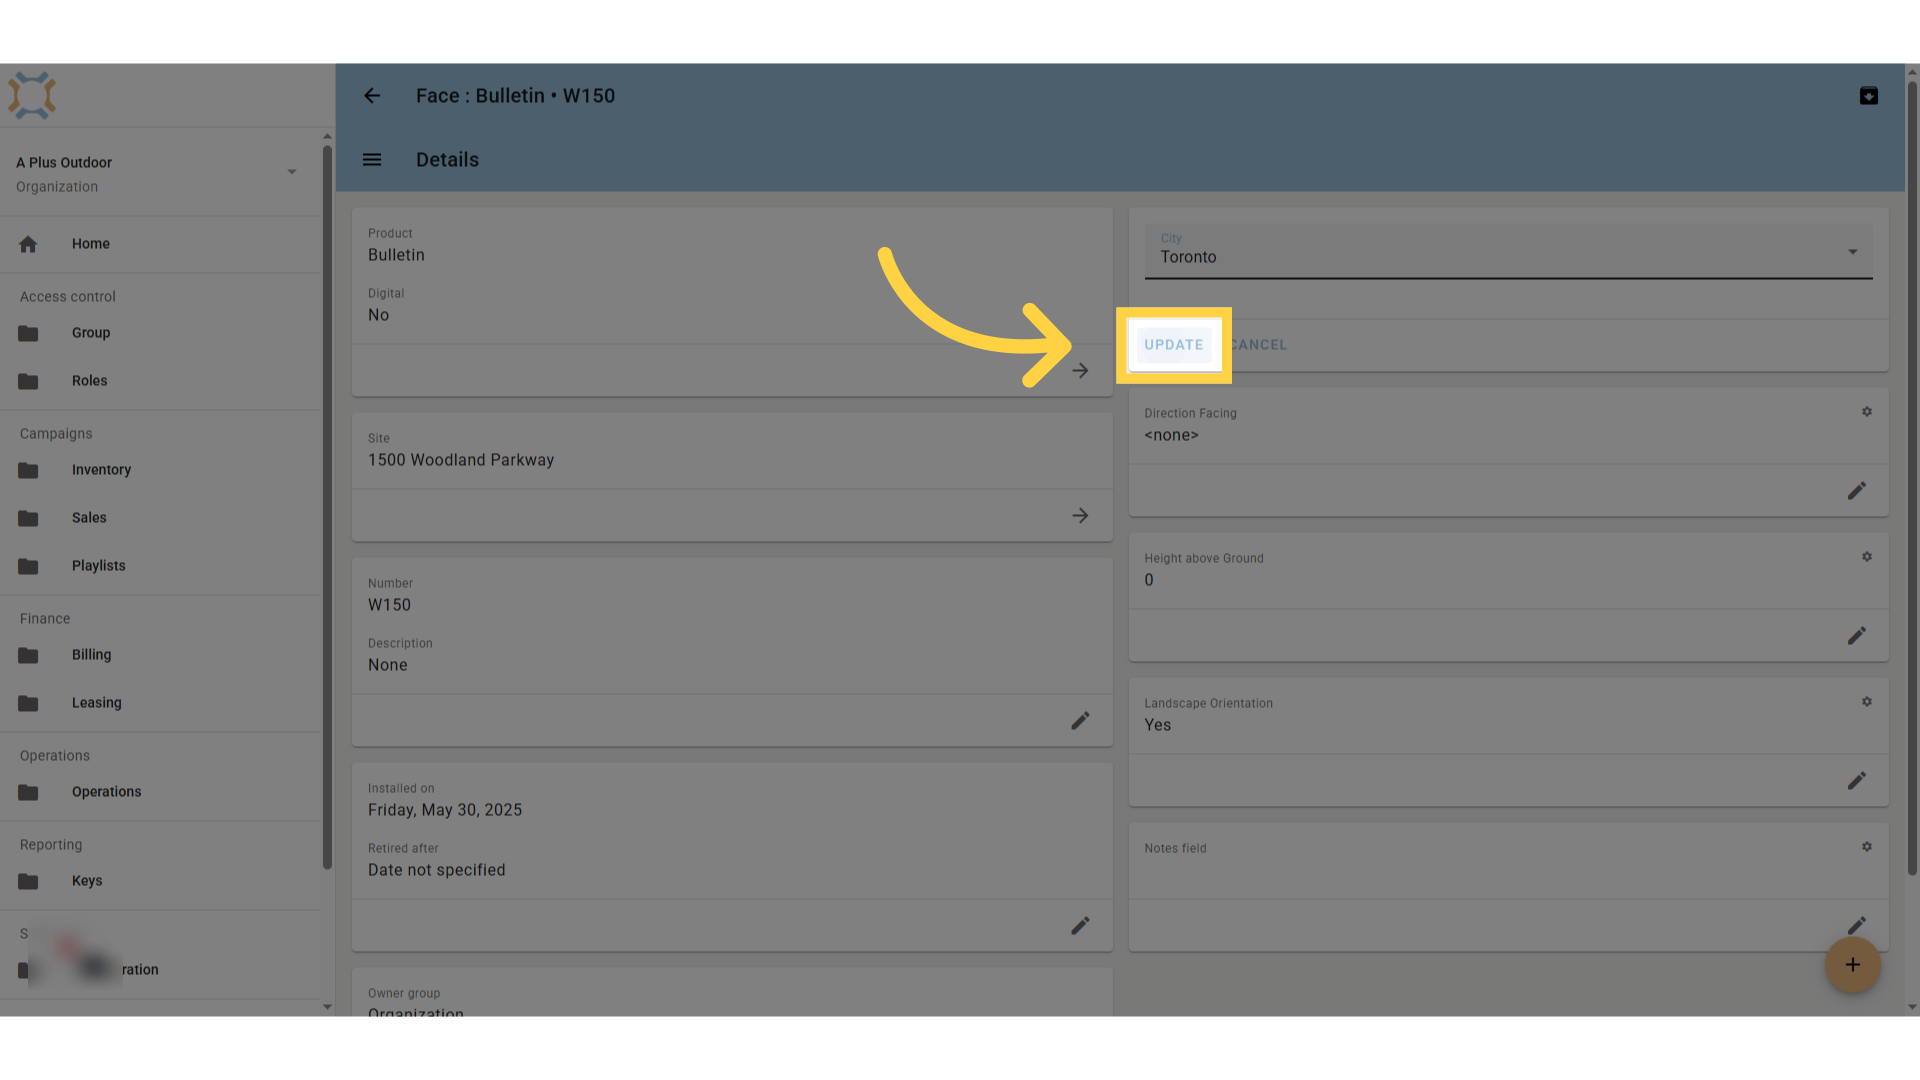
Click "update"
After you have selected the value to use for a Custom Attribute, click Update. If you do not click Update, the information will not be saved.
Updated record
The Face Details information is now updated. You can now add additional information for this face on other pages.
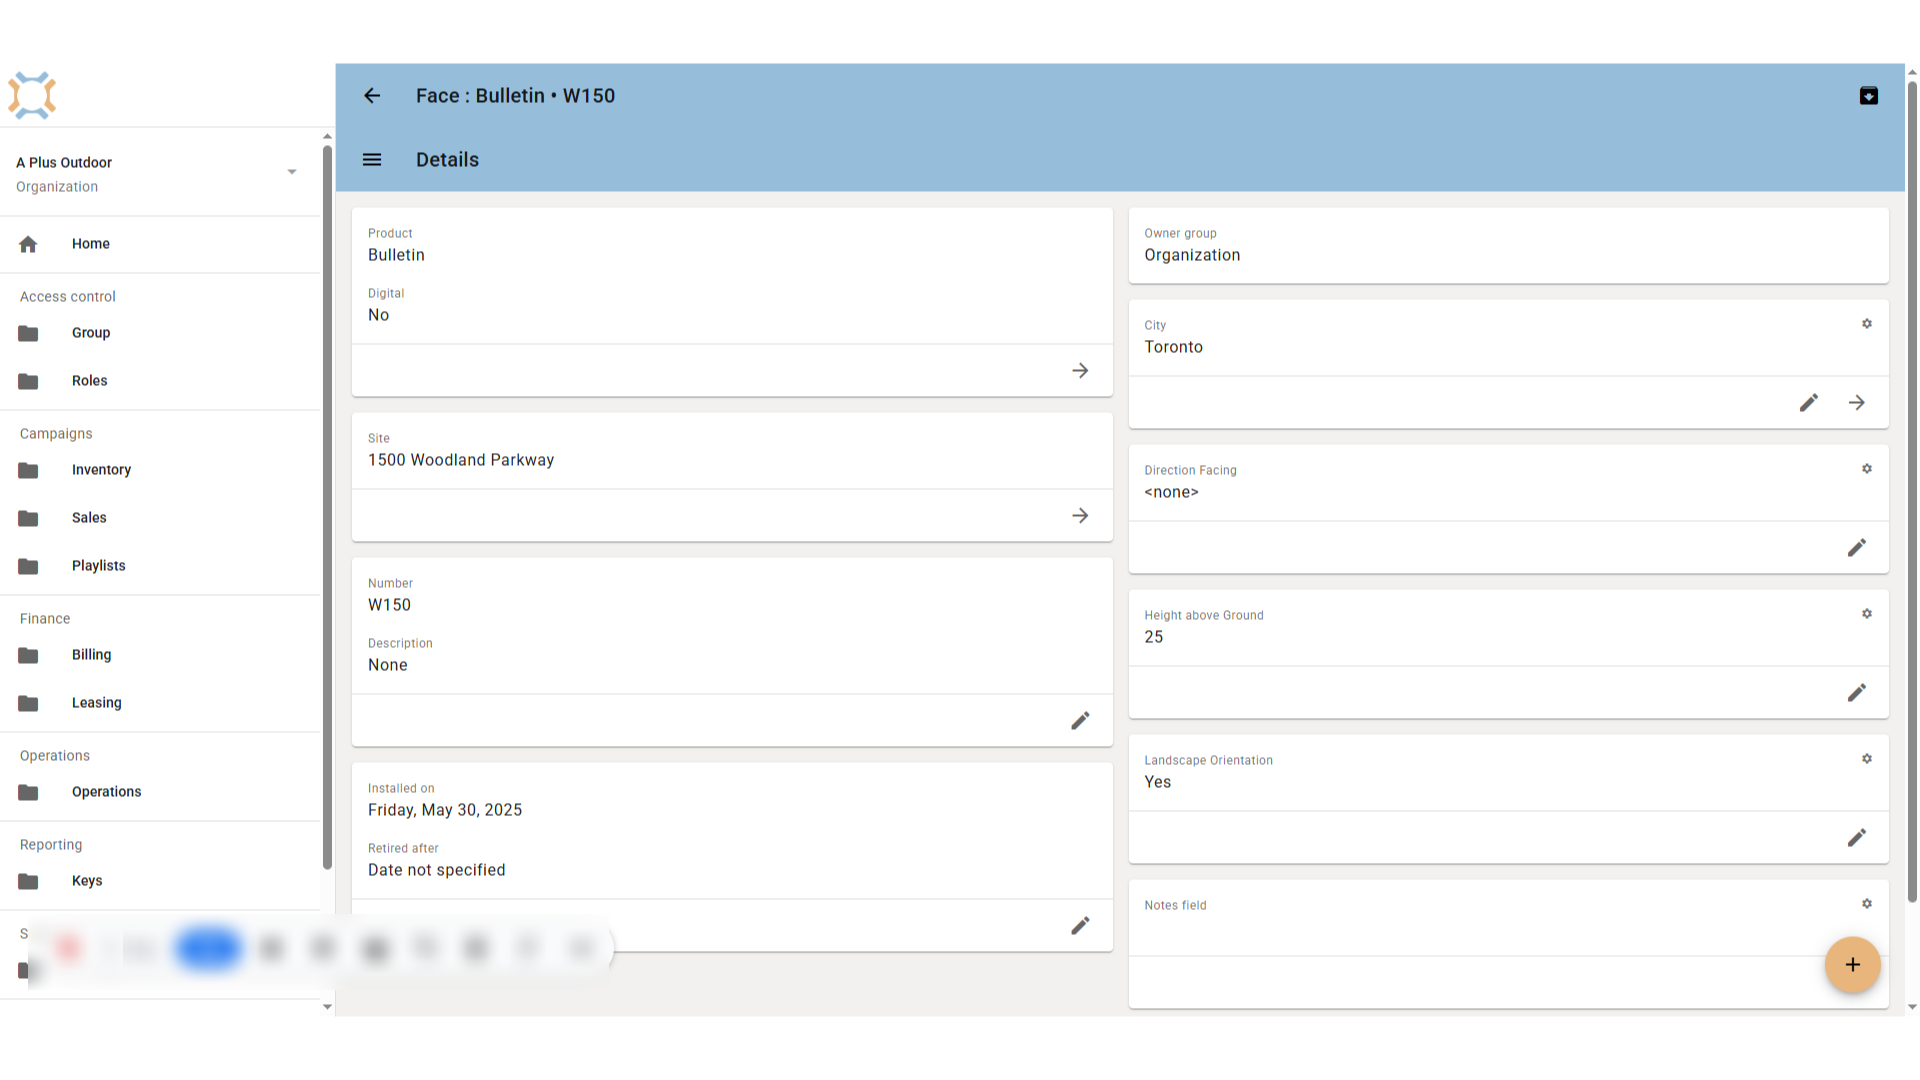
Click "Channels"
If you have a digital face, you will need to enter a channel. The channel defines the capacity of each portion of the loop, as well as the loop structure itself.
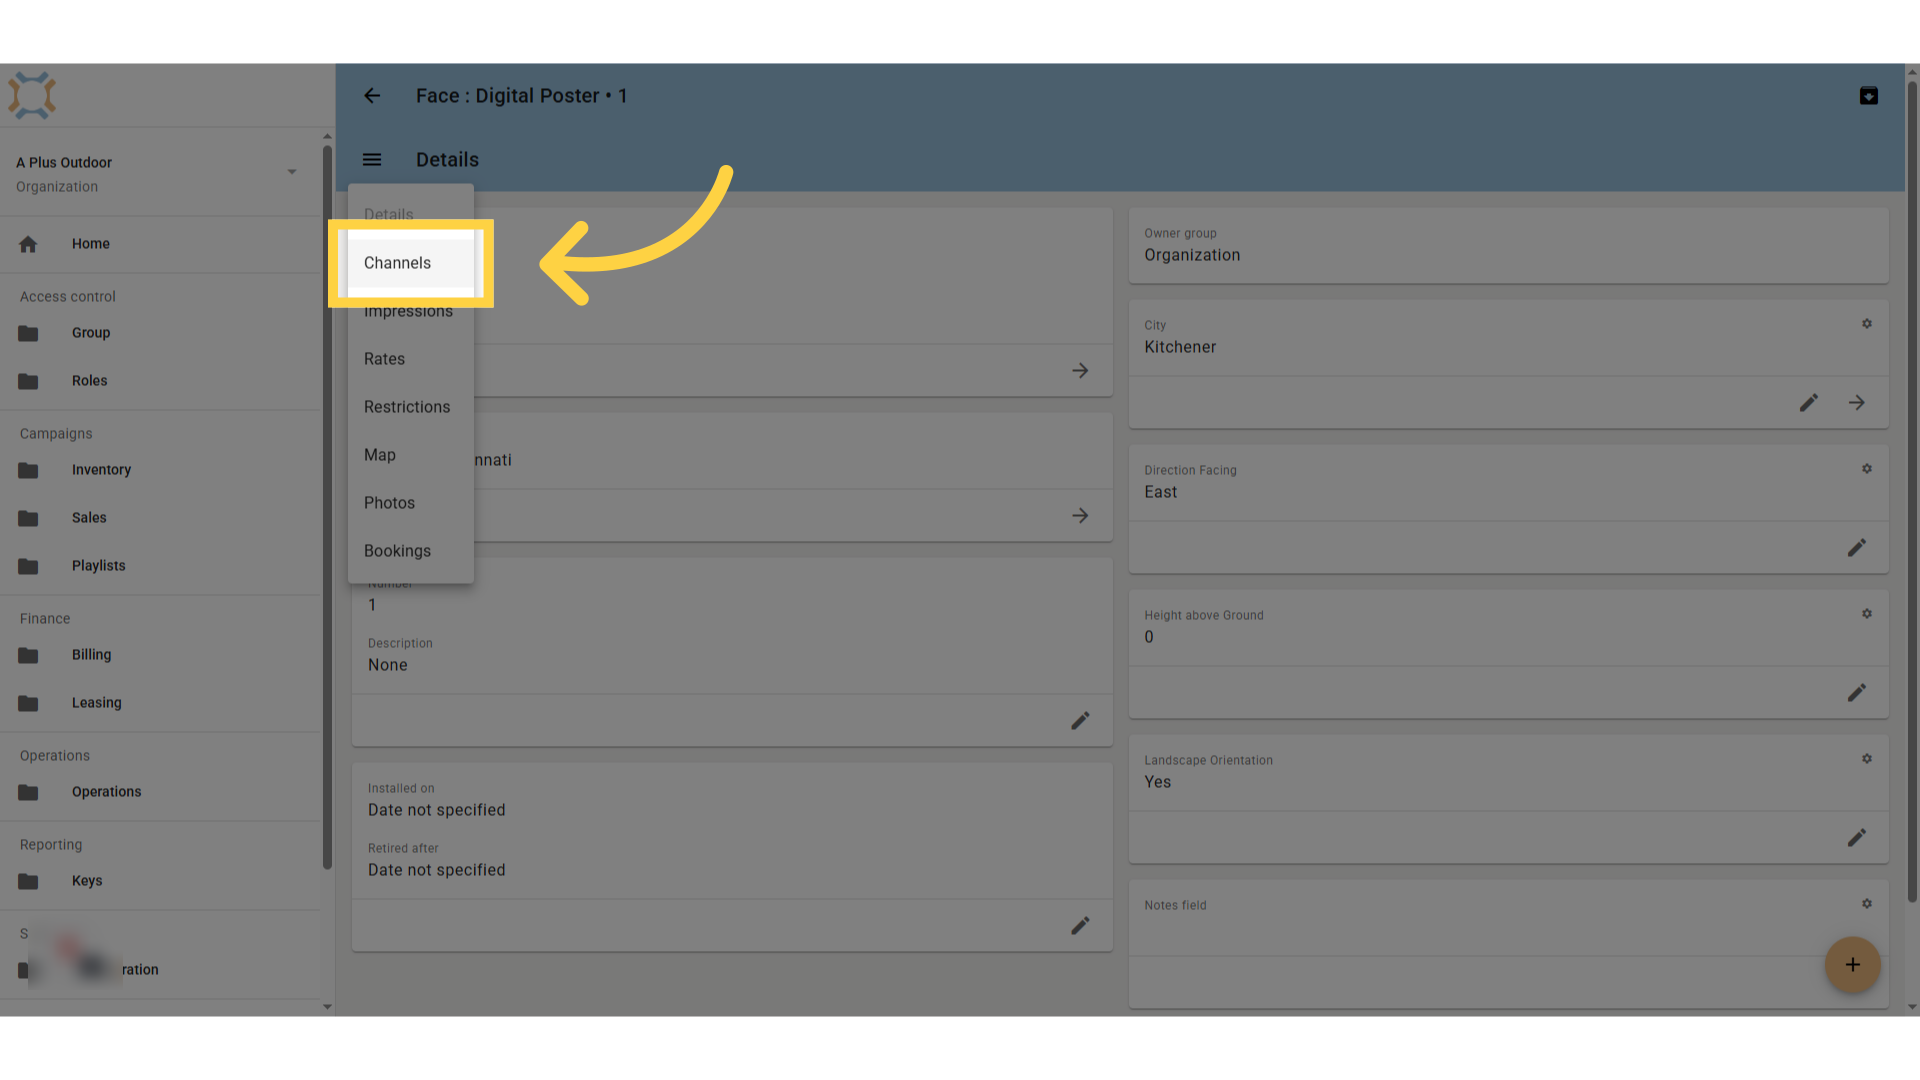
Click "add"
Click Add to select the channel to use.
Click the desired channel
Select the channel you wish to add to this face.
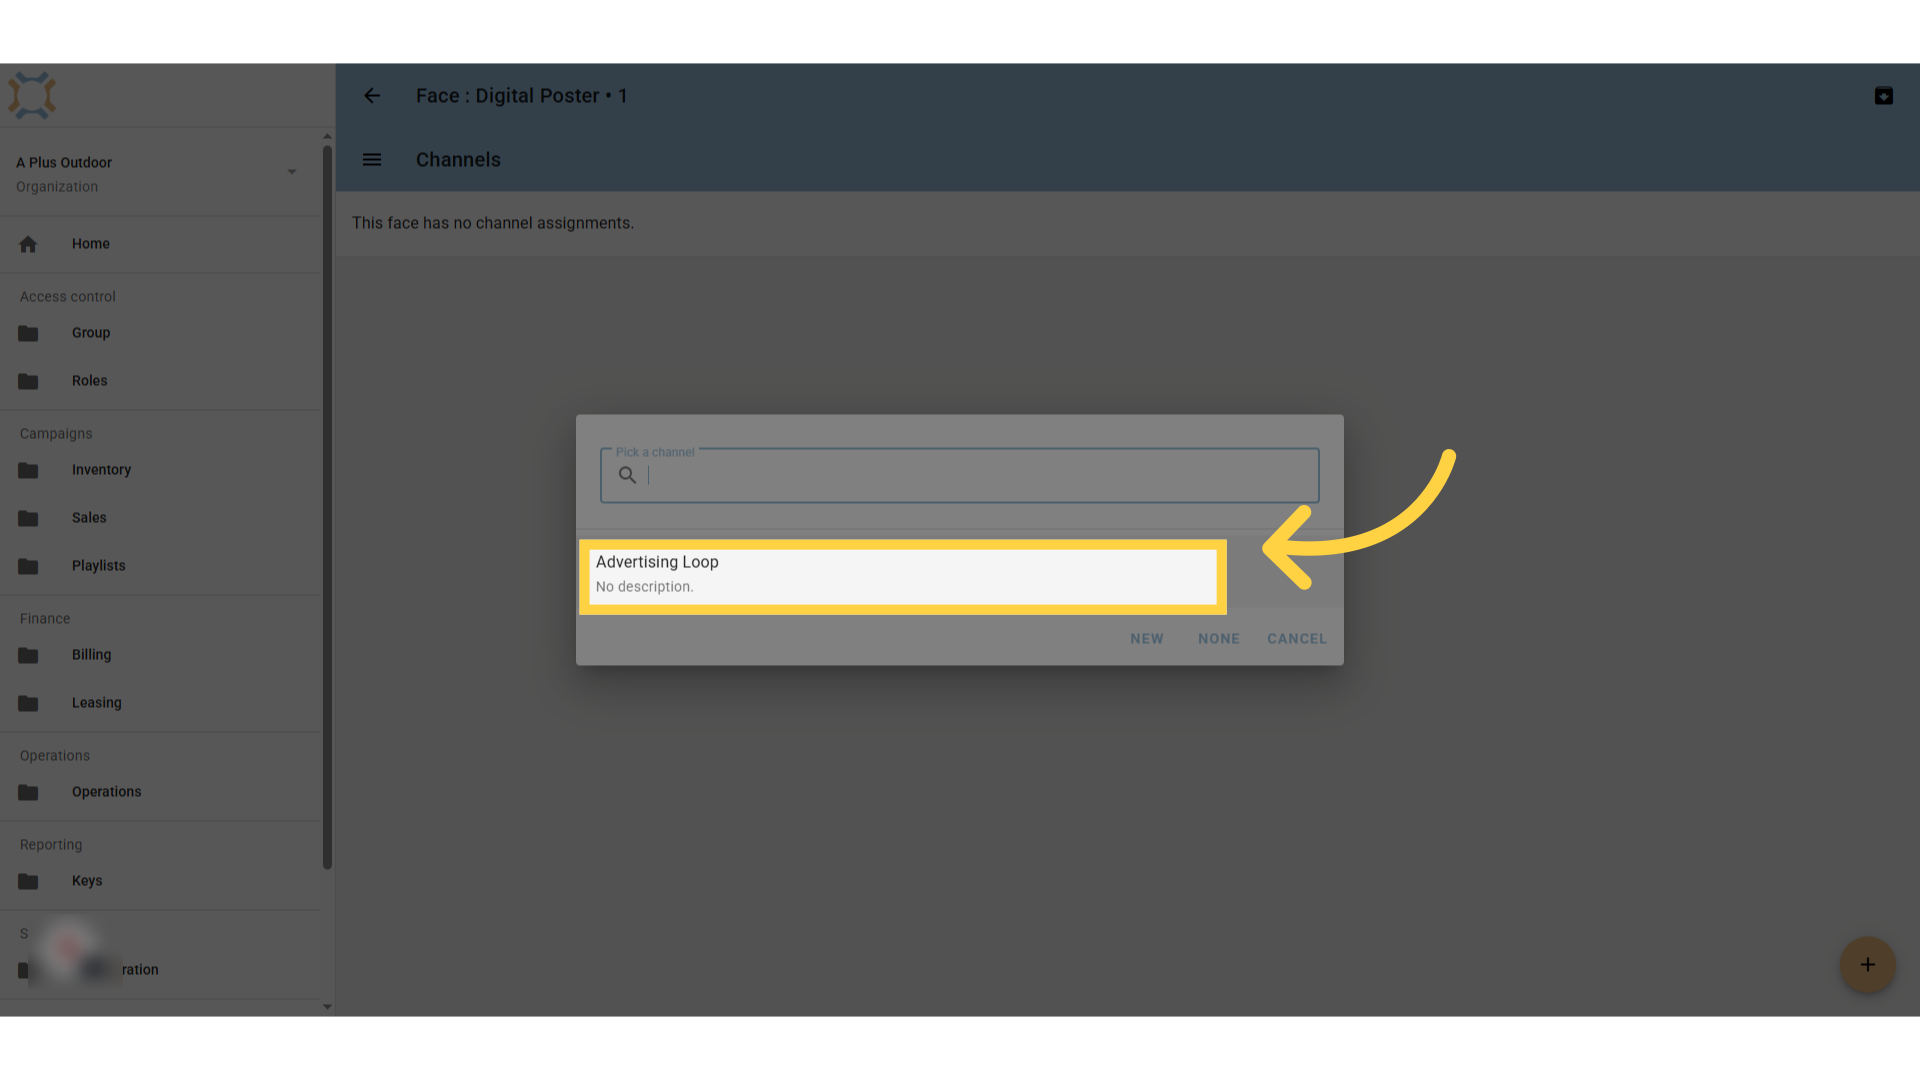
Click "date" or enter an effective date
Click on the date icon or enter a date that the channel becomes in effect.
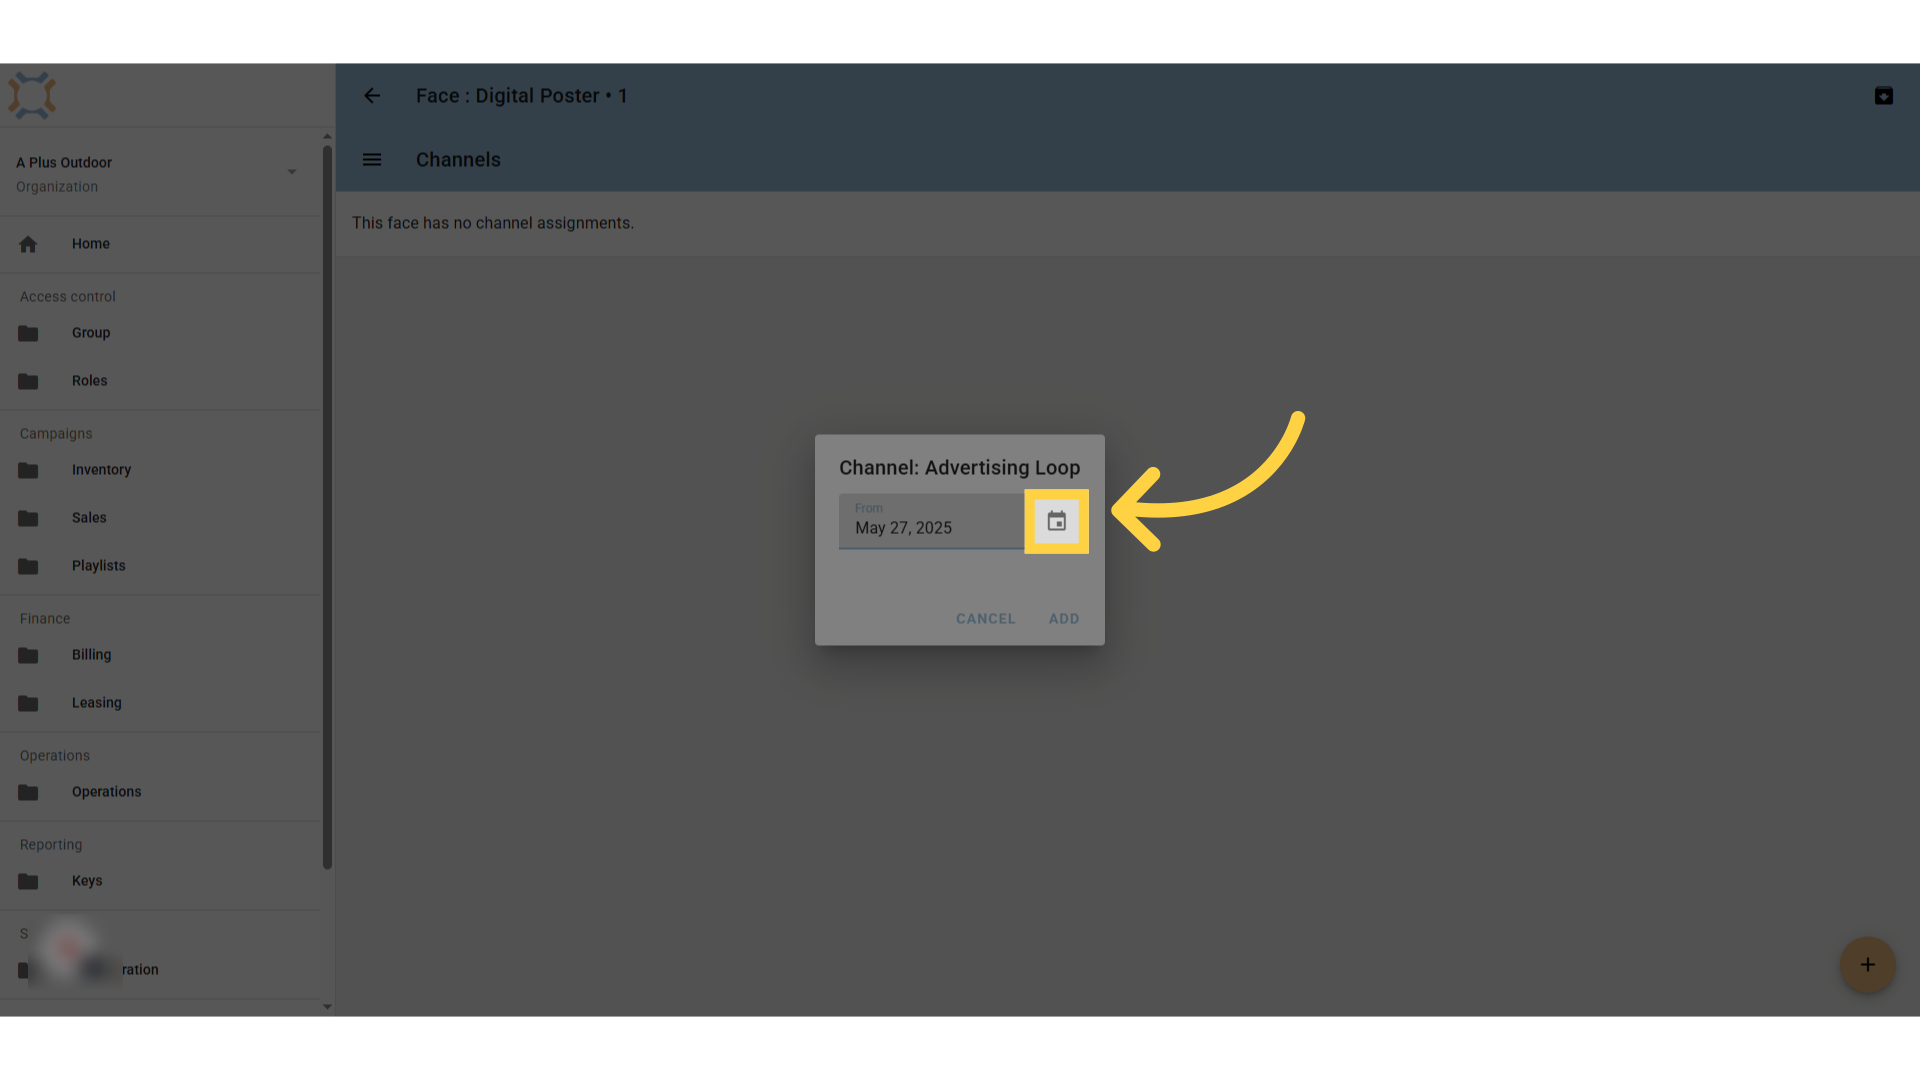
Completed Channel information
The Channel information will be displayed. Please confirm with your team that the channel information has been properly set up in the Content Management System to ensure successful playback.
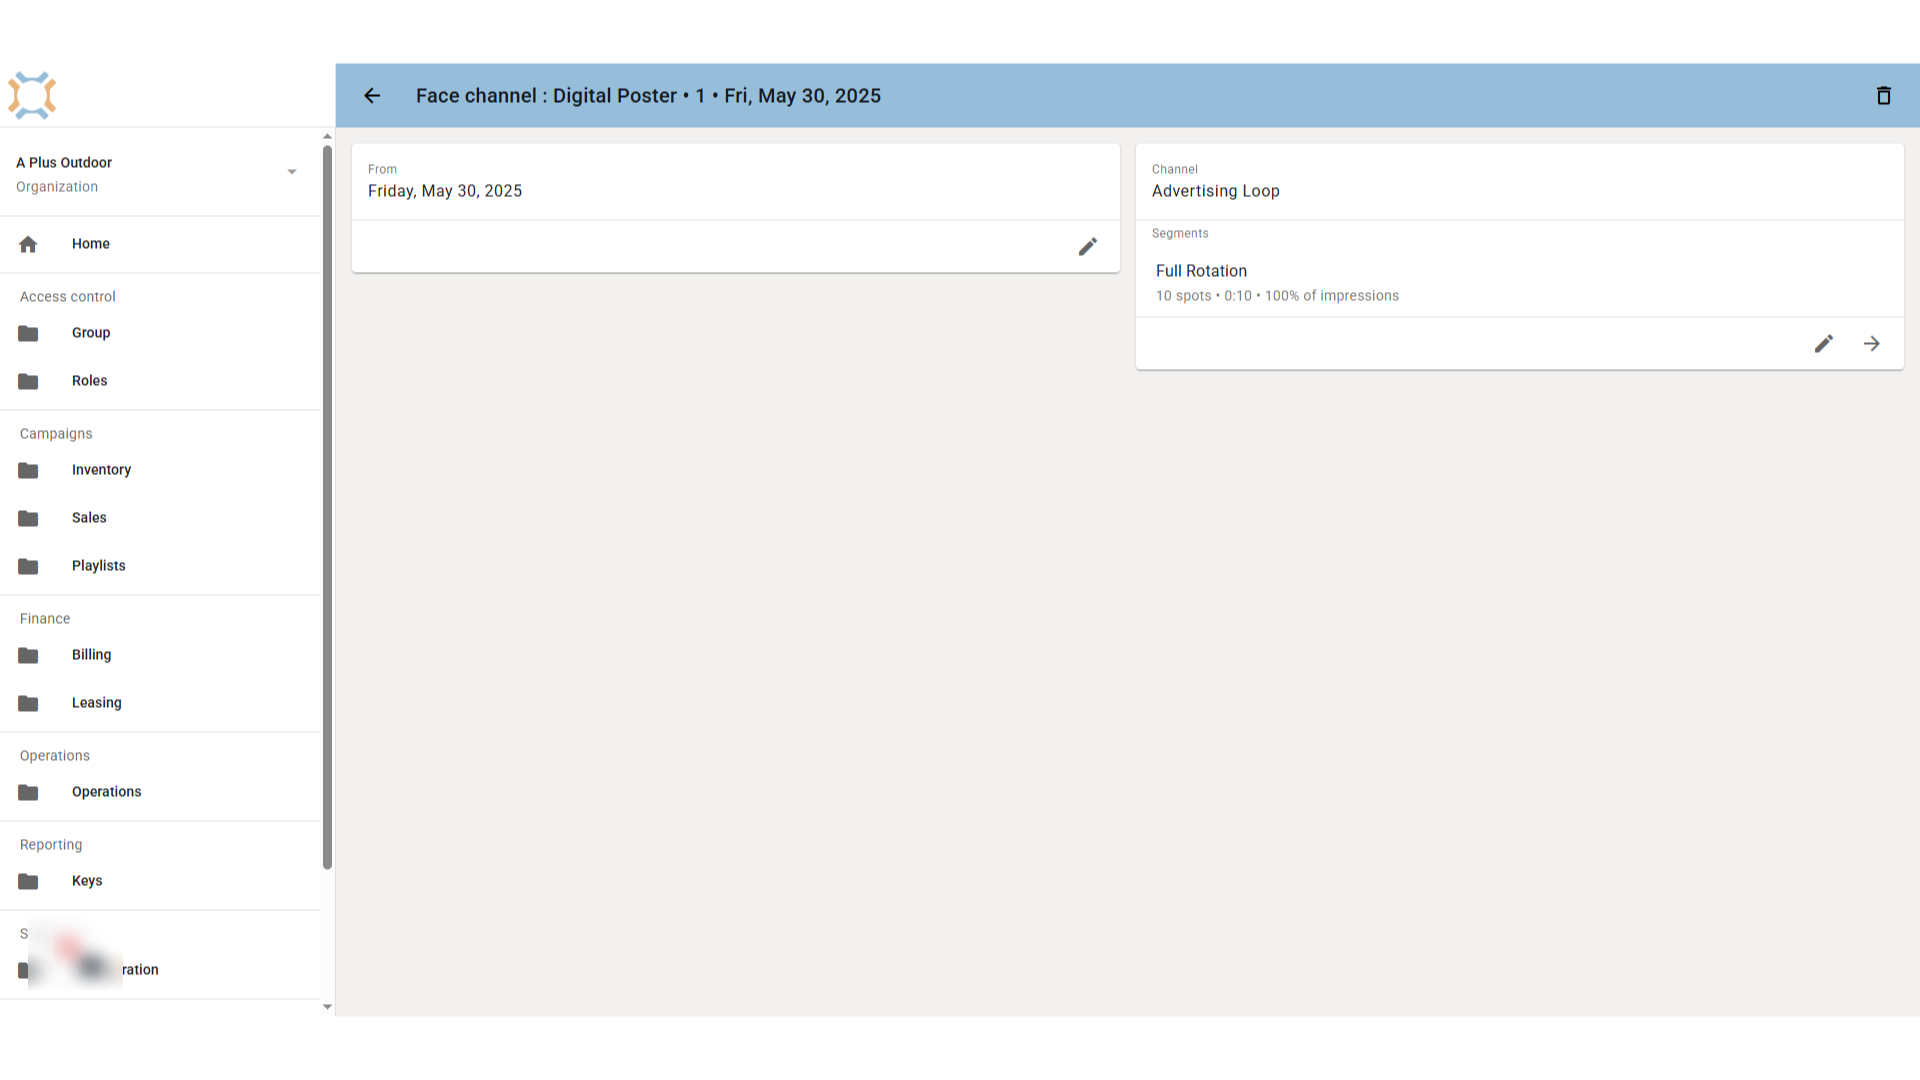
Click "menu"
To add more information about a face, click on the menu button to see a list.
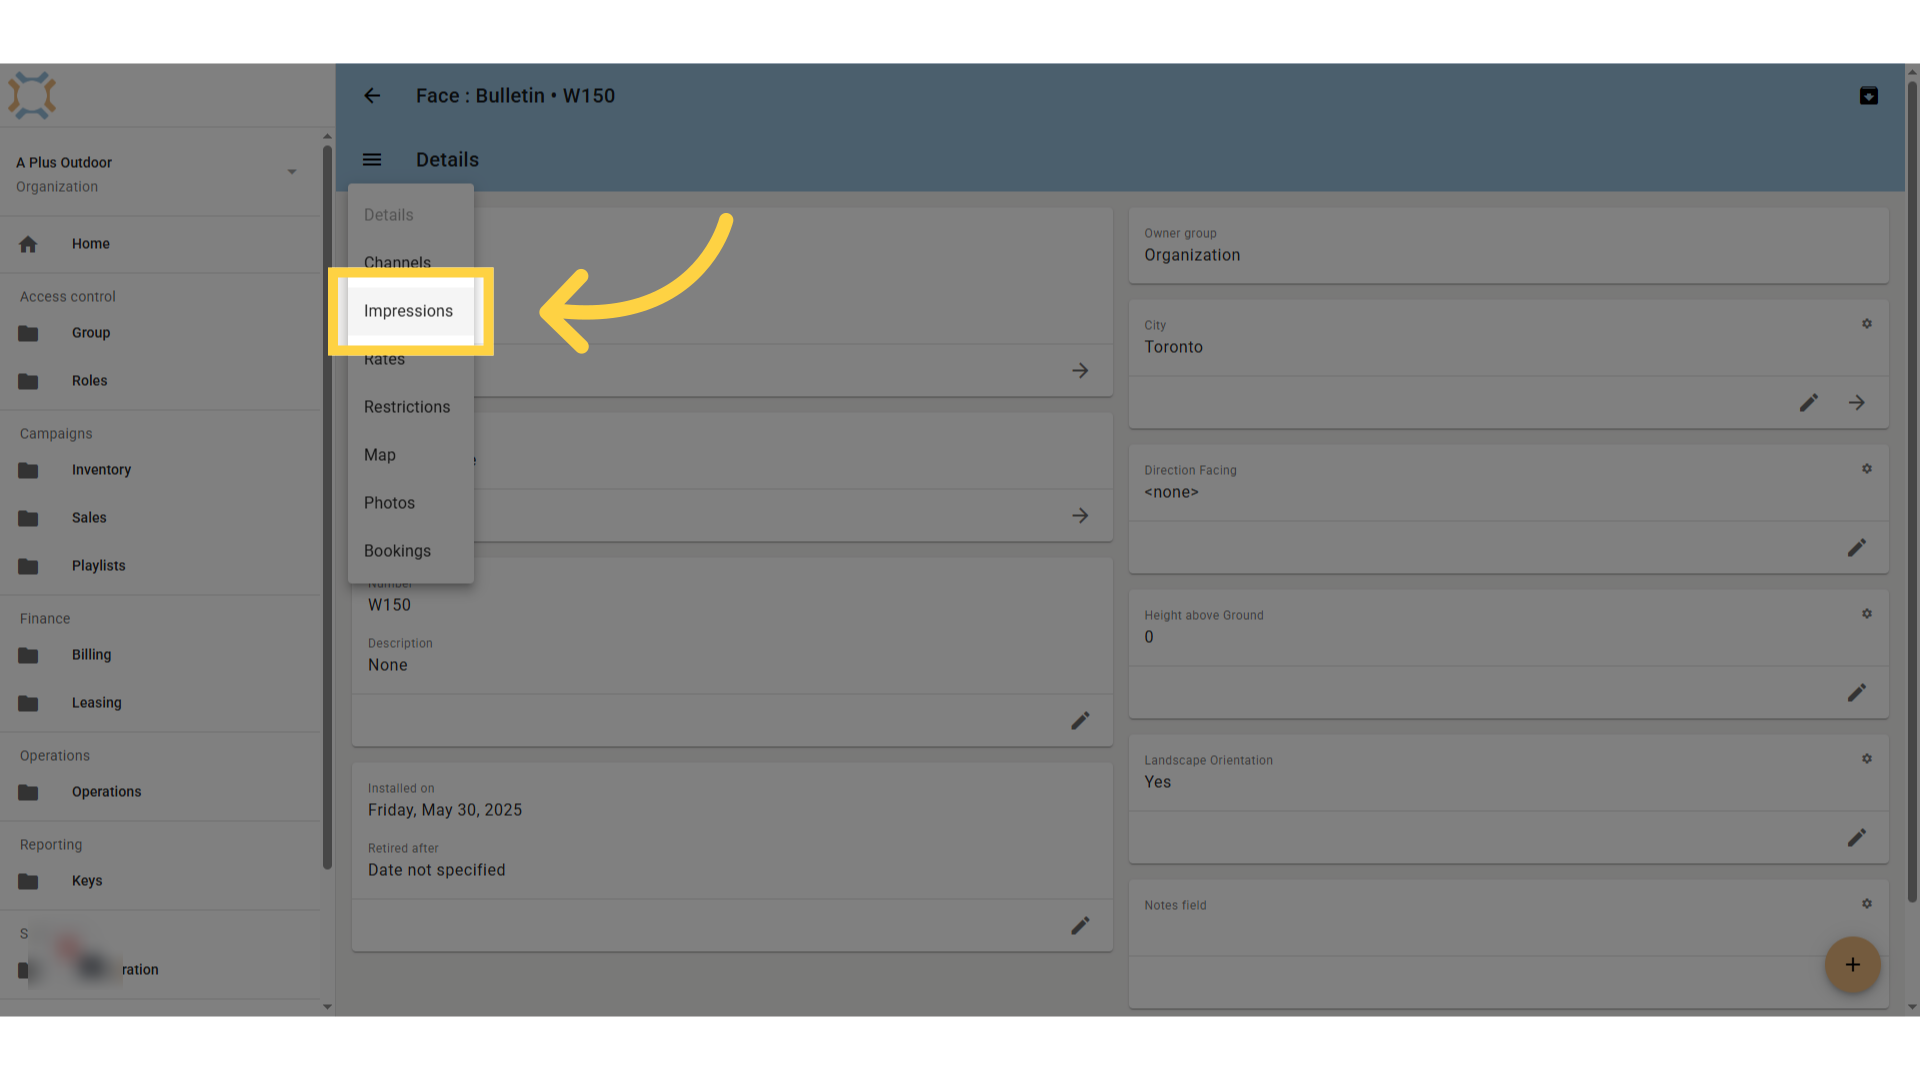
Click "Impressions"
If you wish to add impressions for the face, click Impressions.
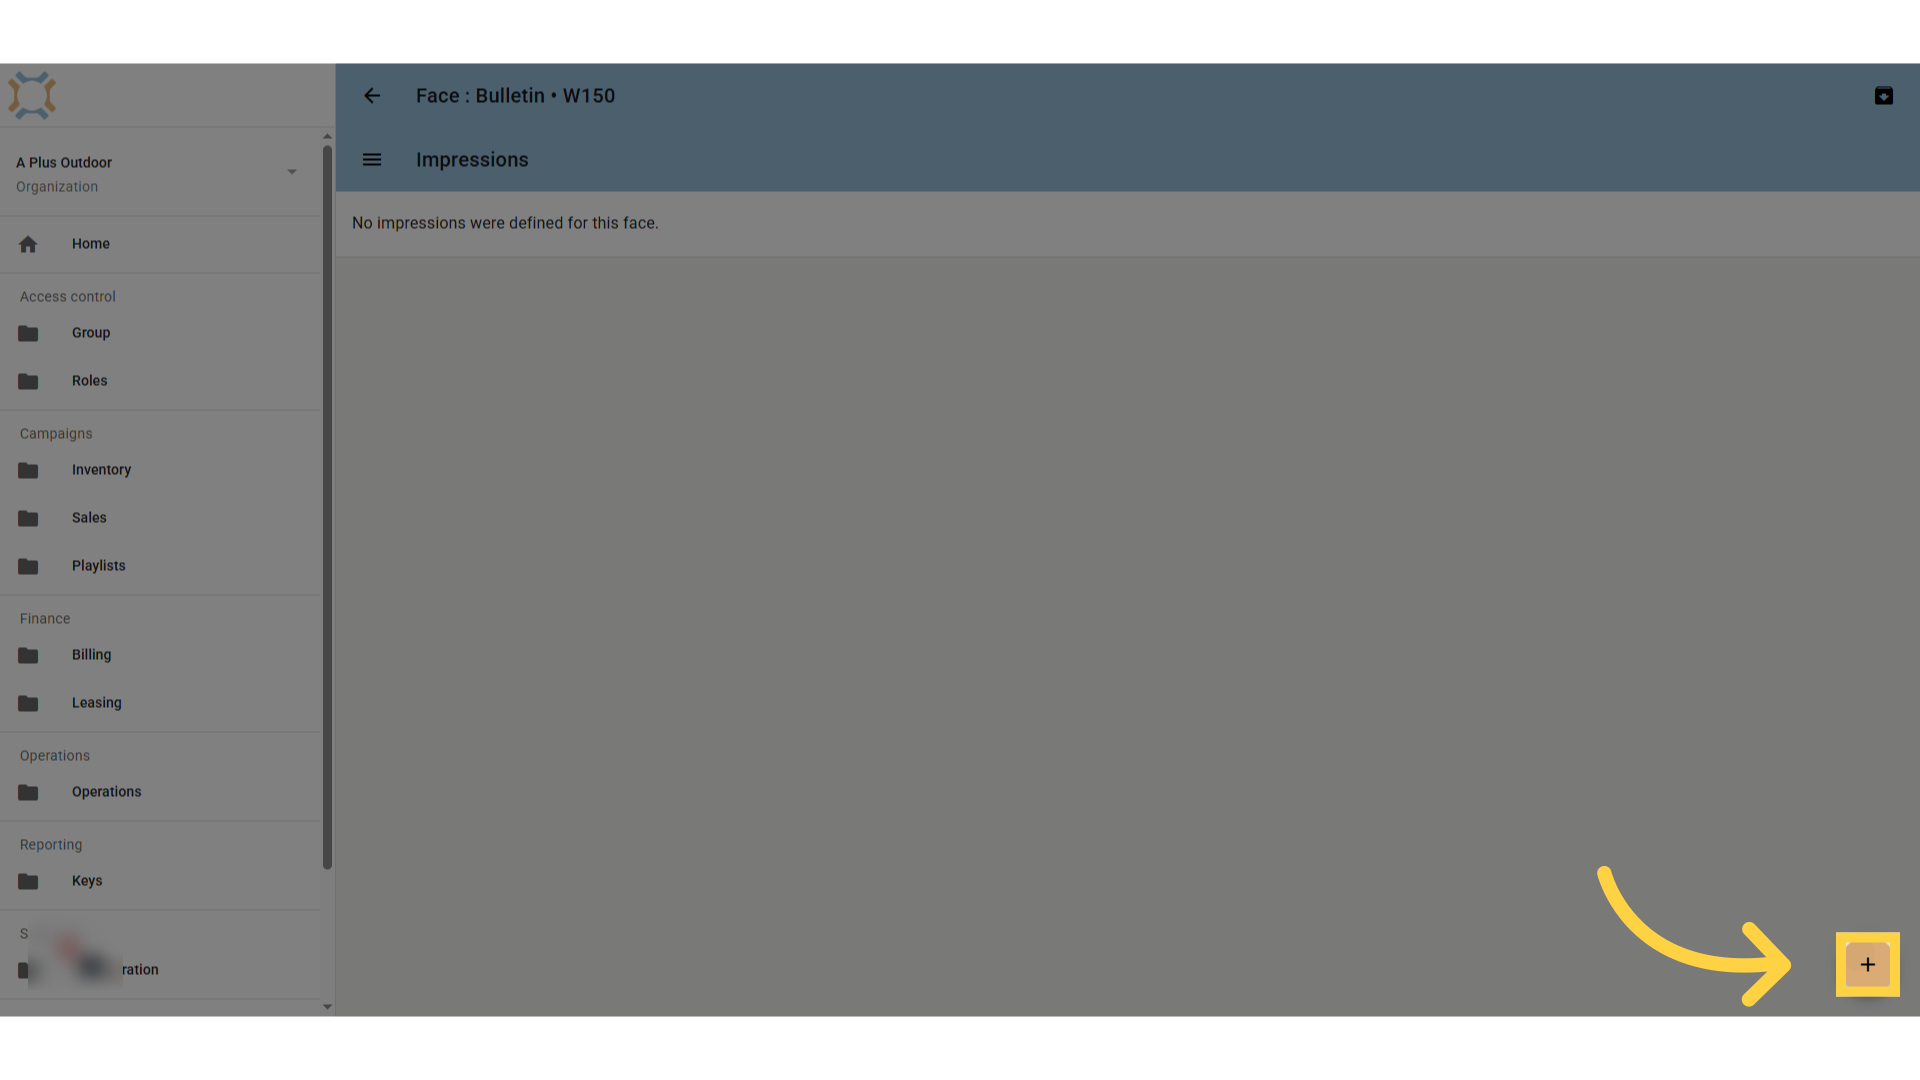
Click "add"
Click on Add to add impression information.
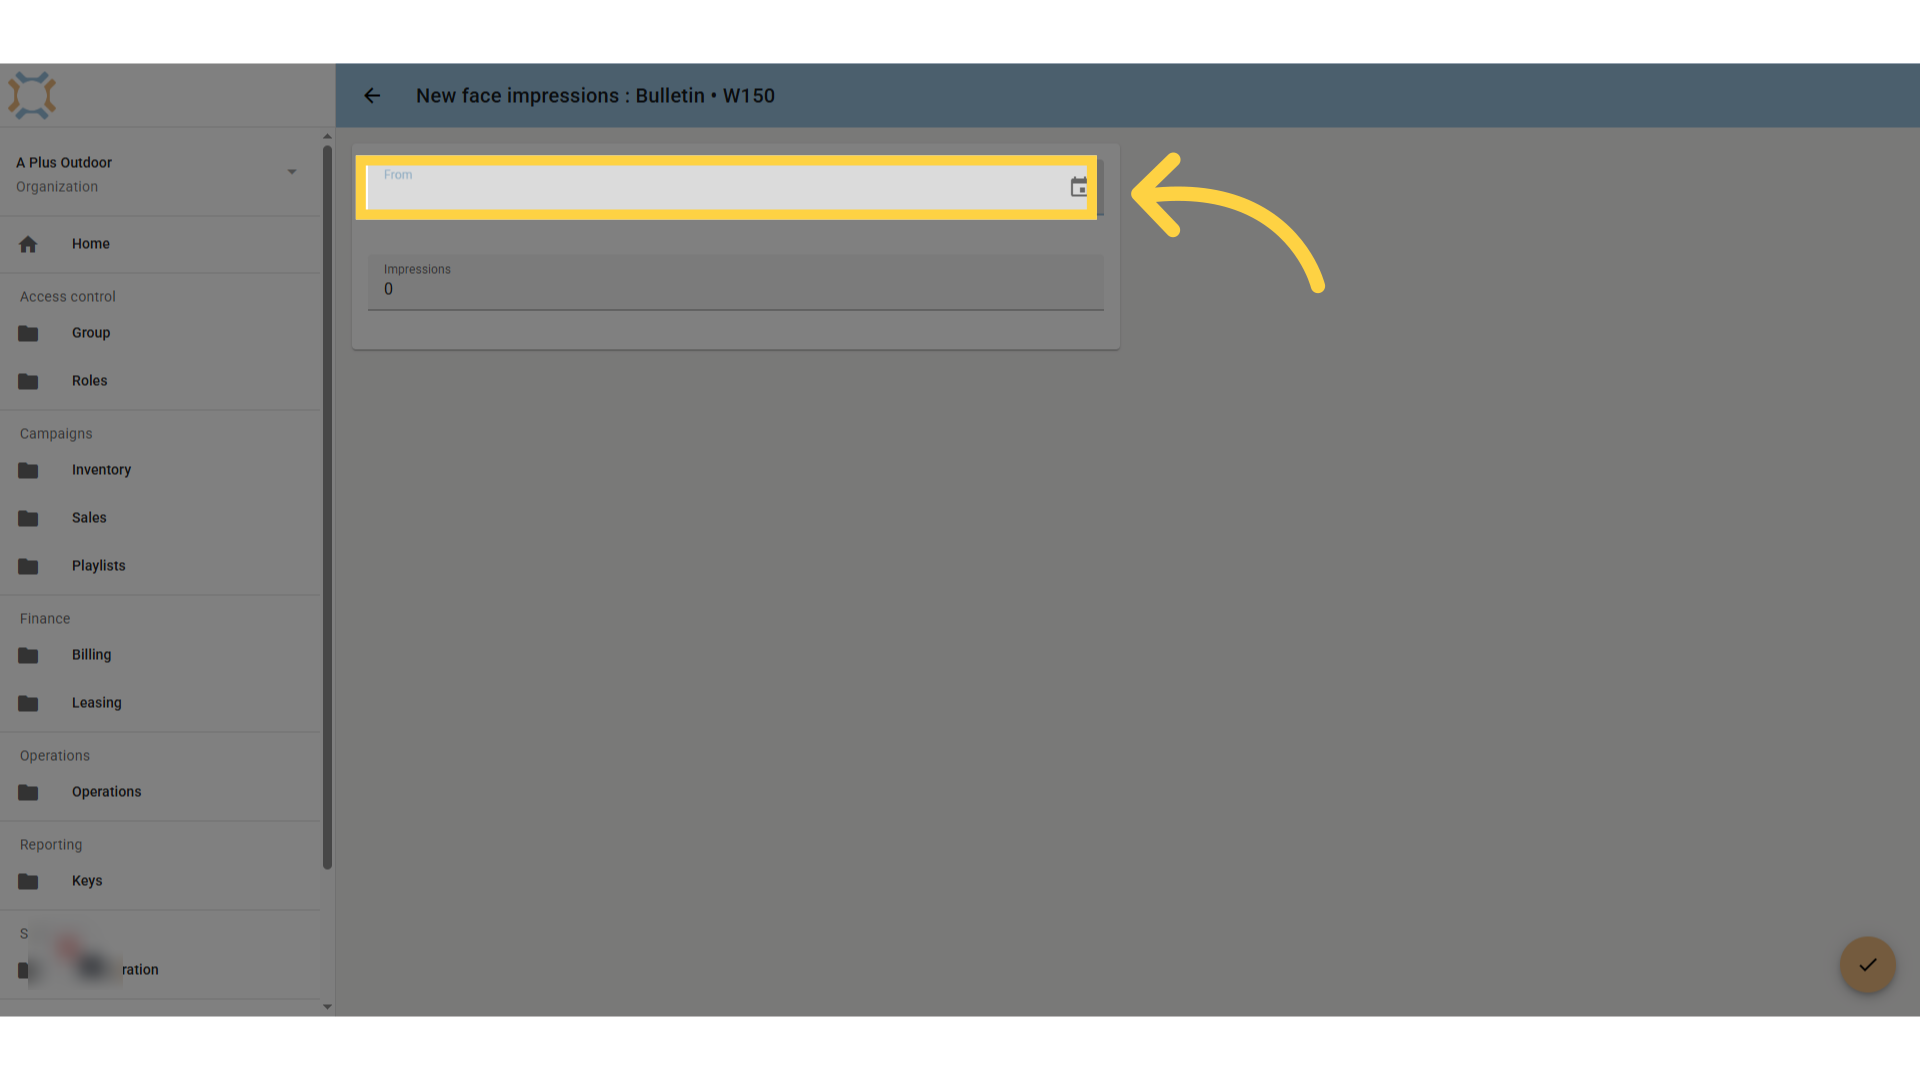
Click "date" or enter date
Either enter the date or select it as the starting date for using this impression data. If you leave the date blank, these impressions will apply to any date prior to an impression entered with a date.
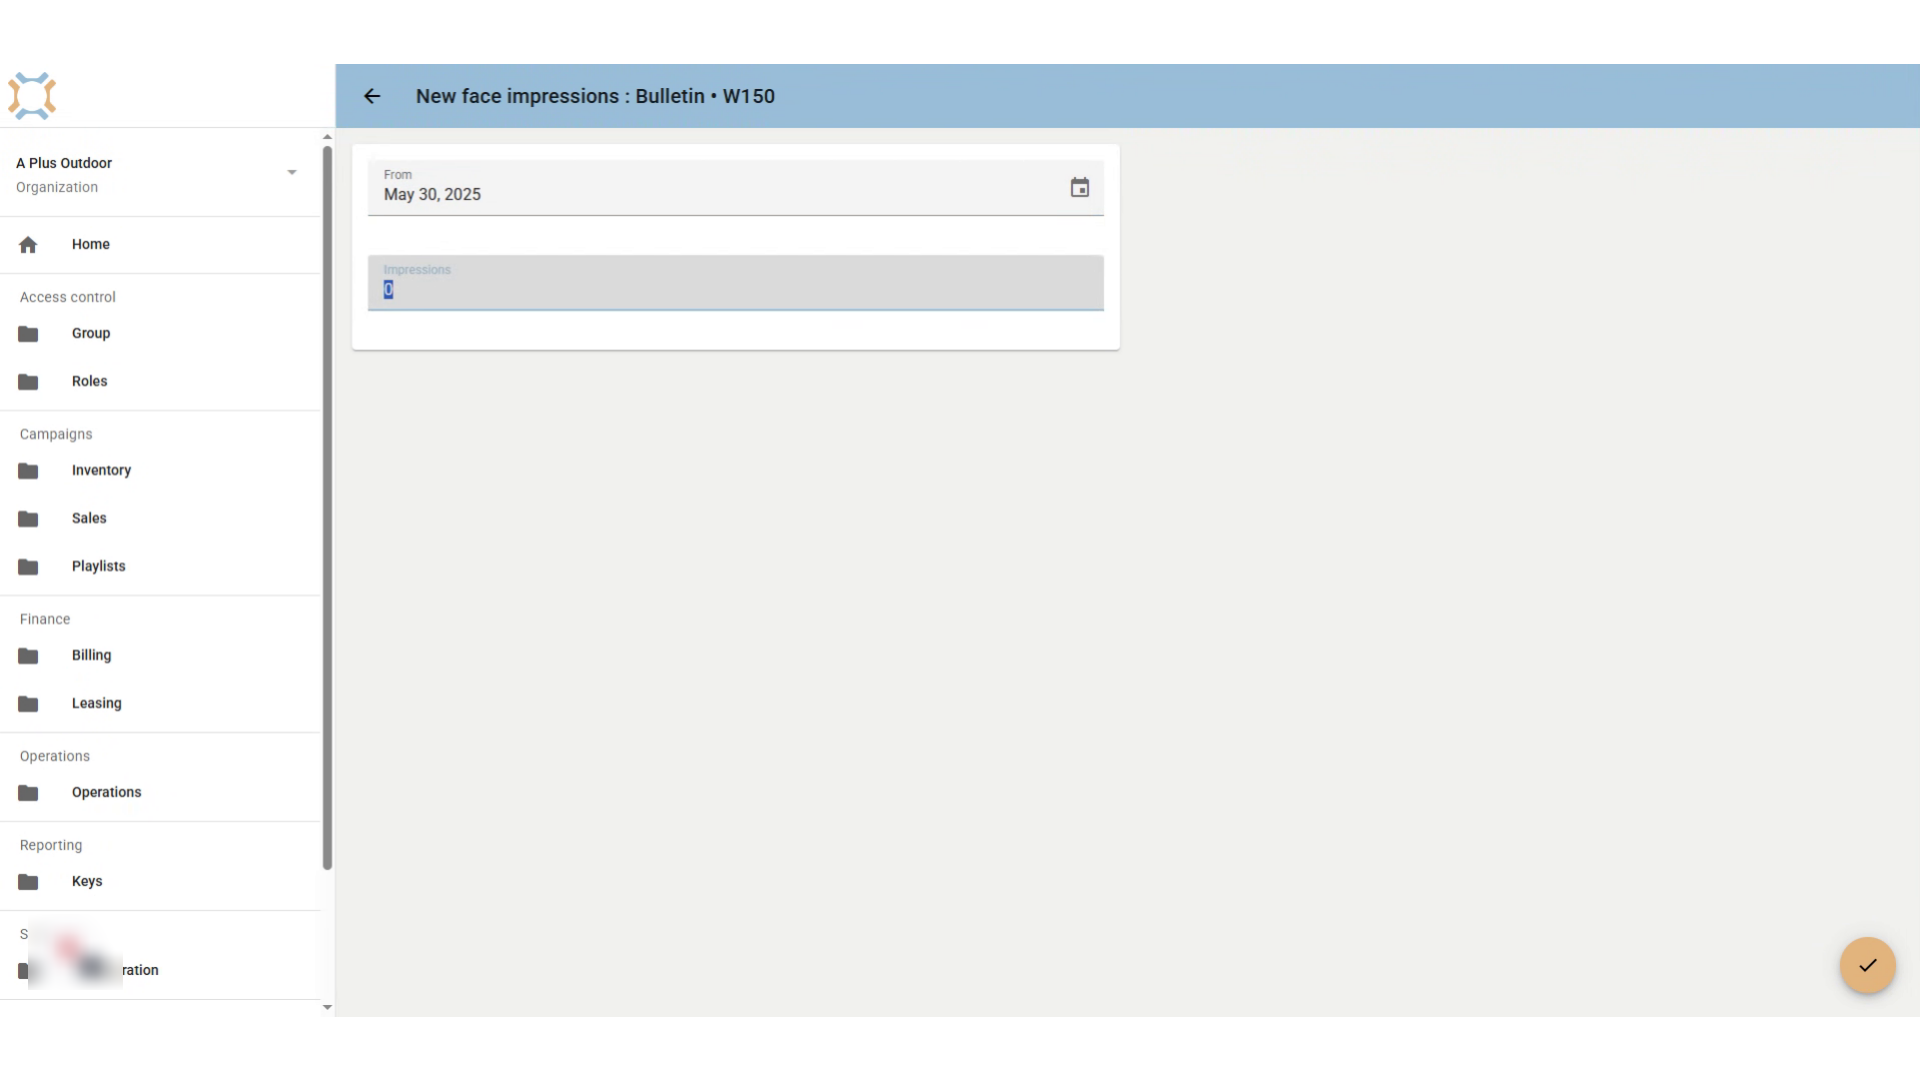
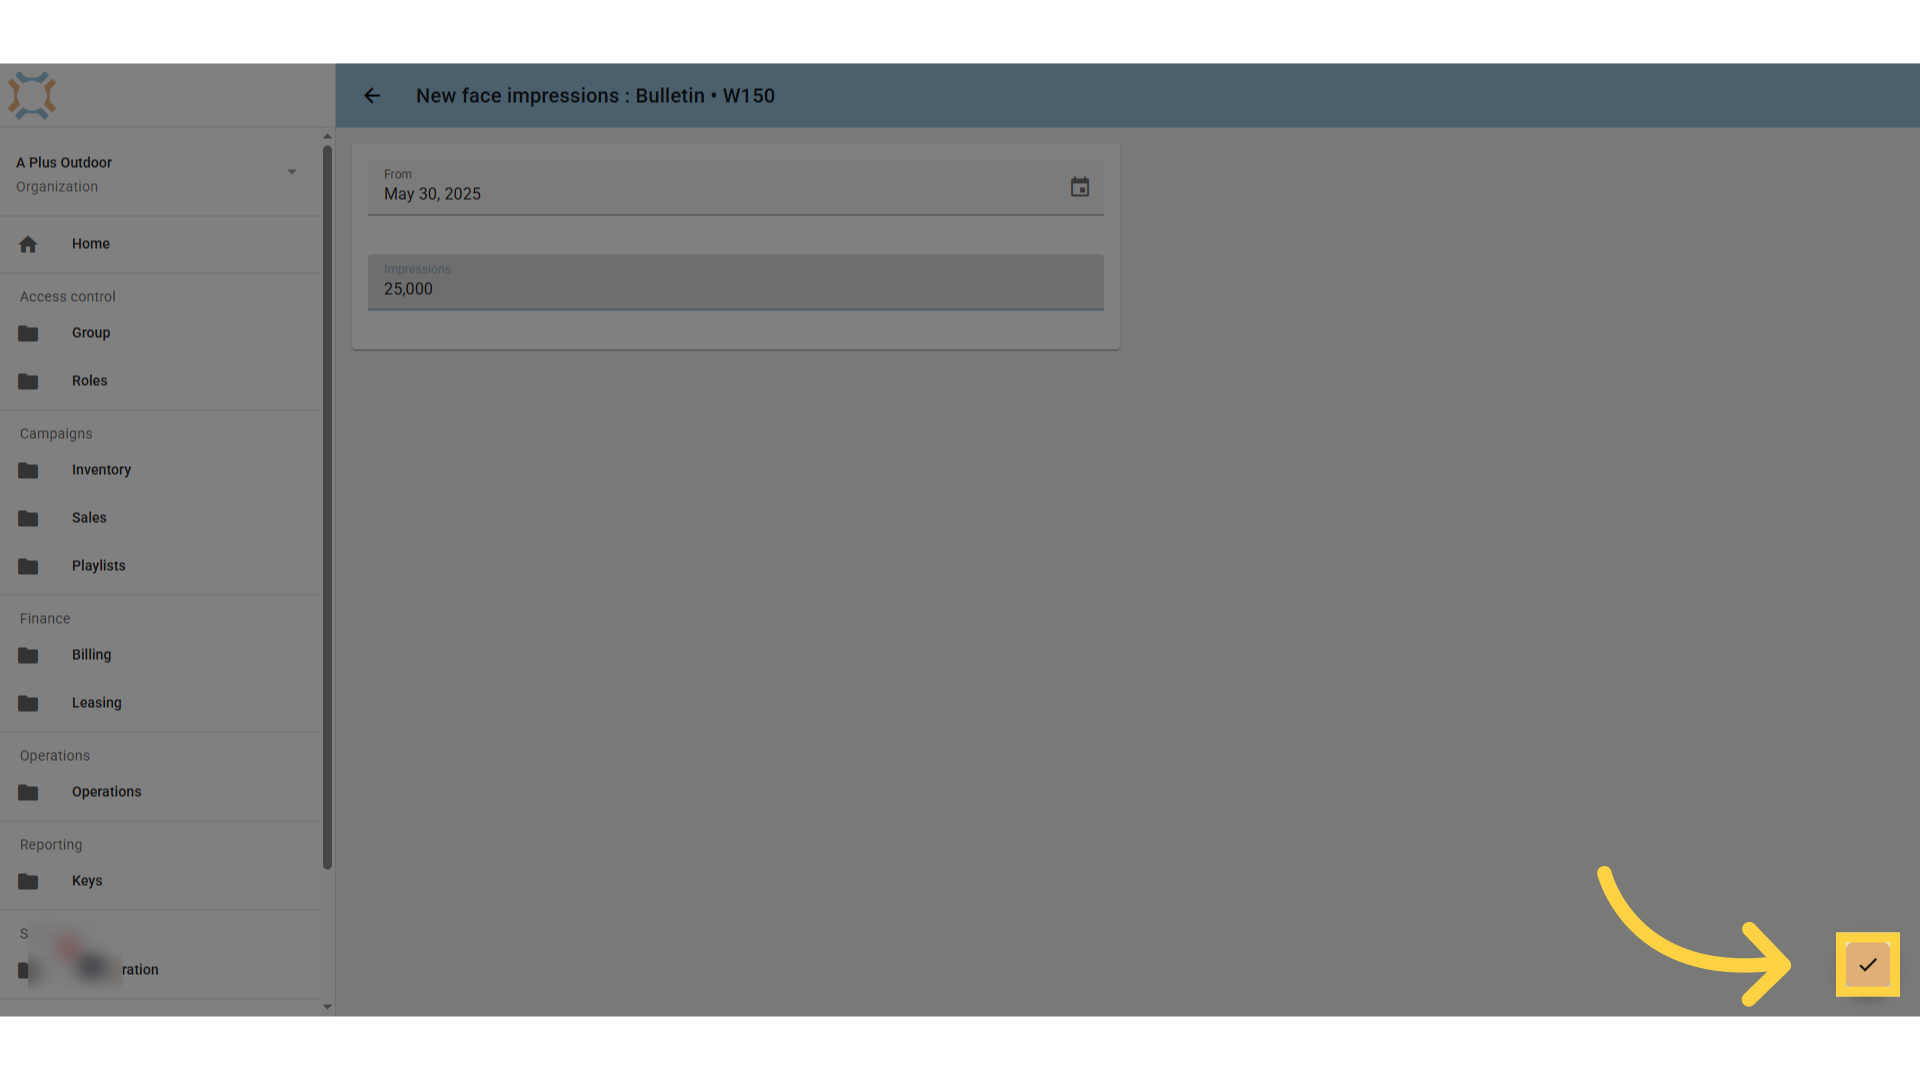
Enter impressions
Enter the impressions value you wish to have for this face as of the From date.
Click "done"
Click Done to save this impression information.
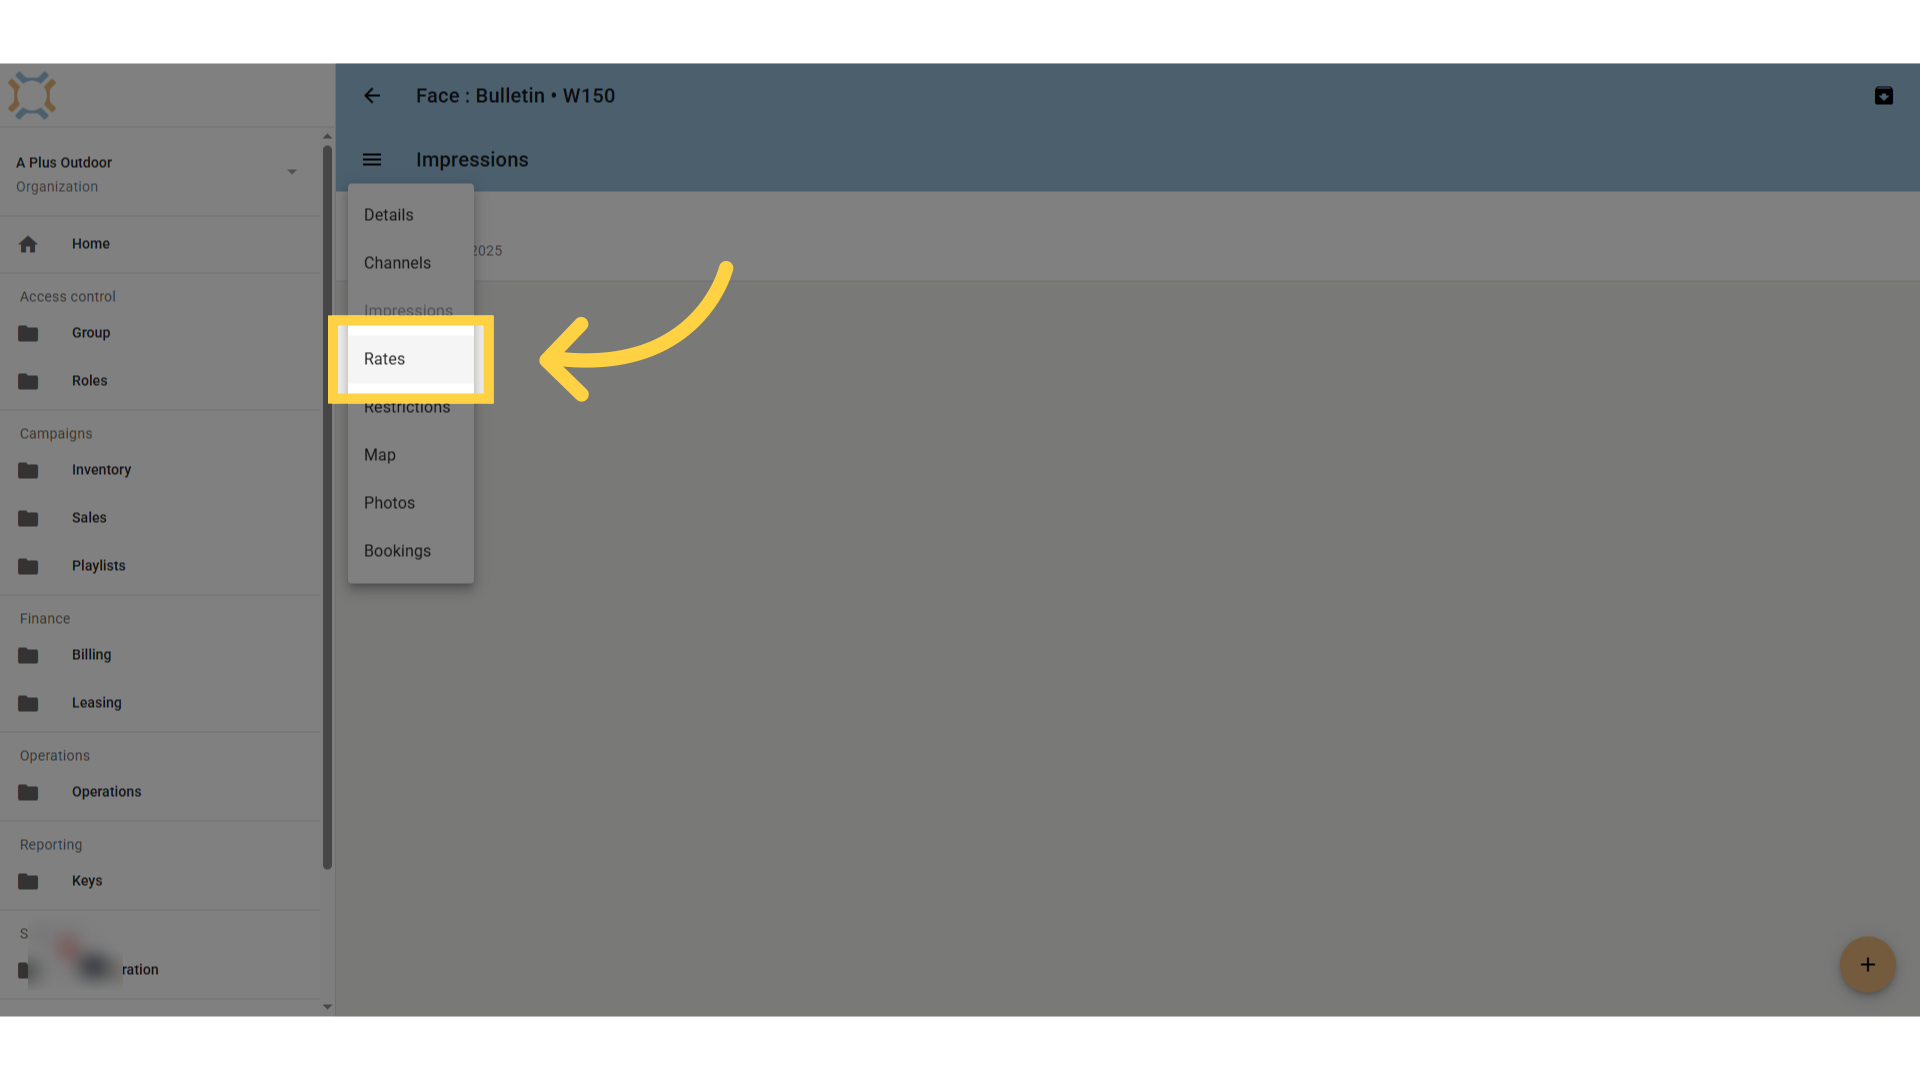
Click "Rates"
If you wish to add rate information, click on Rates
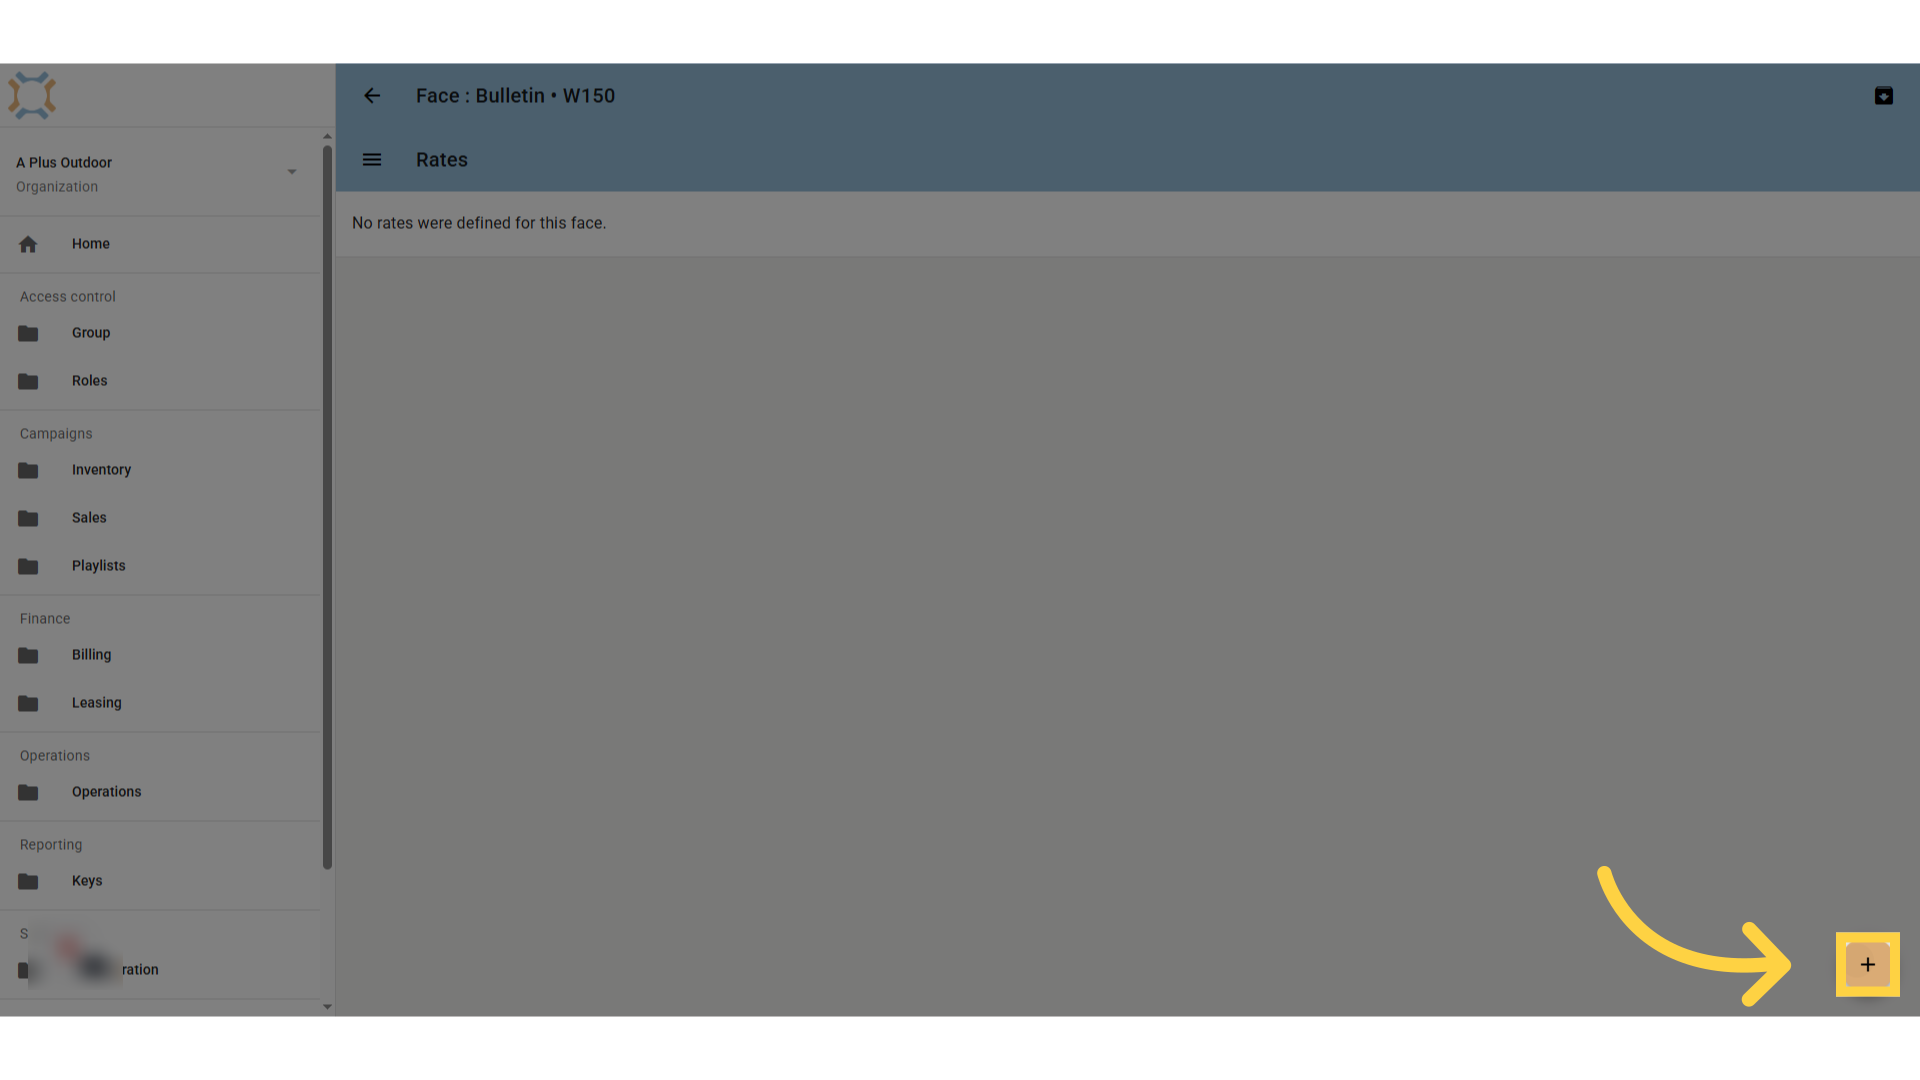
Click "add"
To add a new Rate, click Add.
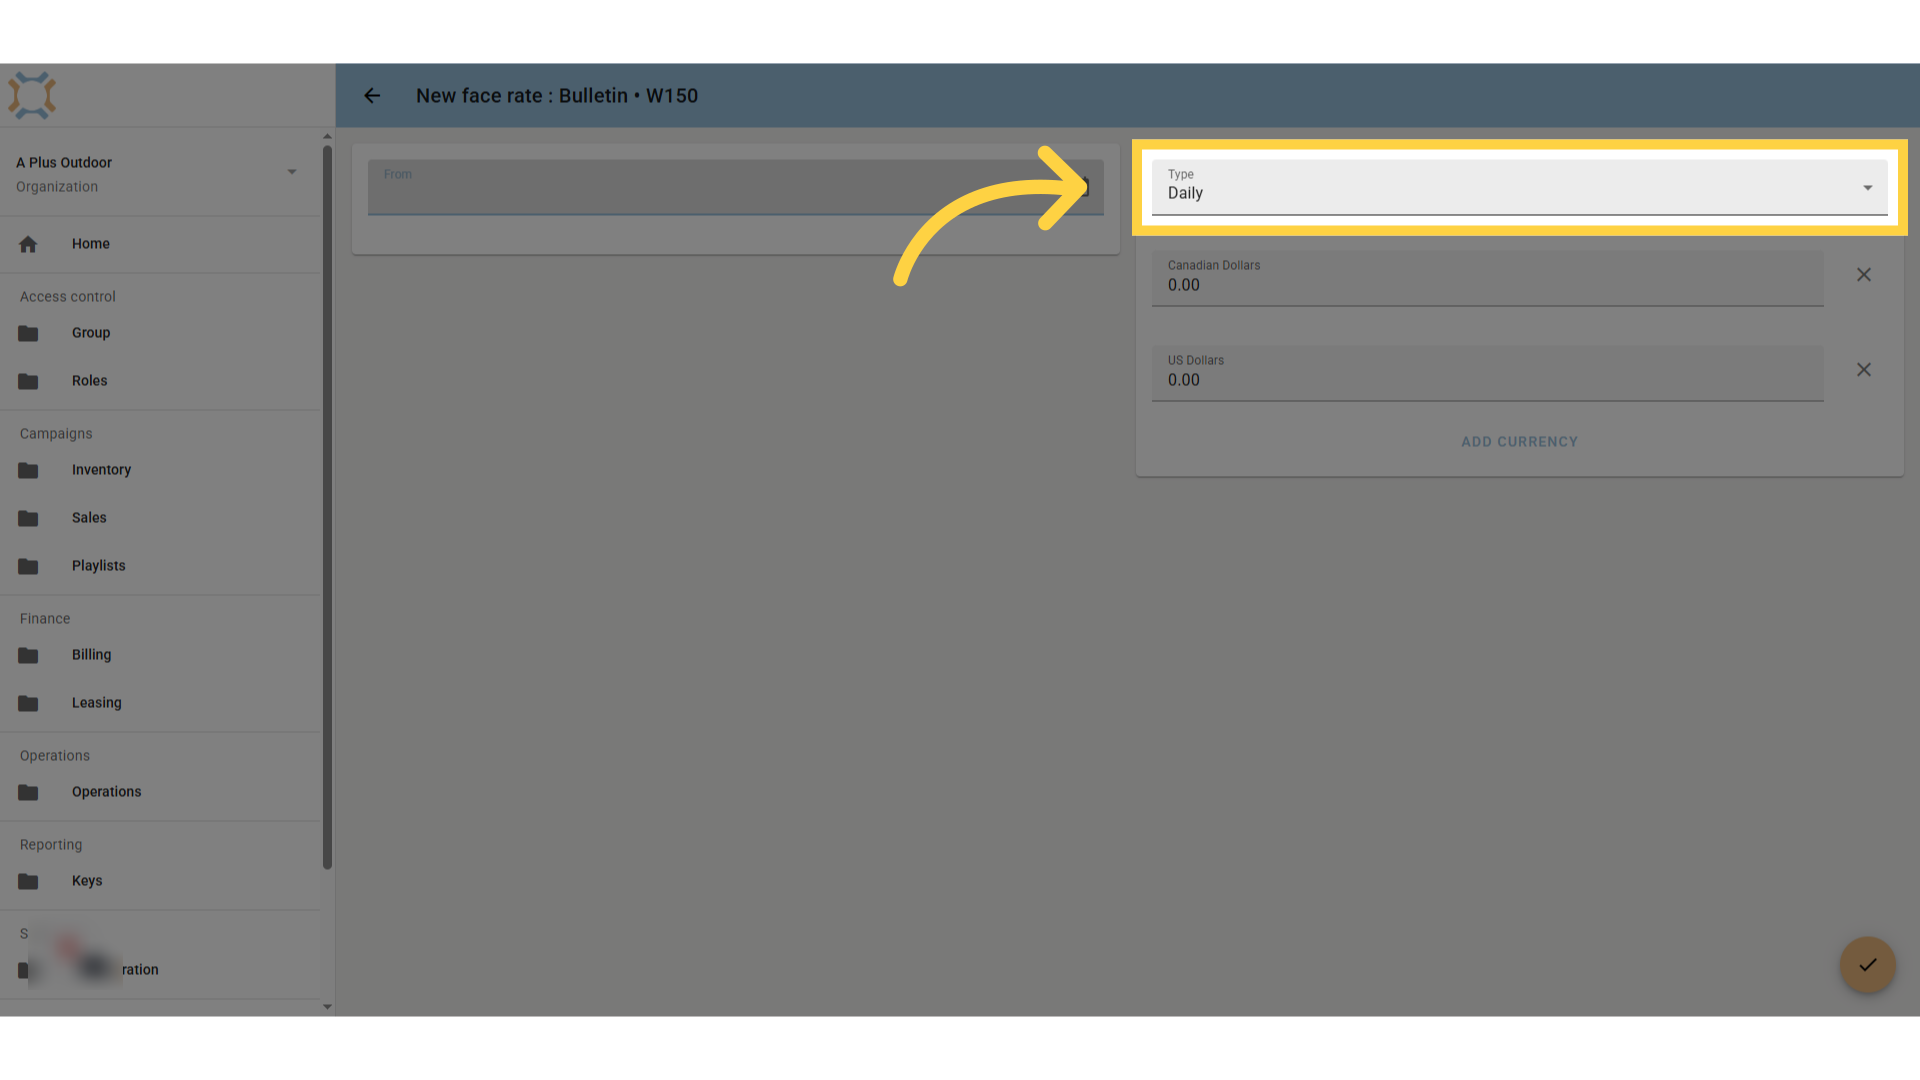
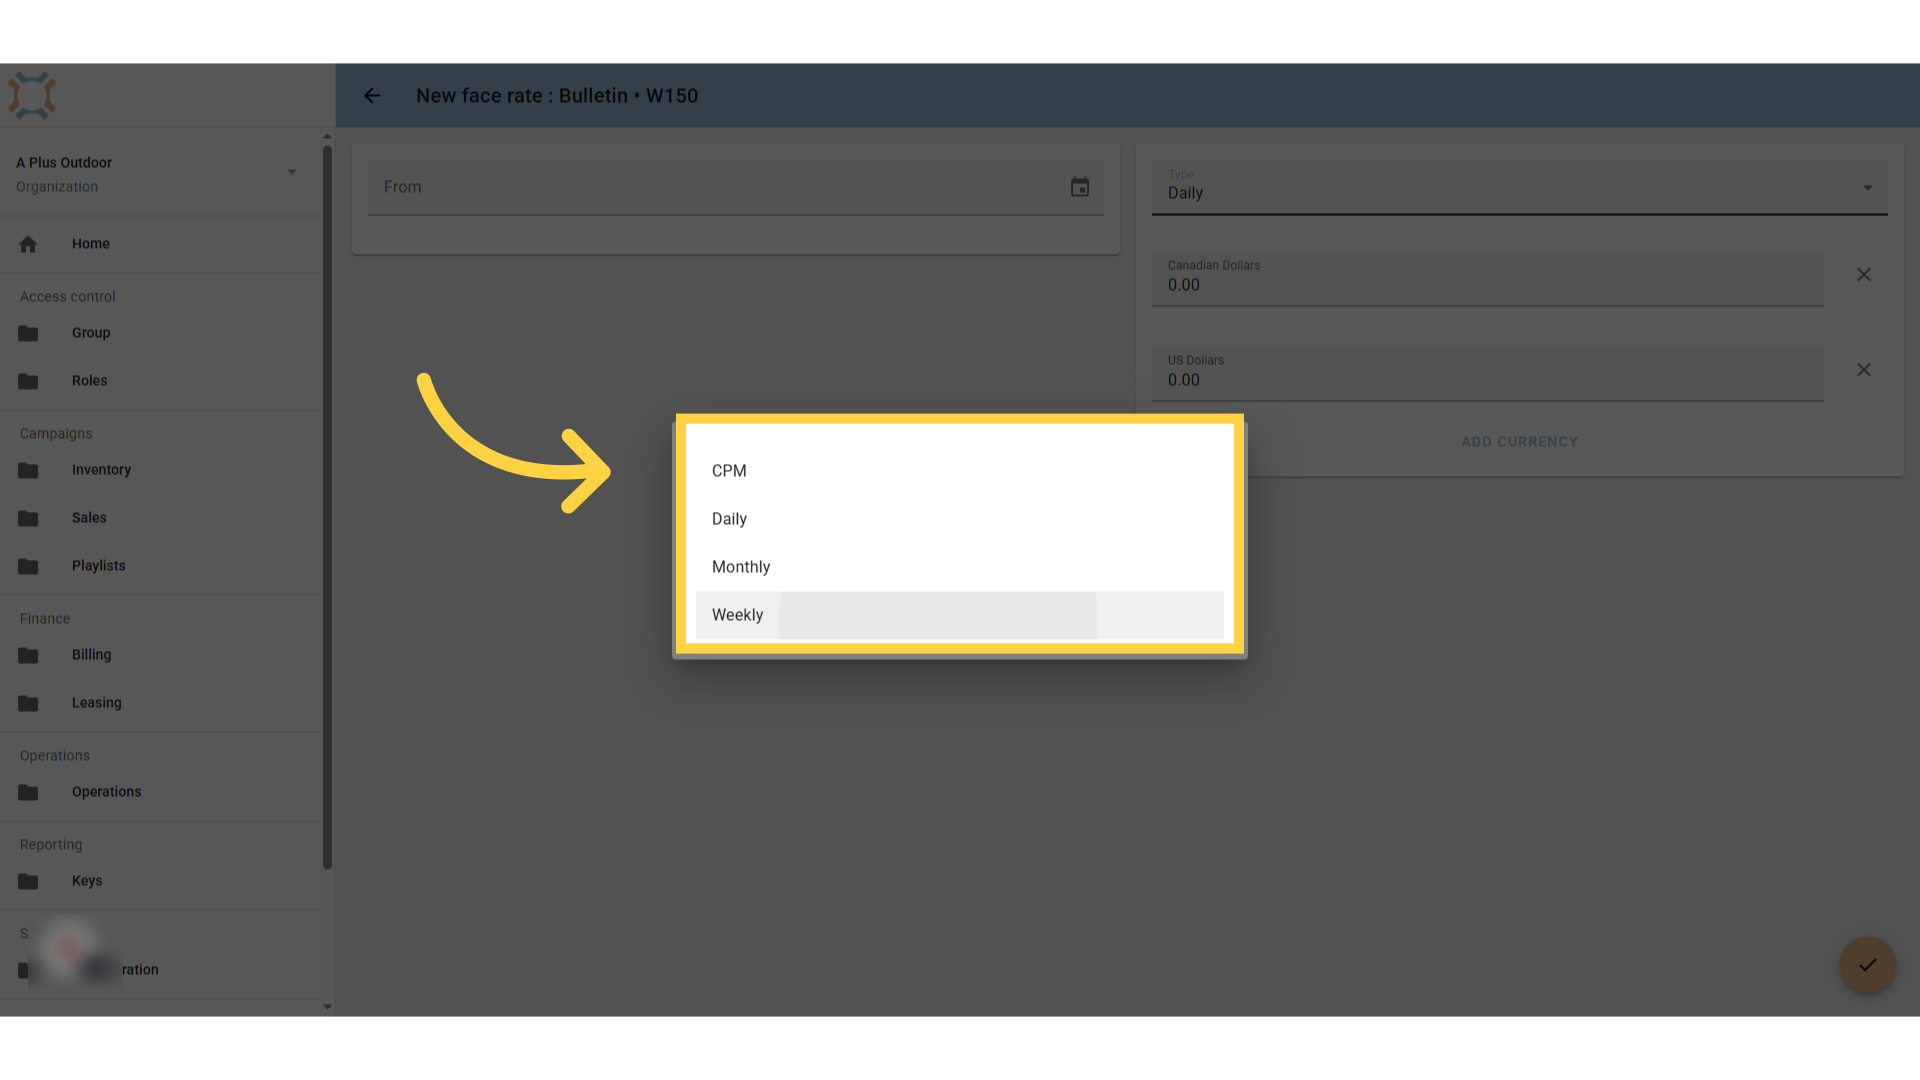
Click "Daily"
Select the type of Rate you wish to add. You can also enter the date the rate is valid from.
Click desired rate format
Choose the desired rate format from the list.
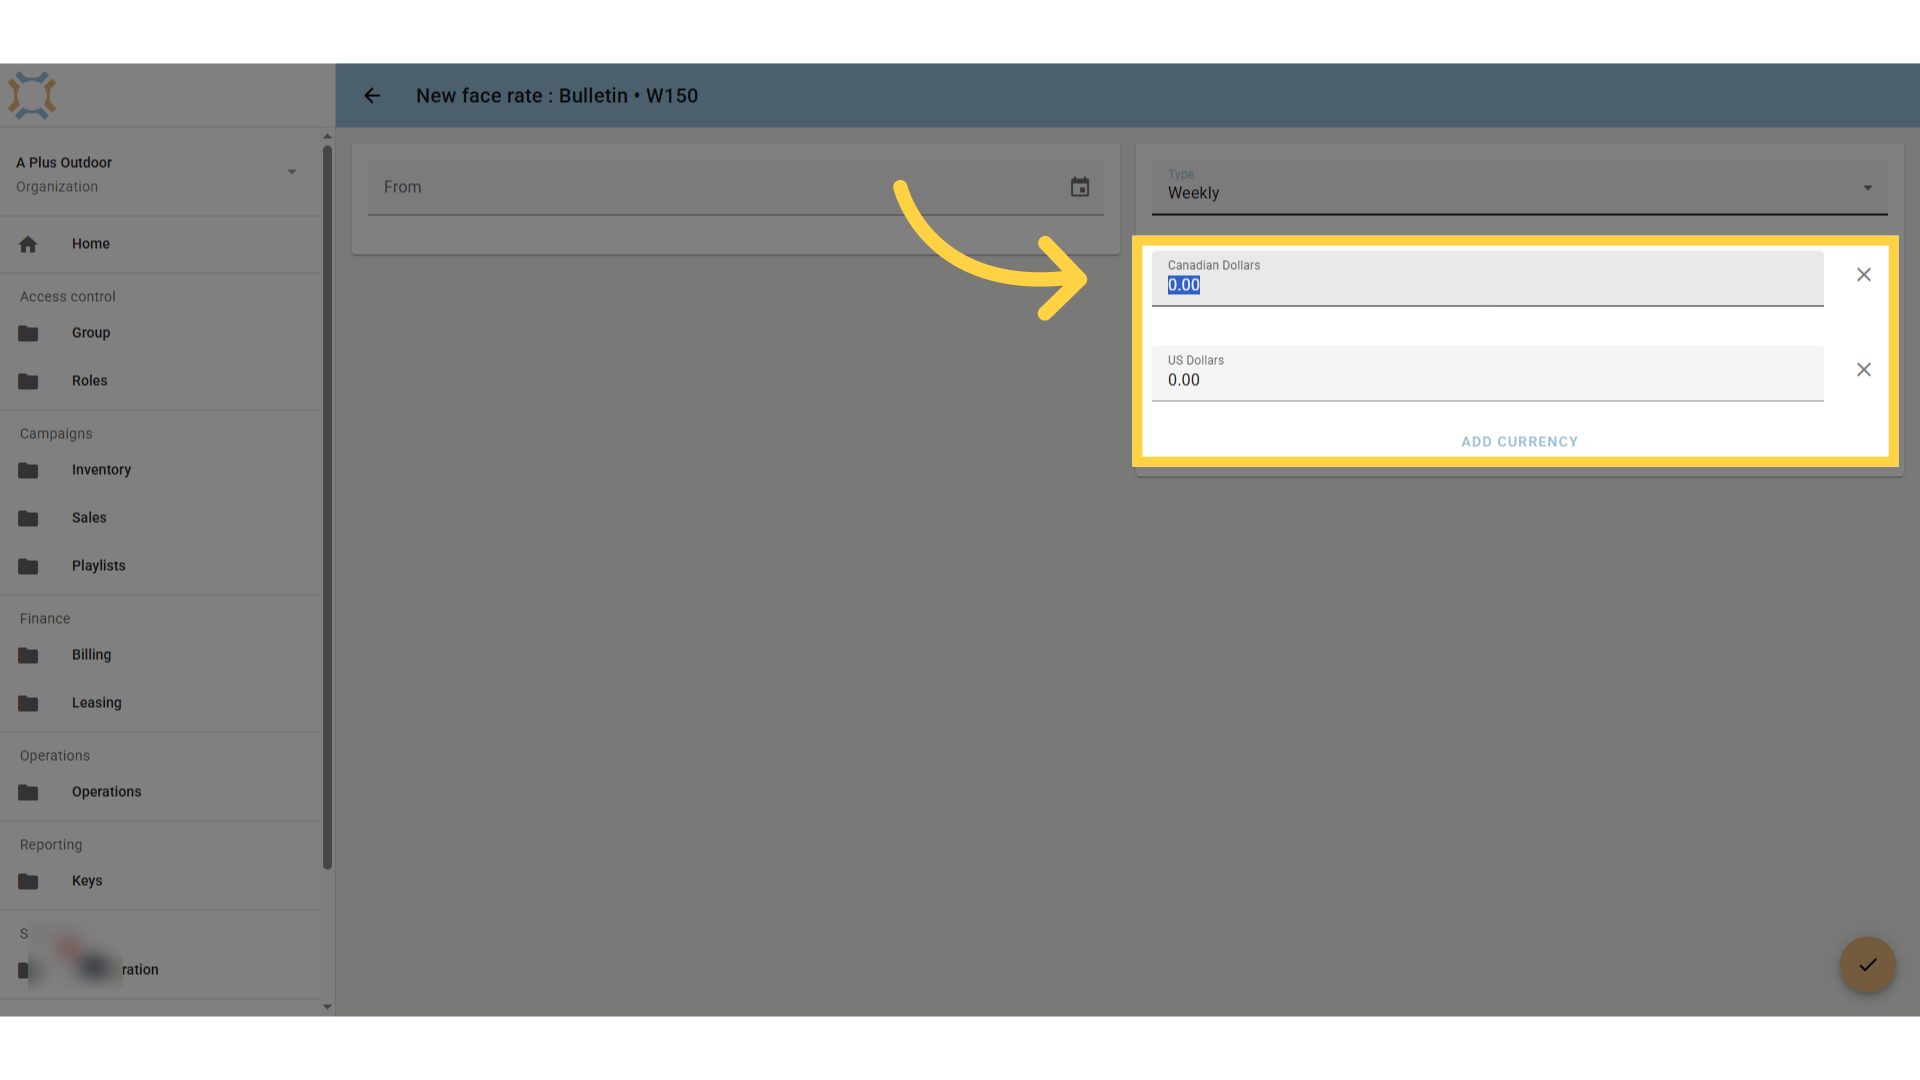
Enter values as appropriate
Specify the amount to use by currency type. Ad Manager Connect allows you to select and track rates for multiple currencies.
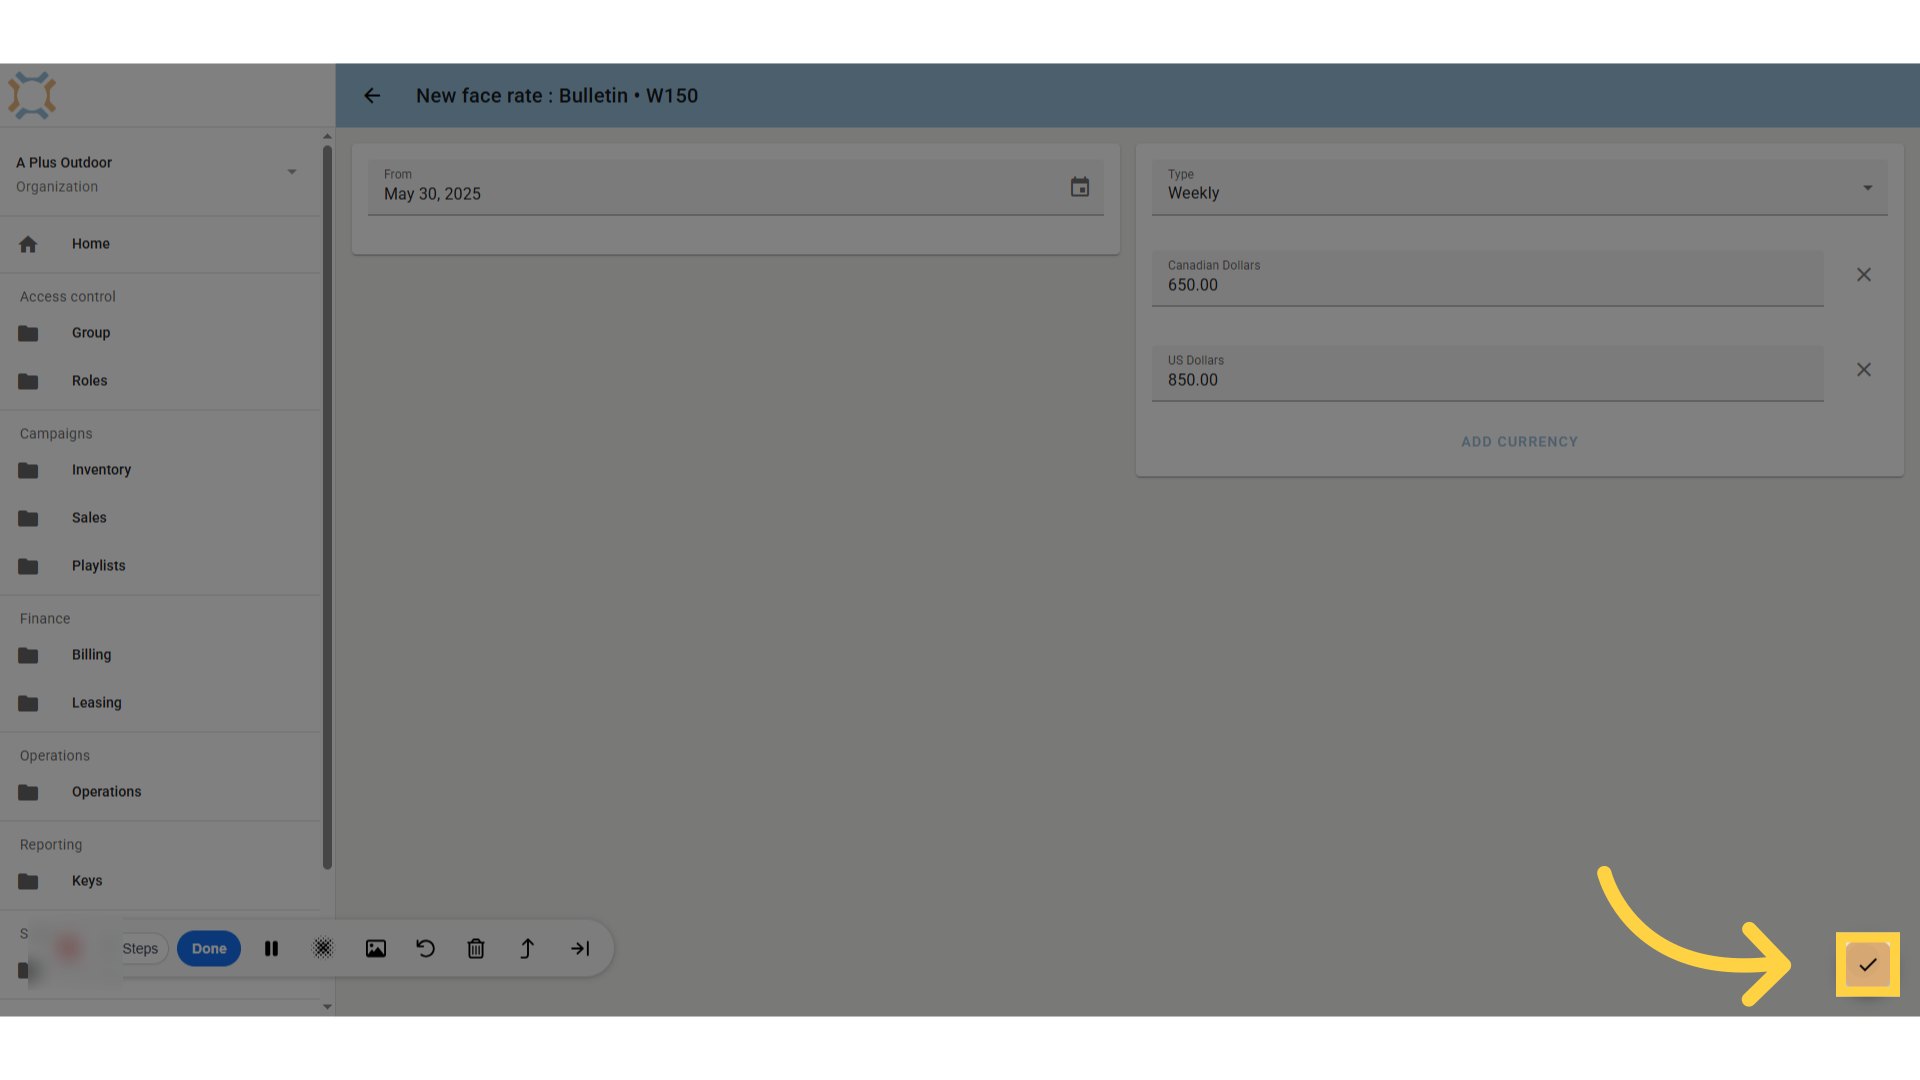
Click "done"
After entering your Rate information, click Done.
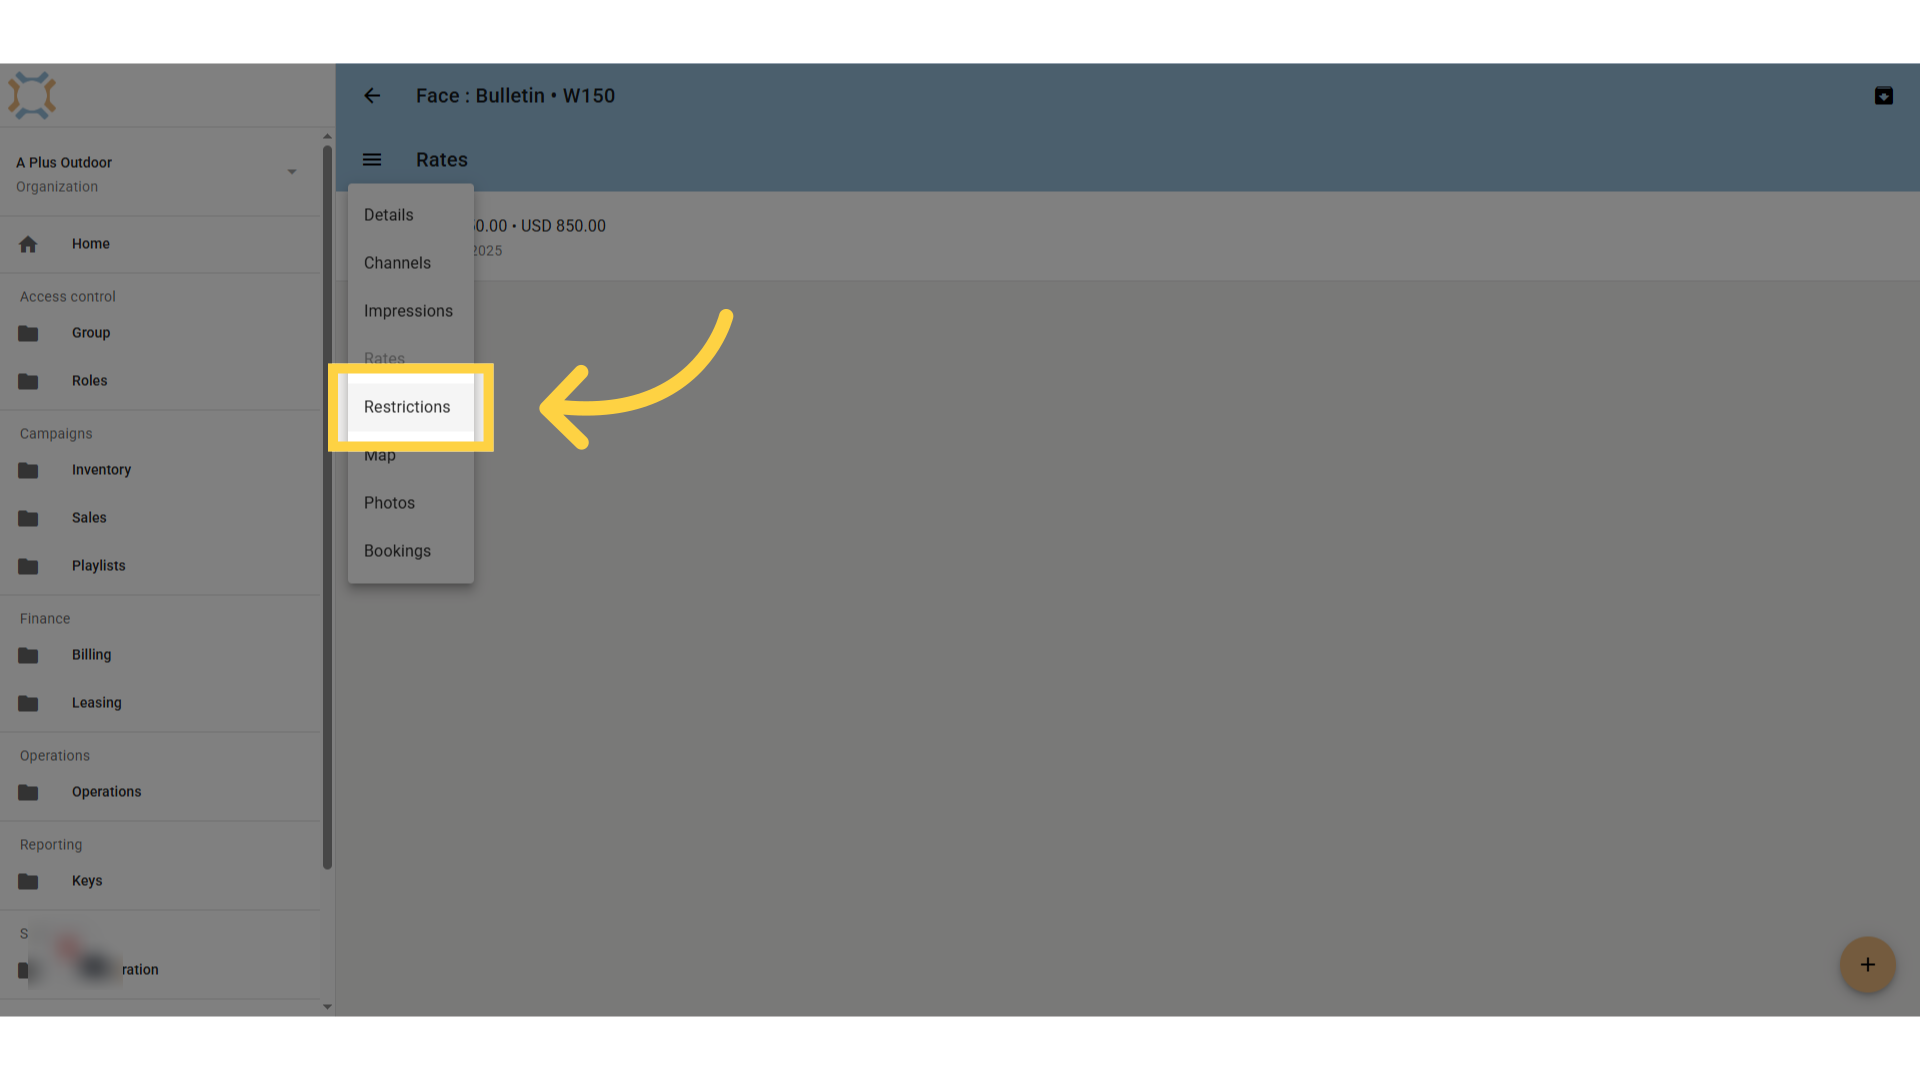
Click "Restrictions"
If you wish to add any brand category restrictions, click Restrictions.
Click "add"
Click the Add button to add a restriction.
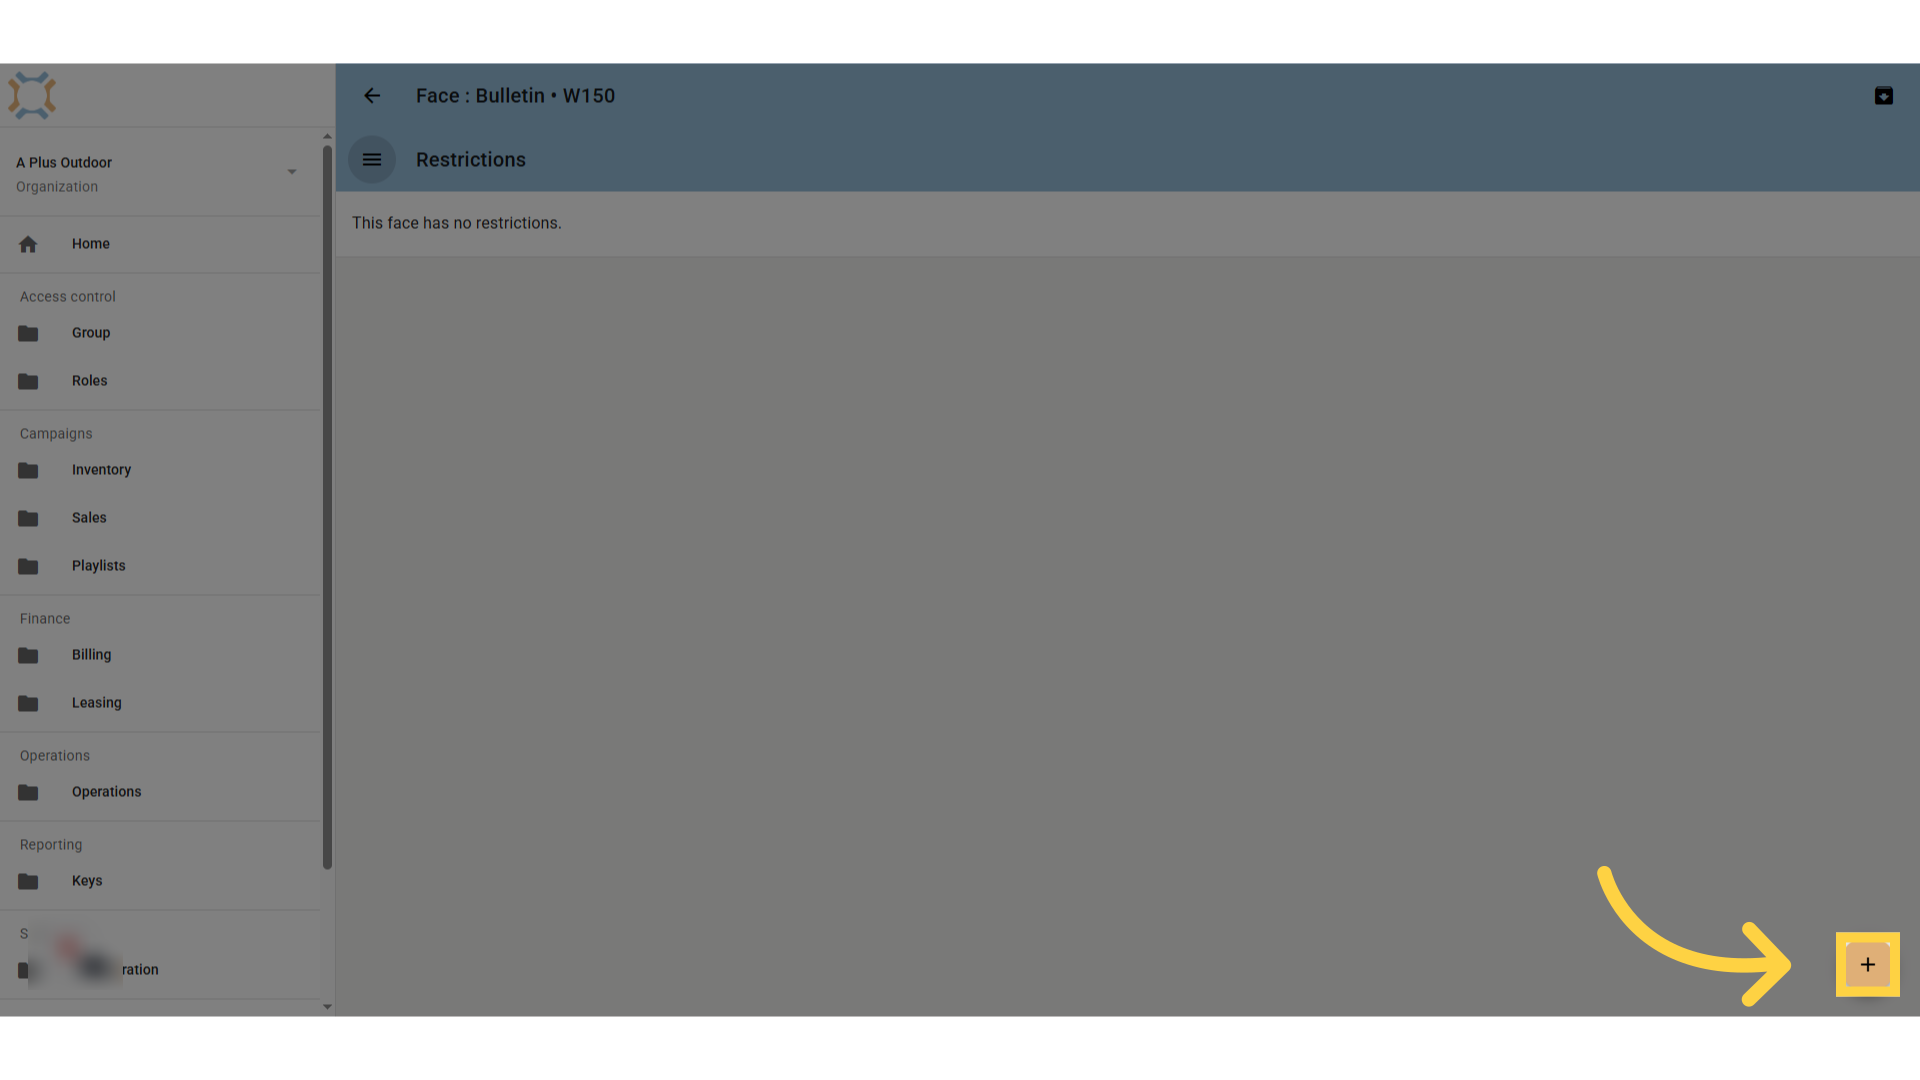
Click the Brand Category to add
Select a category to add as a restriction.
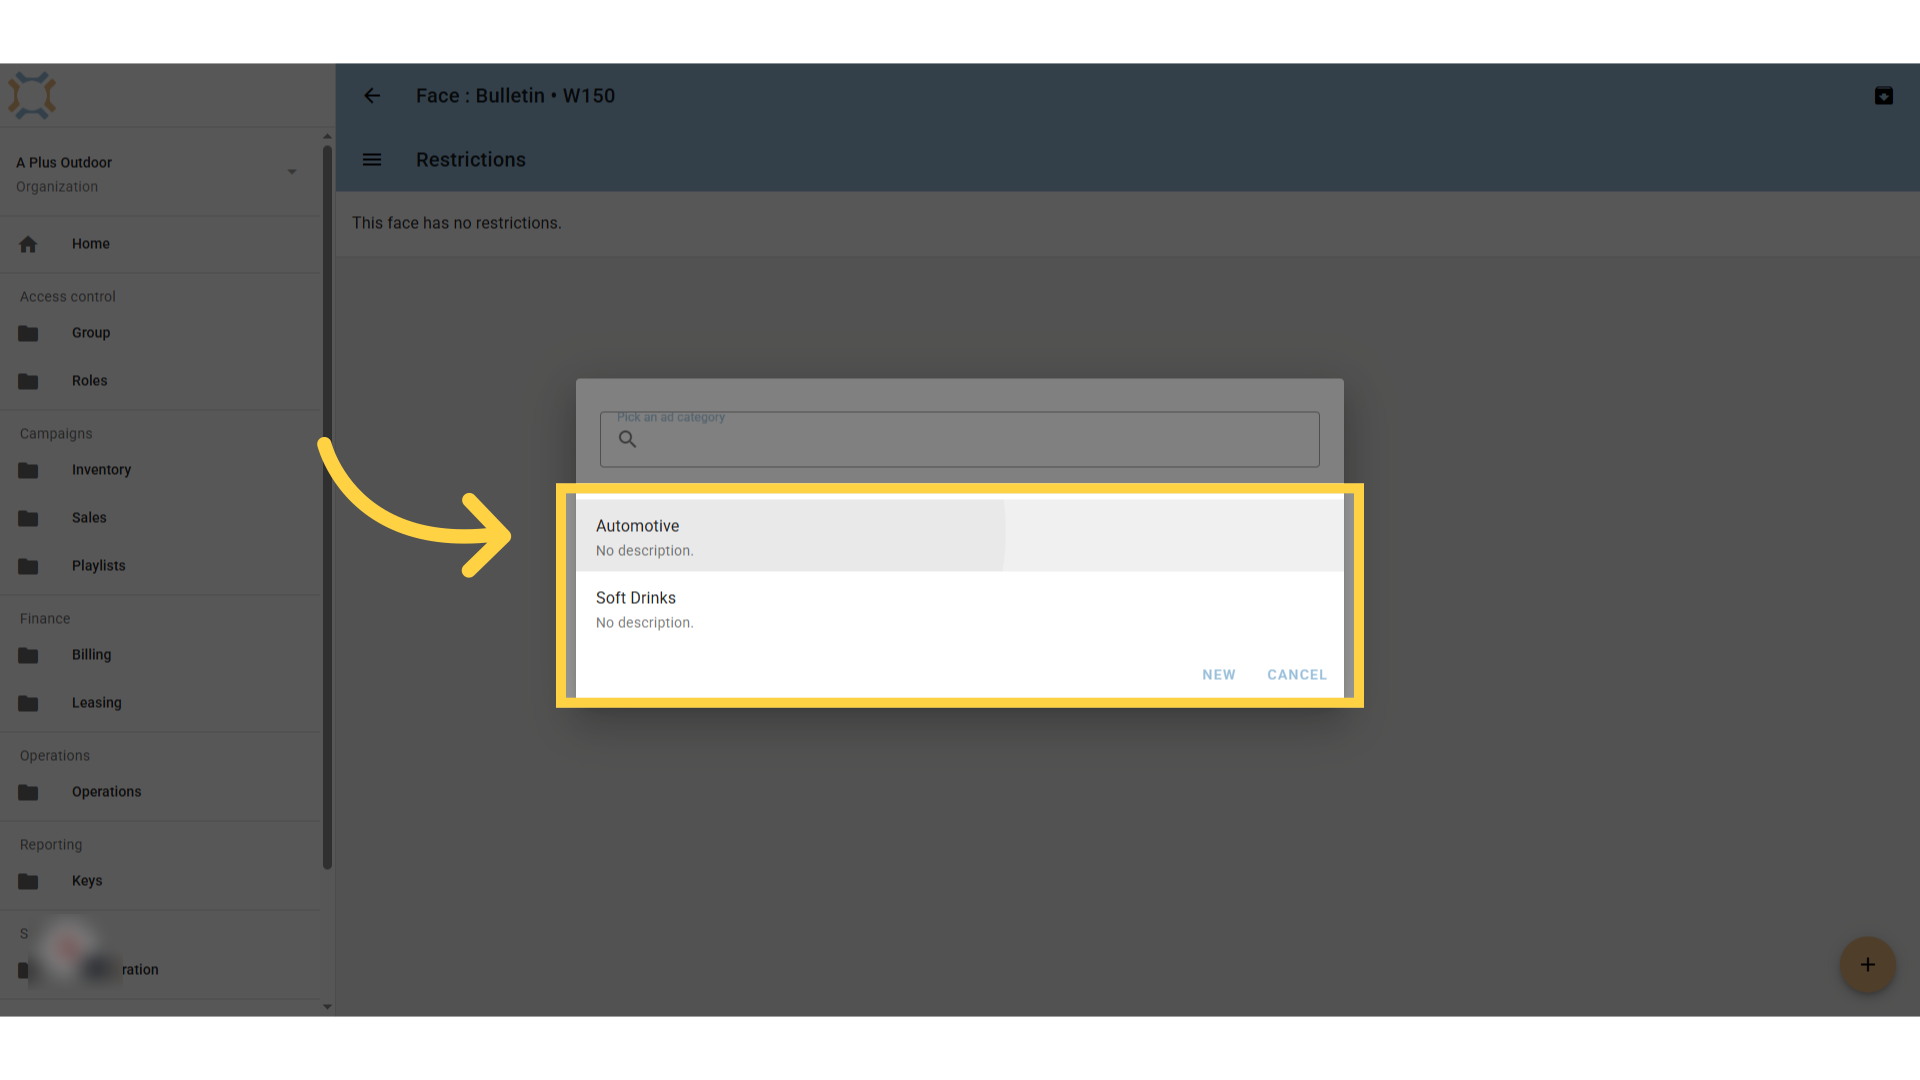
Click "Map"
If you wish to plot the location of this face on a map to store the latitude and longitude information, click map.
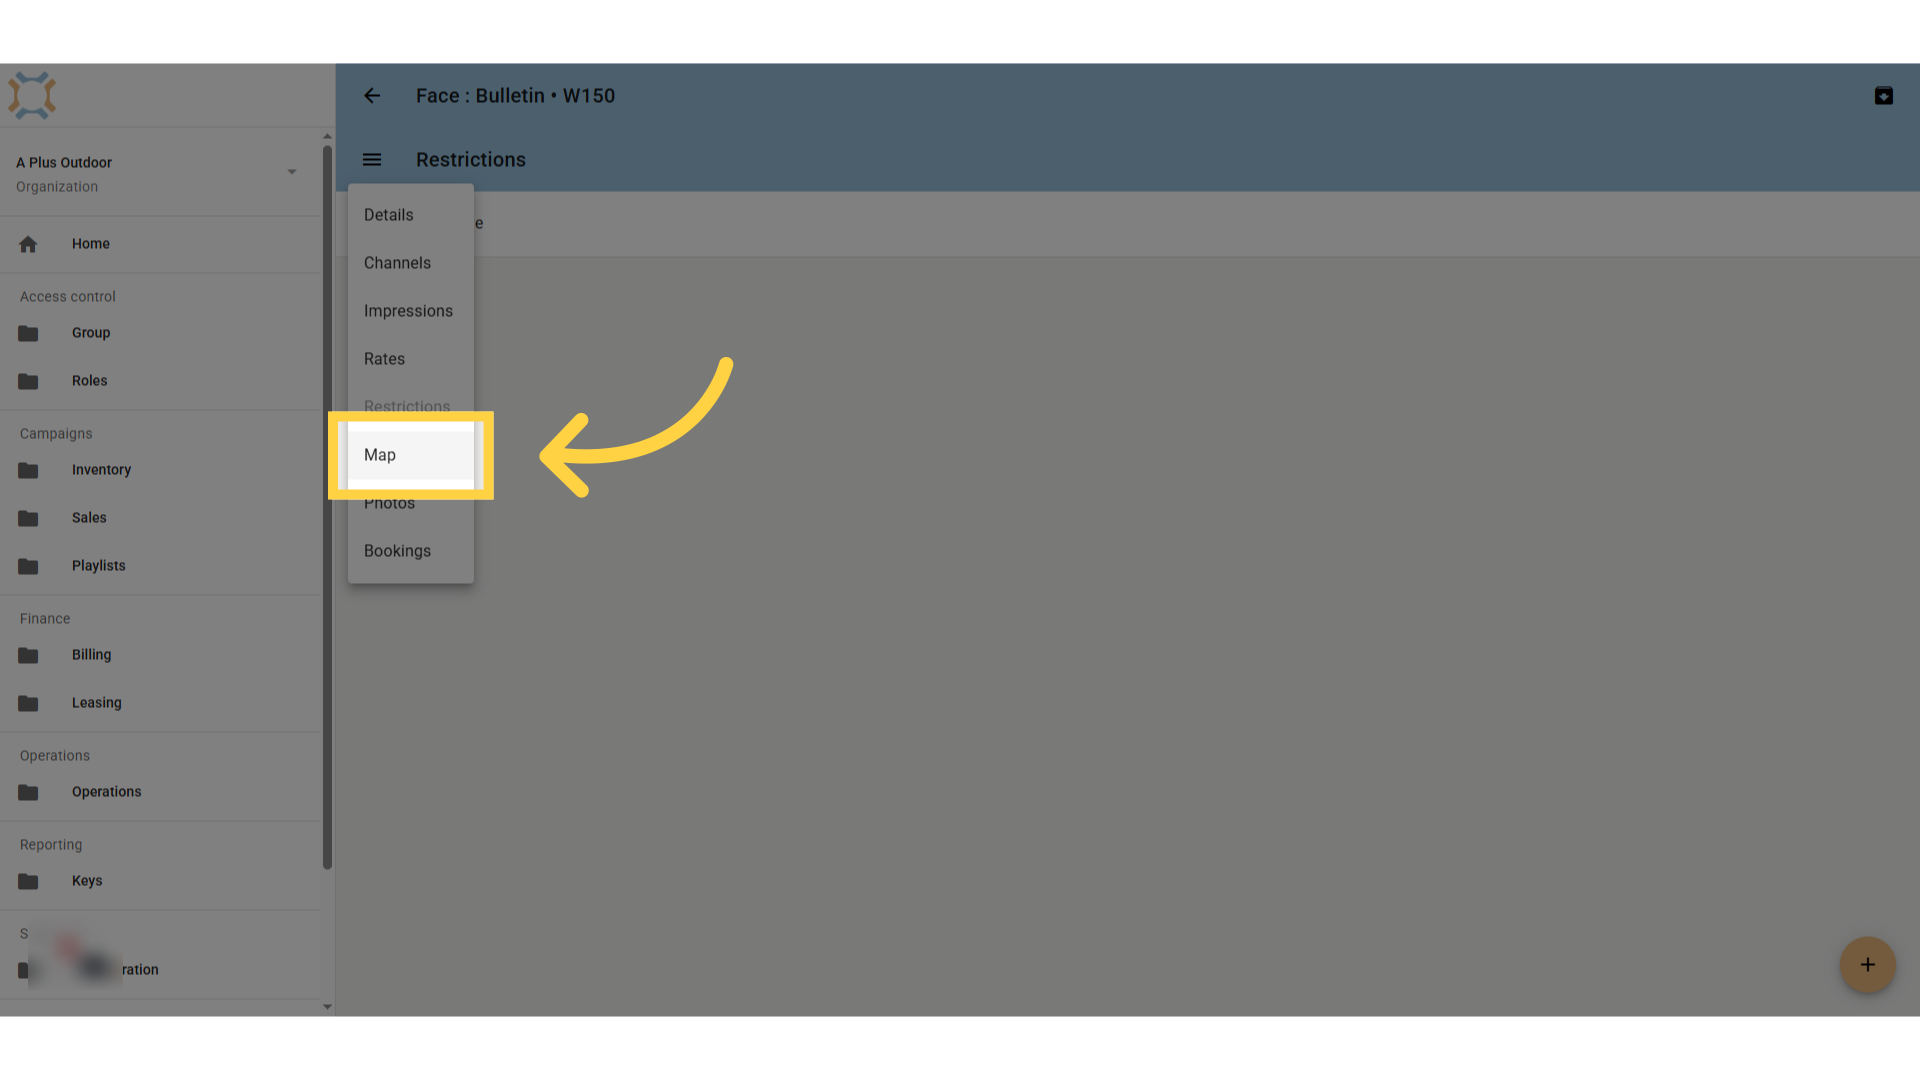
Enter address
You can type in the address you wish to search for, or use the map tools to navigate to the appropriate location.
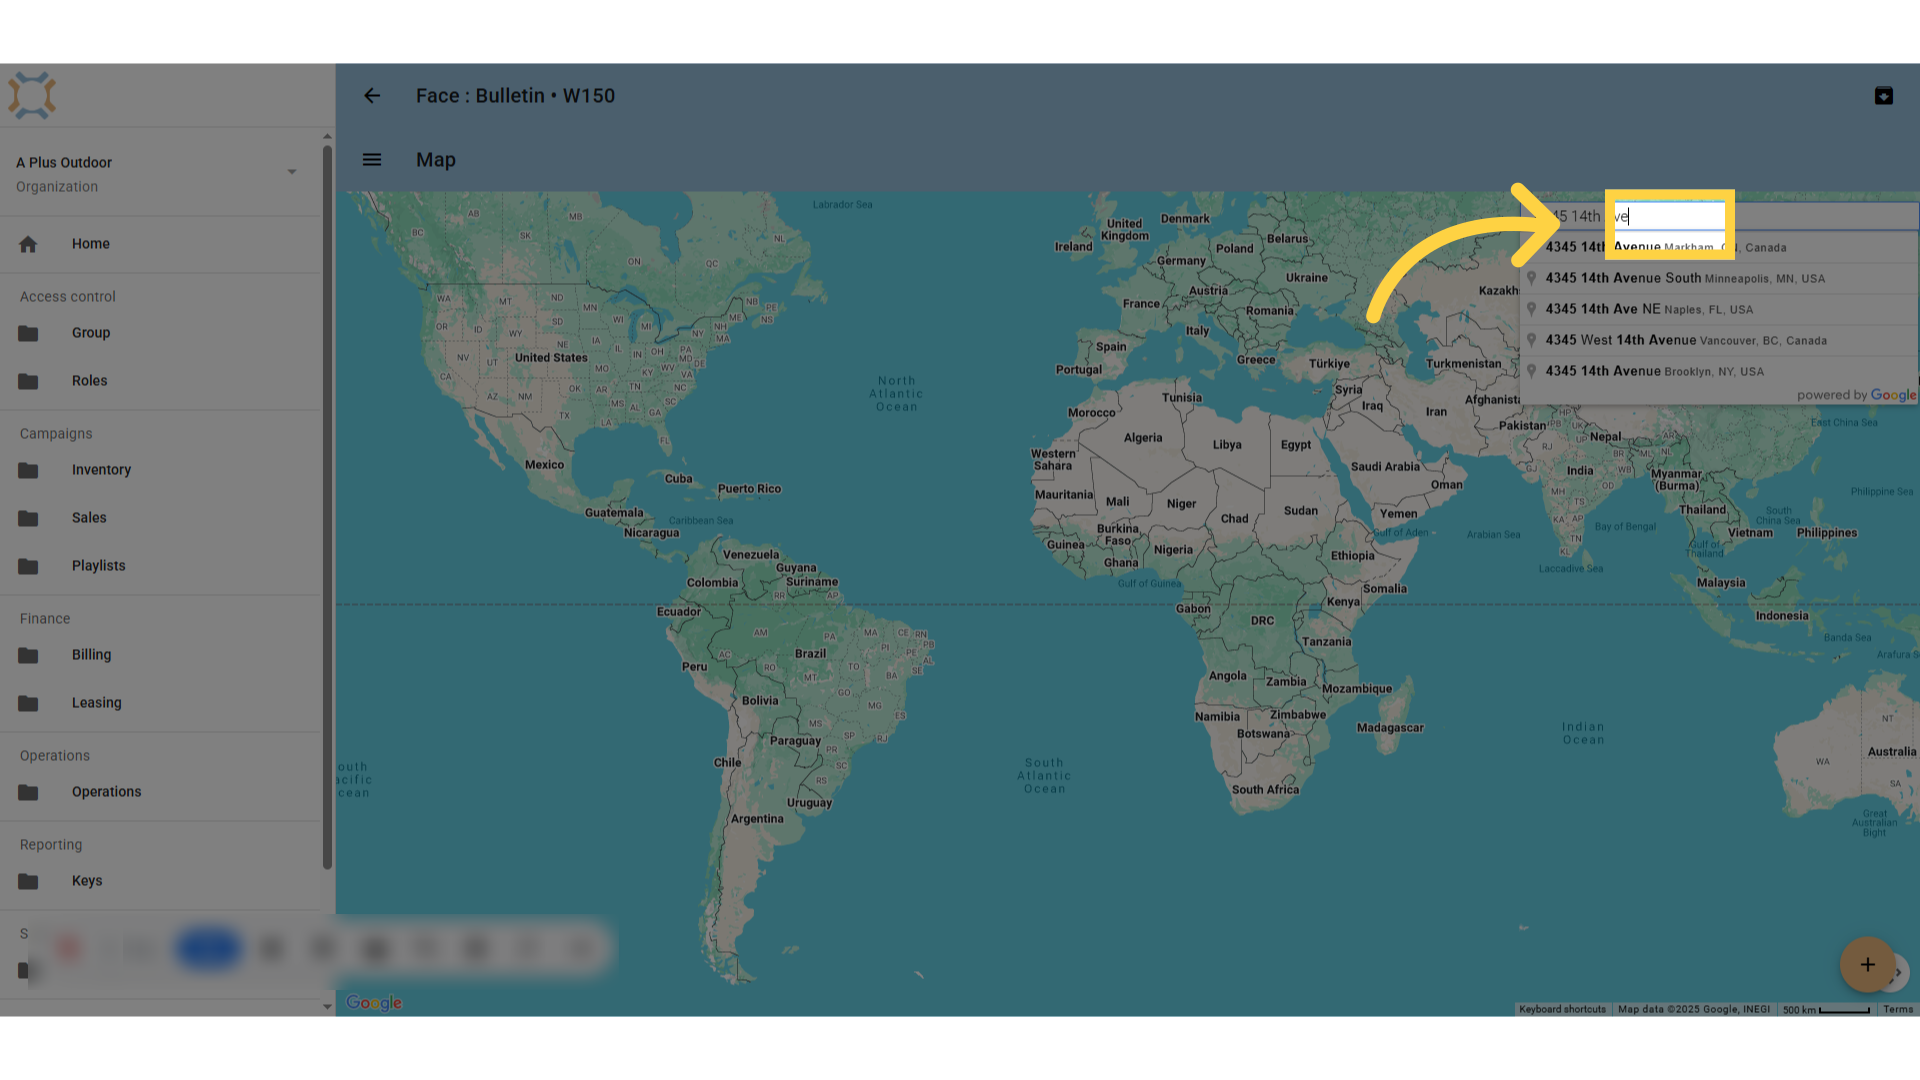
Click "add"
When you are in the correct area for adding the face to the map, click Add.
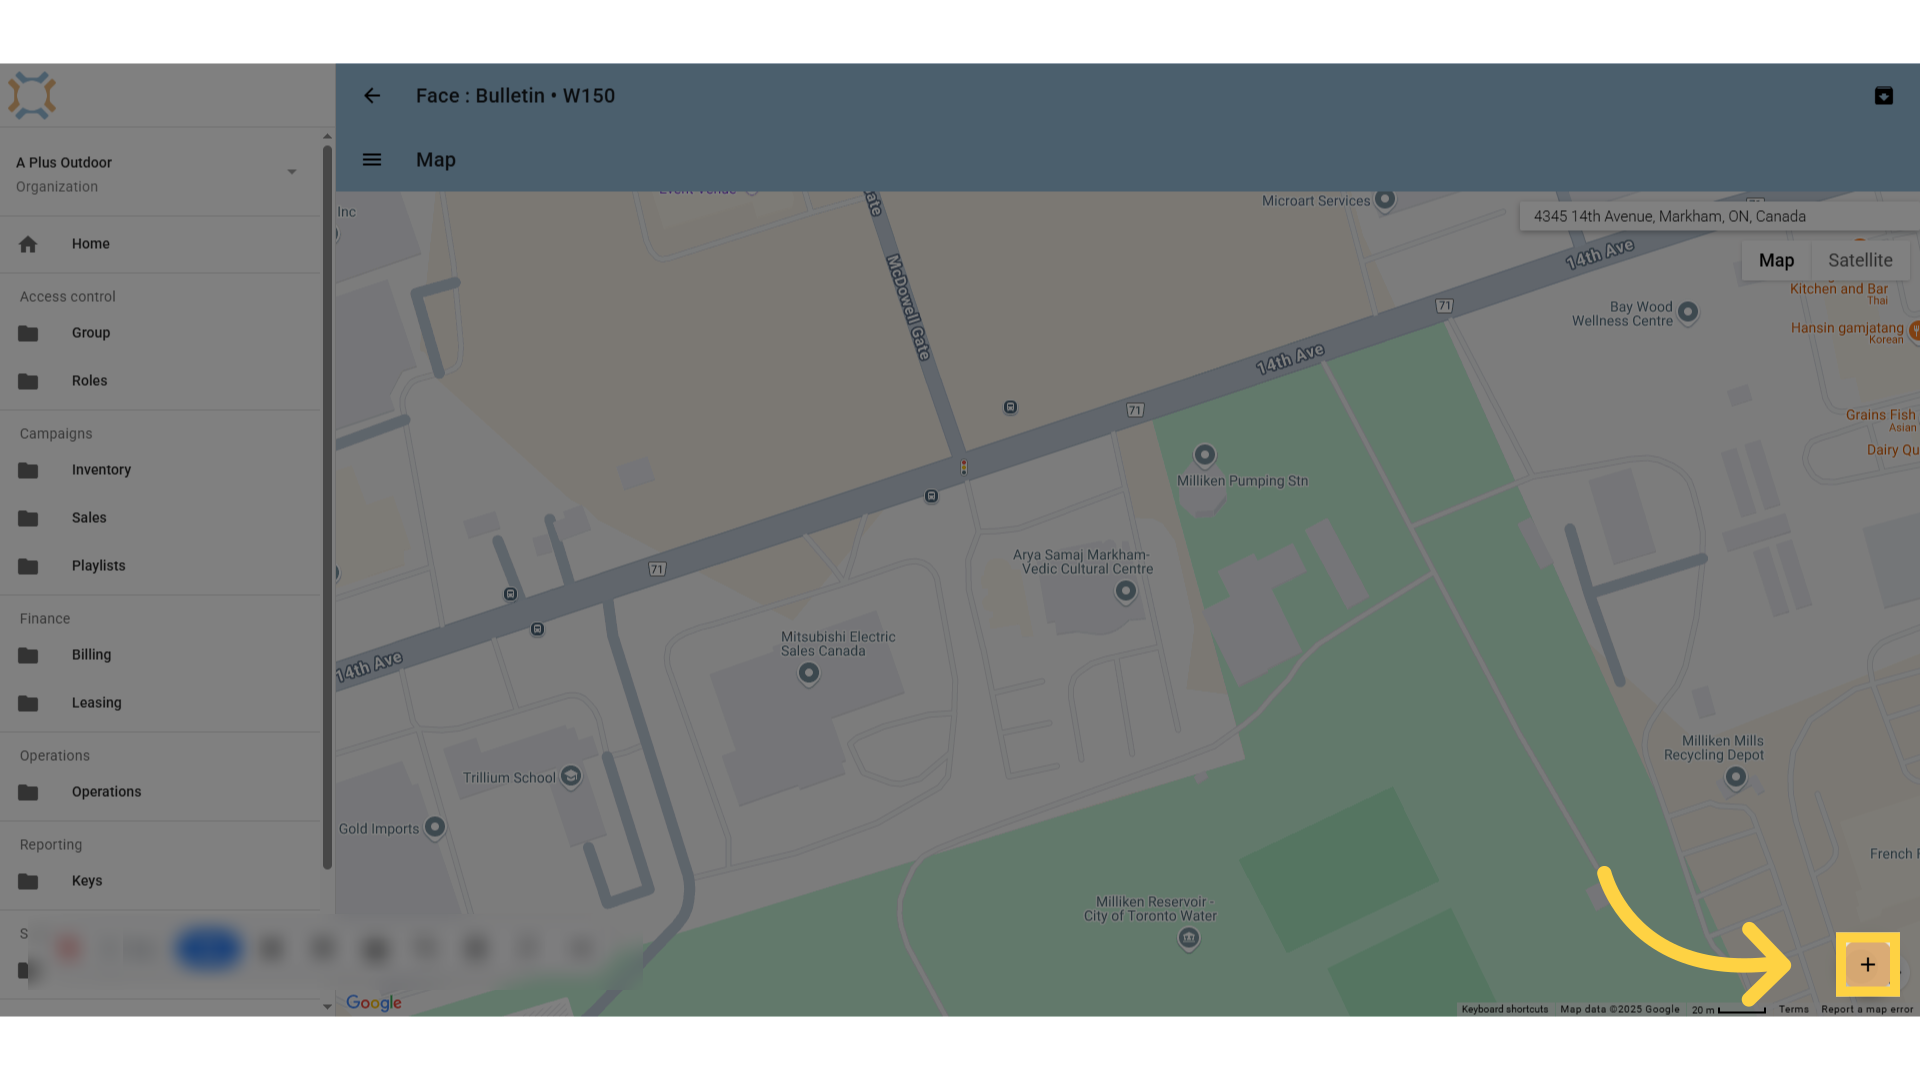
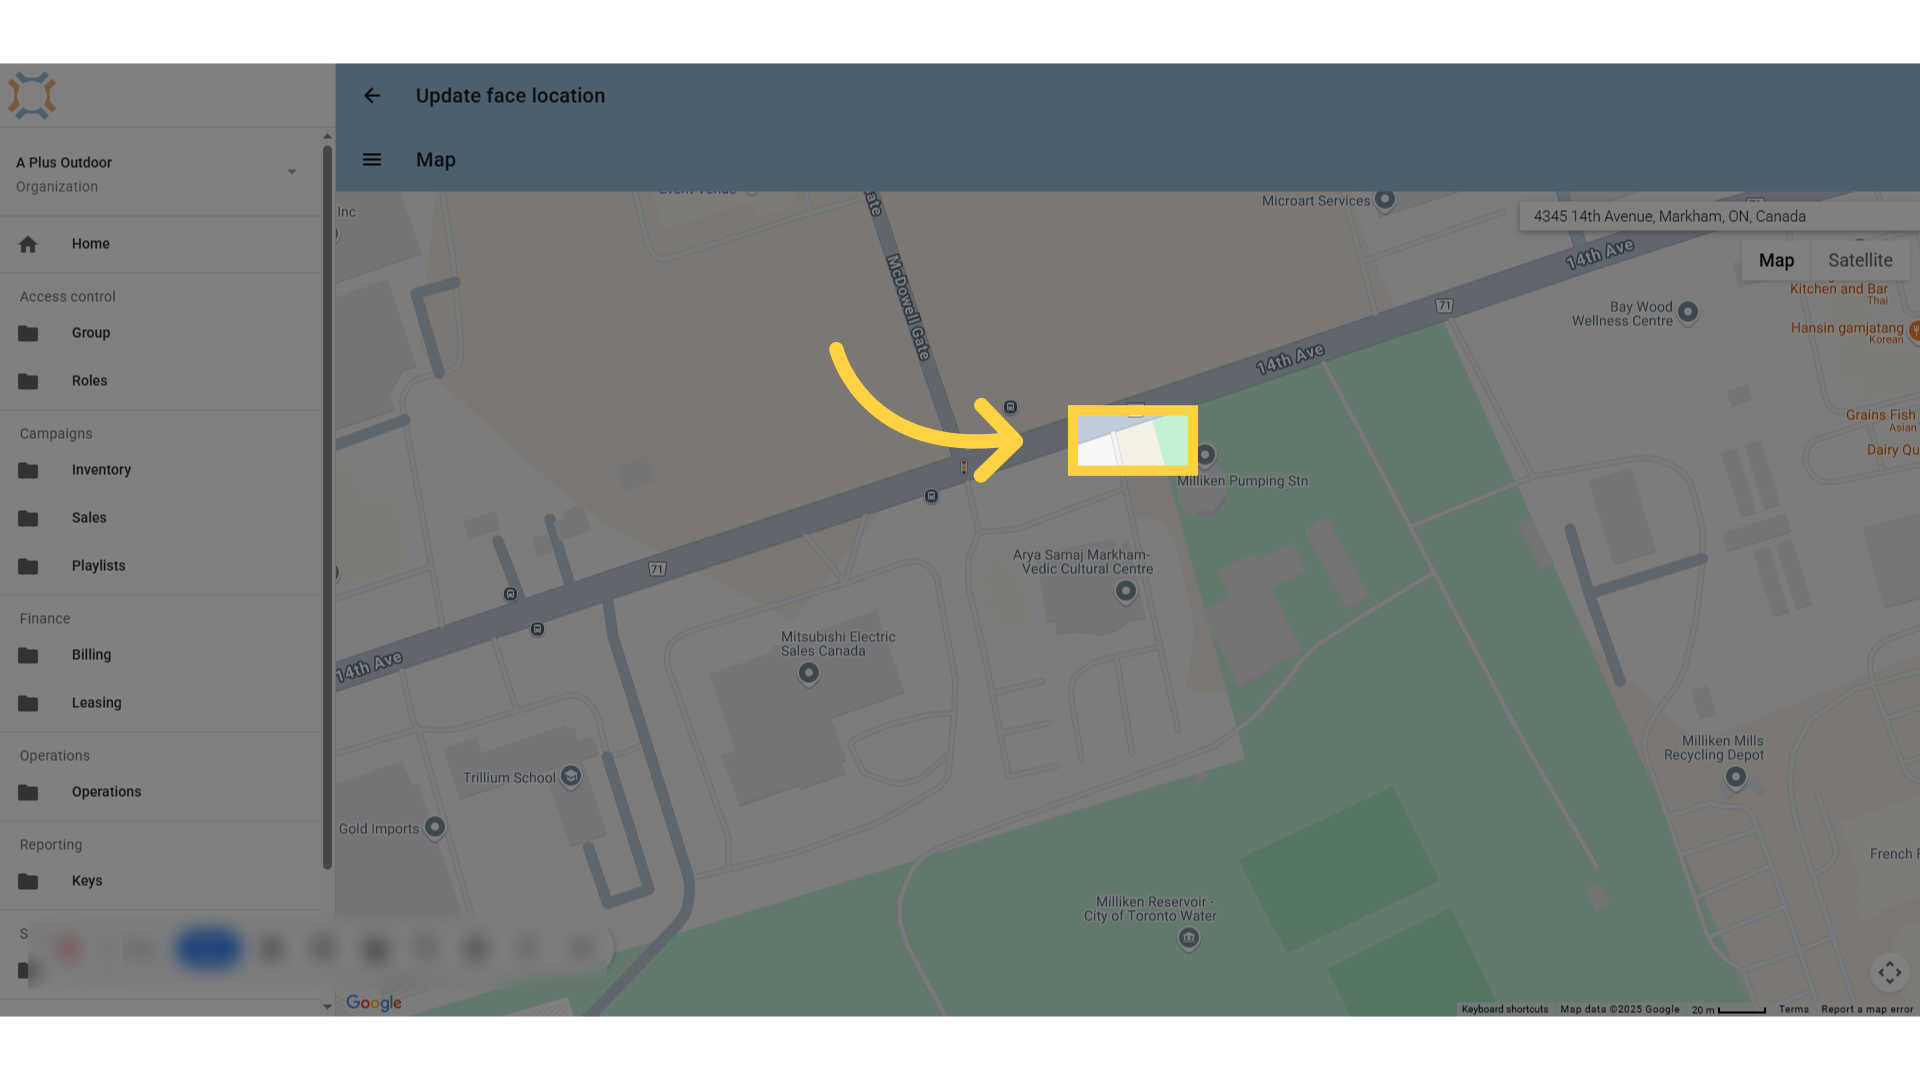
Click the desired location
Click on the map in the desired location. If you want to refine where you have placed the marker, you can continue to adjust the map and click on the correct location.
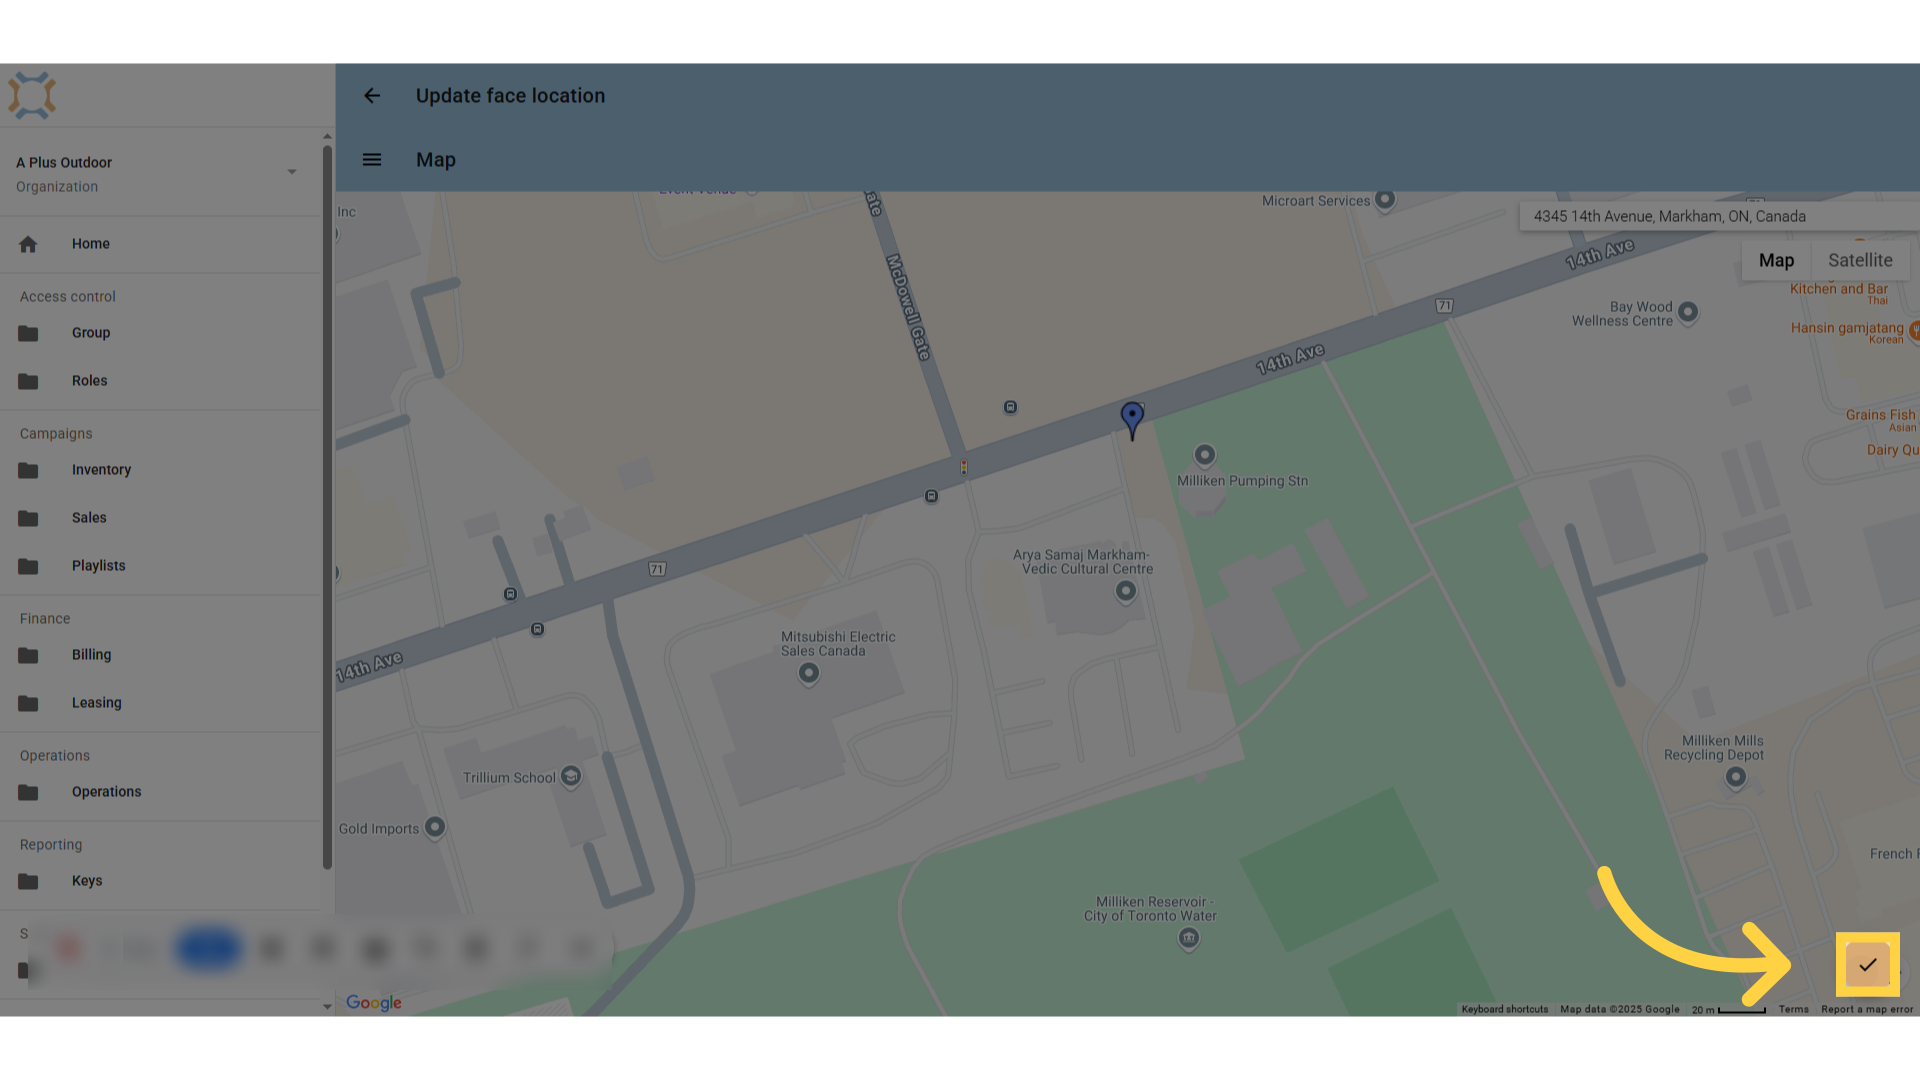
Click "done"
Once you have the marker in the desired location on the map, click Done.
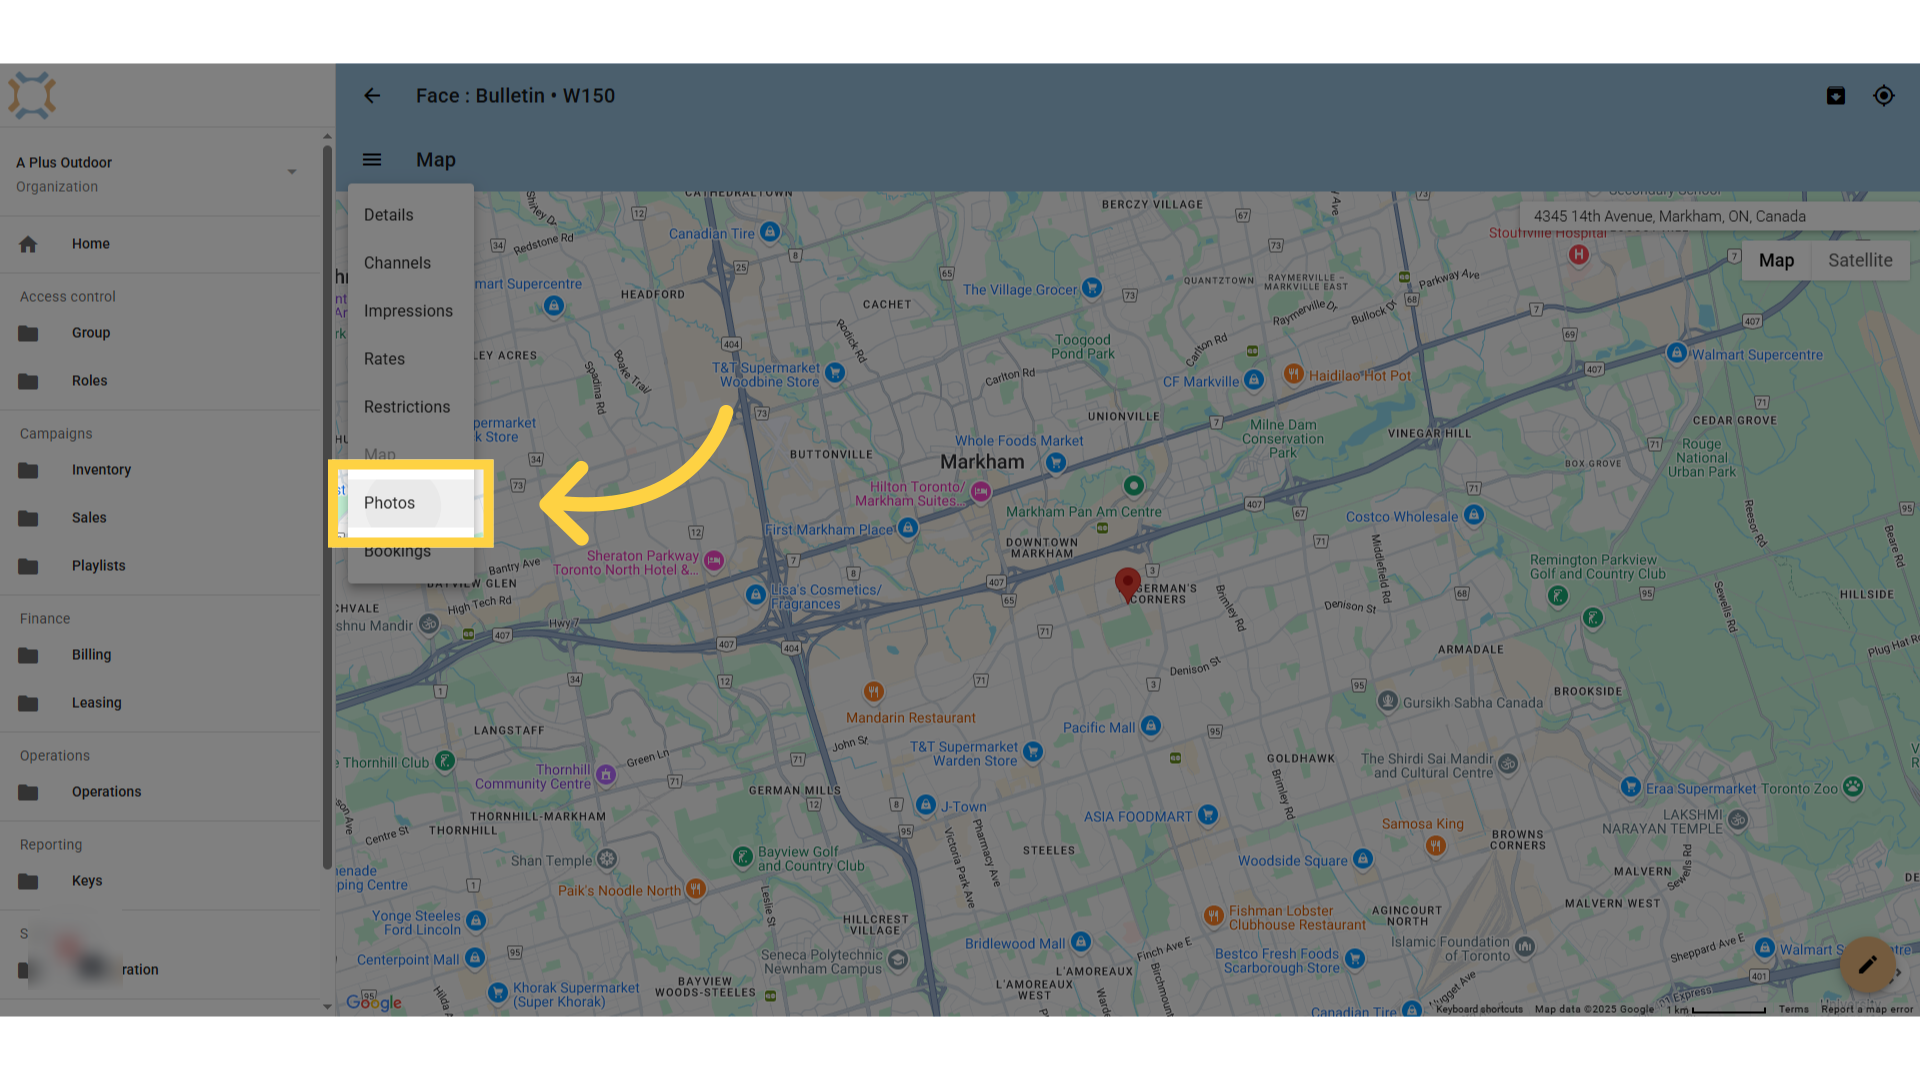
Click "Photos"
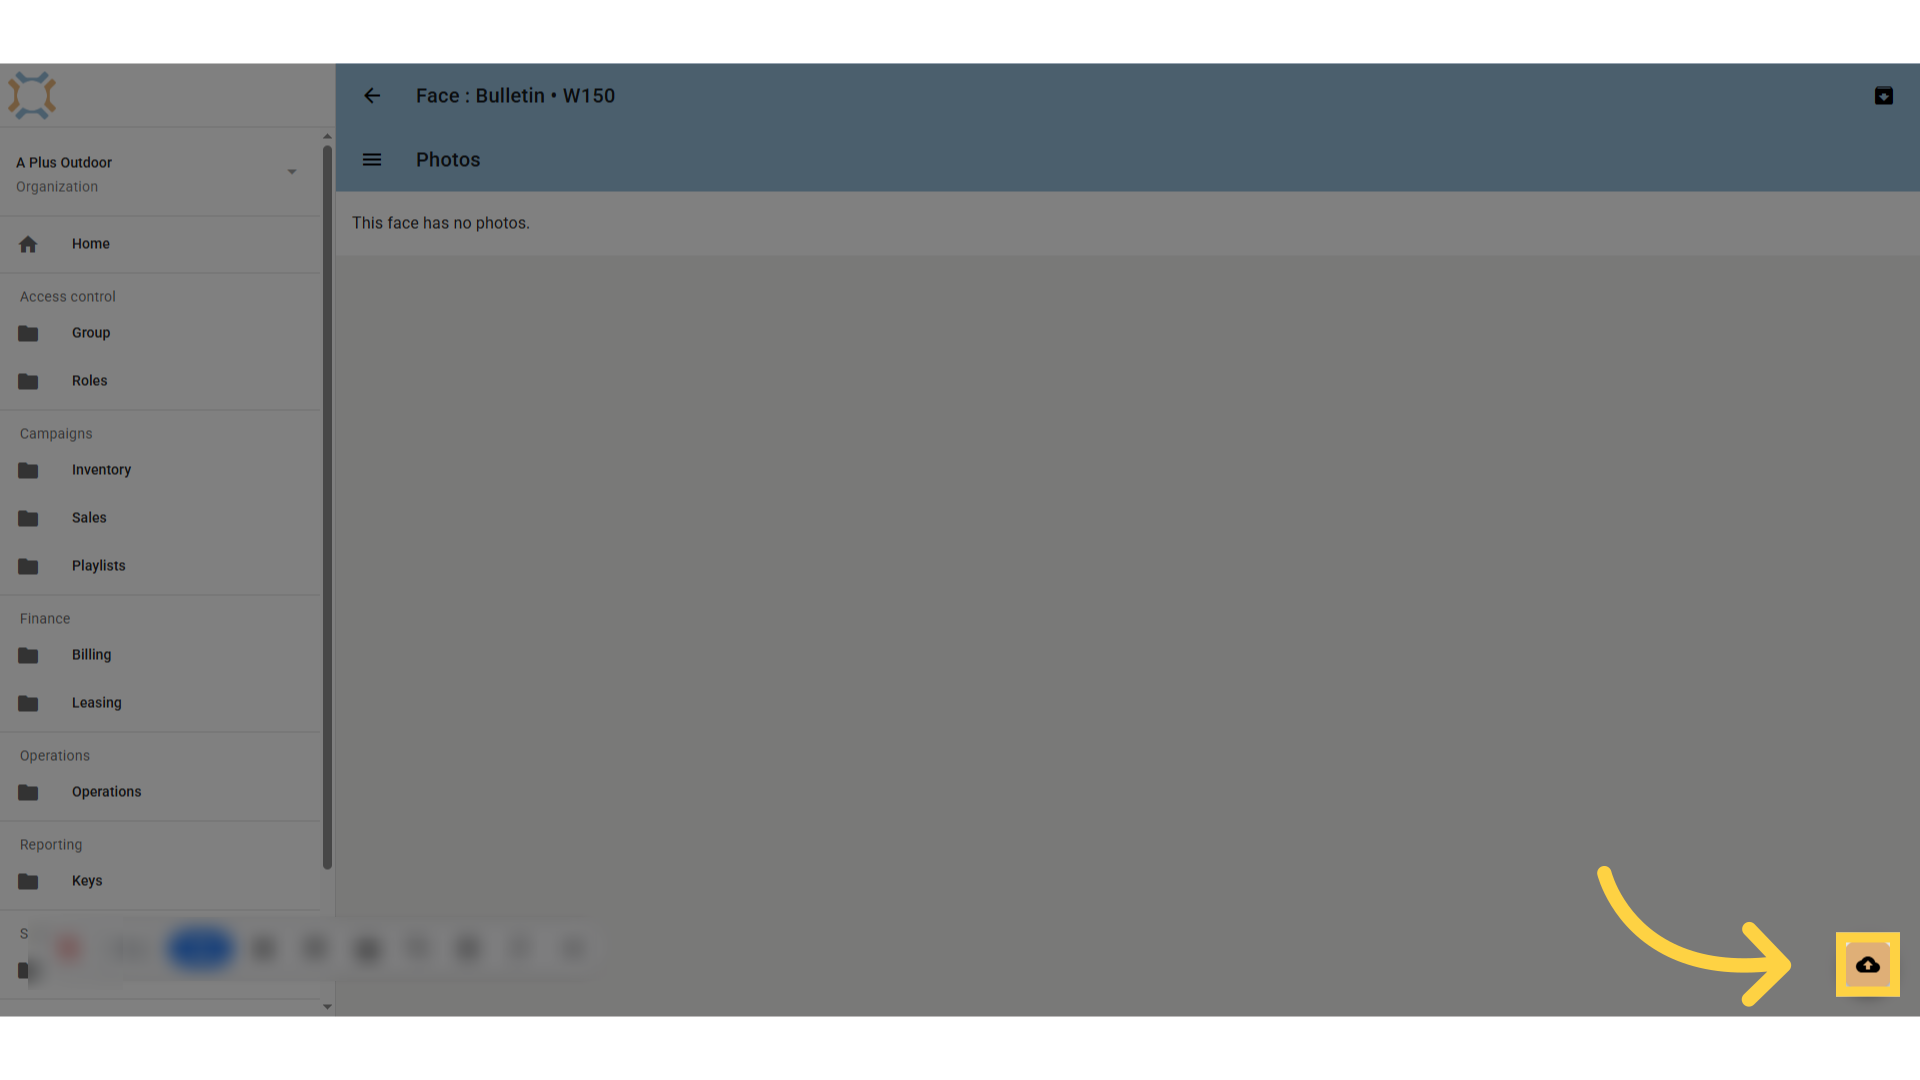
If you wish to add photos of the location, click Photos.
Click "upload" or drag and drop
From here, you can click the upload button to select the images you wish to upload, or you can simply drag and drop the images onto the page.
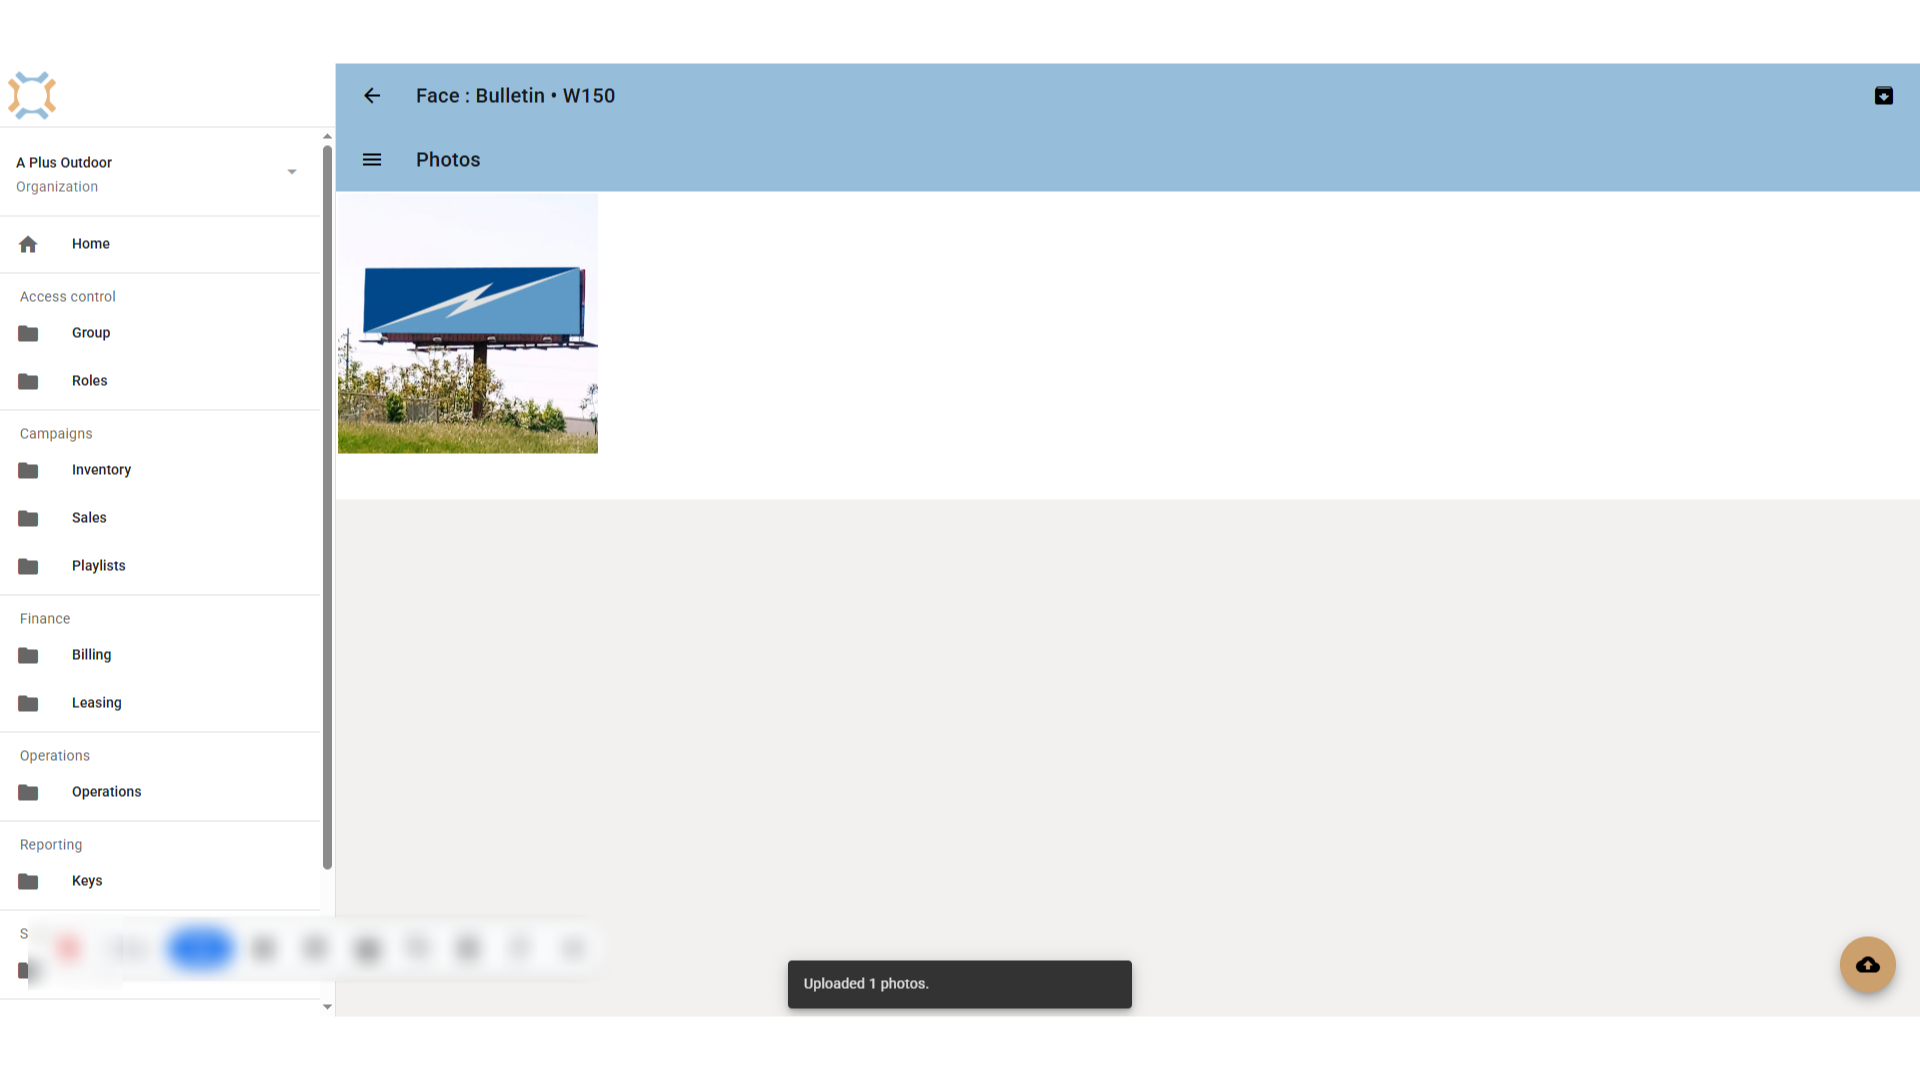
Finished uploading
Once you have uploaded your image, you will see a thumbnail of it. You can click on the thumbnail to see a larger version, or you can upload additional images as appropriate.
Comments
0 comments
Please sign in to leave a comment.